Ron:
Well like they say nothing says loving like something from the oven. The only thing I can think of that might shout more loving, is in fact a brand new oven. So, being the wise husband that I am, that’s just what I’m going to give to my wife Lynn, but I’m not going to try to pass it off as an anniversary gift.
Ron:
Well sweetie, I know how much you love this oven, but you’re gonna have to say goodbye.
Lynn:
Oh I’ll miss it.
Ron:
It served us well. I had thoughts about getting Lynn to help me with this project, but she reminds me that pregnant women should not be lifting wall ovens. So I get my friend Dave to lend a hand.
Ron:
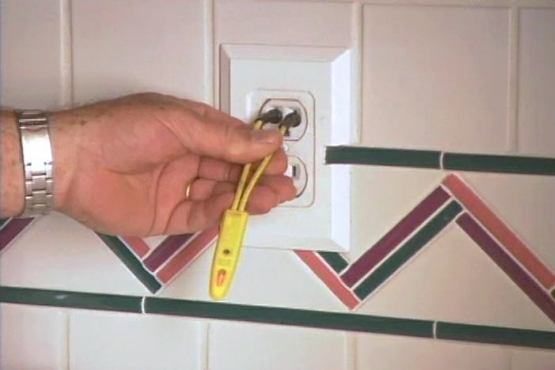
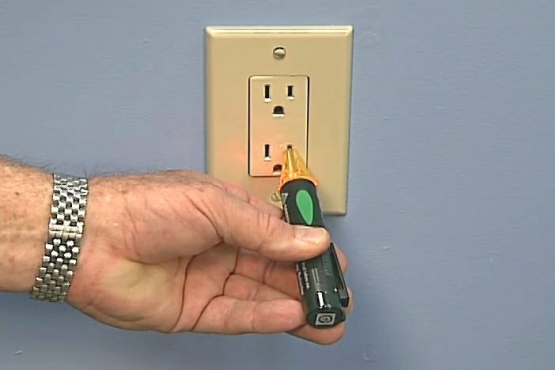
Uh, we’re gonna start by taking the old one out, and I’ve got Dave down in the basement he’s going to turn the power off.
Dave:
Power’s off.
Ron:
I always double check to make sure that the power is off at the breaker box, and by the way, if you’re not familiar with basic electrical work, or your local codes don’t allow you to do this kind of project yourself, ask a qualified electrician for help.
Ron:
Well easier said than done. Oh shoot. Okay. Now in this case, there’s really only these 4 screws that are holding this in.
Dave:
At least it slides out easy.
Ron:
I’m cutting these wires to the old oven, because the new one comes with it’s own wires.
Ron:
Okay bye oven, I’m sorry Lynn isn’t here, I’m sure she’d shed a tear right now.
Ron:
Now normally there’s an electrical junction box, attached to the wall behind the oven, in this case the box is hidden inside the wall and I have to cut away part of the drywall to find it.
Ron:
Well another surprise. I have no idea, why this is just, swimming around in here. I mean it would seem to me that when they put this in, they would have anchored that to the wall. Well I’m about to put in this wooden brace right here to hold our new box. I’m going to set it in place right here. I’ve got a really snug fit.
Ron:
I now have to punch out one of the plugs in this new box, and attach this connector. The house wires slip inside of the connector, which is tightened around the outside of the armored cable. This box gets attached to the brace with a couple of screws. I’m also framing out the inside of this hole with wood strips. The strips give me a good solid backing for the new wall board that’s going in. Next I attach these clips to hold the electrical cable in place.
Ron:
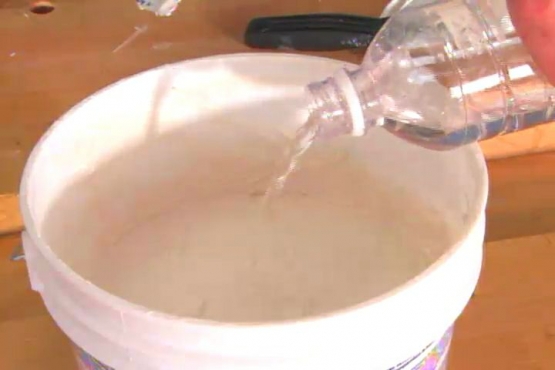
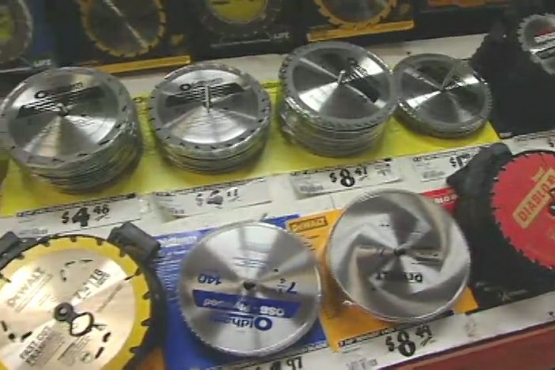
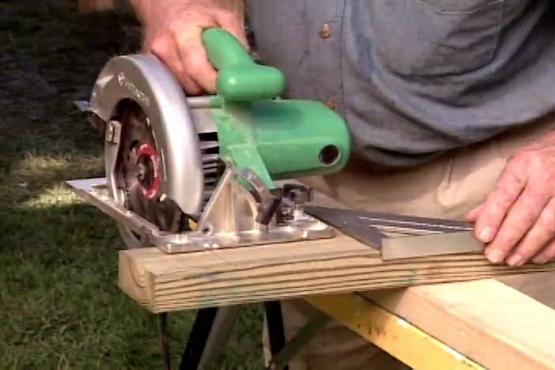
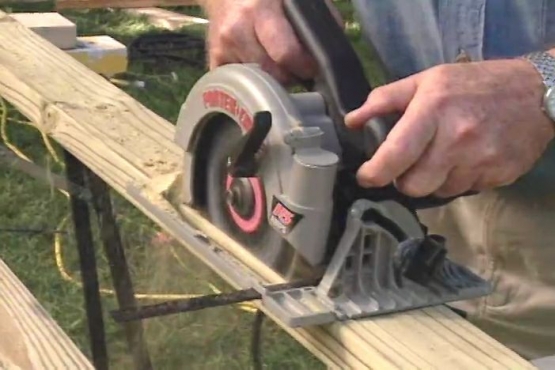
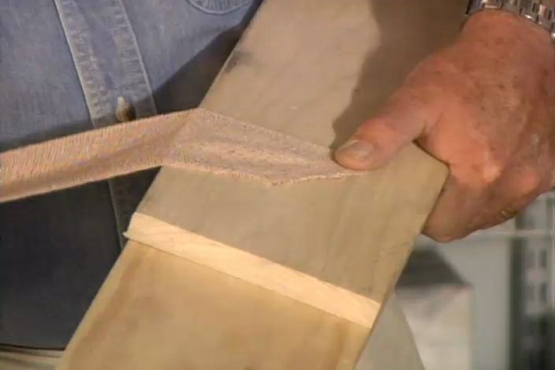
Now, I’m gonna cover up this opening. With a piece of wall board. Wall board is up. Now we’re gonna tape this joint. Again some folks would say, you know why bother it’s inside, but I like to have a nice tight seal in here, because I don’t like to have any openings into the wall cavity, especially since this is going to be an oven here. Now this is paper tape, I like to wet this, and I’m going to center this right over the, over the seam like that. Okay now that I’ve put that tape into the bedding coat, I’m going to take, I want to take my putty knife and just kind of press it in like this. Now since this is going to be in the back of the cabinet, I’m going to leave it like this. But what’s important to me, is to get the wall sealed up, so that uh, mice, rats, not that we should ever have any, can’t get through here, and to prevent a fire could happen, from getting up inside the wall. Now the rough opening required for the new wall oven, is actually 3 ¼ inches wider than the old opening that I had here. So I’ve drawn lines, that are top to bottom, left to right, that are 3/8 of an inch from the edge right here, that’s one half of 3/4 . Now Dave is going to come in here right now and cut this out with a circular saw. This oven comes with about 5 feet of armored cable already attached. The end gets a right angle clamp which goes to the box cover. I twist together the house wires, and the wires from the oven, and secure them with wire nuts. Then fold them neatly inside the box, and finally attach the cover.
Ron:
Are you in?
Dave:
Yeah I’m in.
Ron:
Four screws hold the wall oven in place. So this piece sits right in here. Okay and that slips on there. Right so we’ve got tons of racks for this oven. Well it’s time for the official unveiling. Just stand there. Ready. One…you know what, I just might have accumulated a few of those brownie points that every husband can use.
Lynn:
Wow, wowee.
Ron:
That’s nice huh?
Lynn:
That’s nice, wow that looks much better than I ever expected.