How to Install Track Lighting
New Track Lighting can make your workspace more functional
Ron works with a couple to replace their exisitng flouencent lighting with a new track lighting system. With a little bit of planning, and some fairly basic installation, track lighting will allow you to focus the light in your room exactly where you want it.
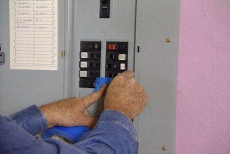
Remove Existing Fixtures
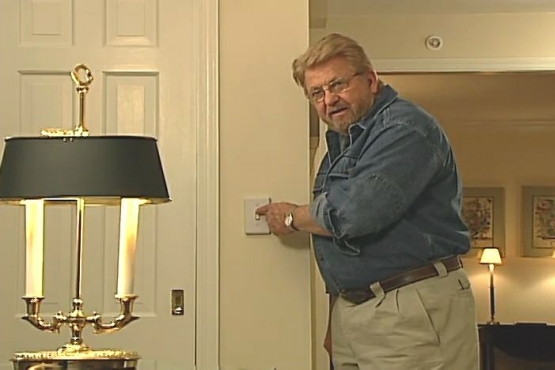
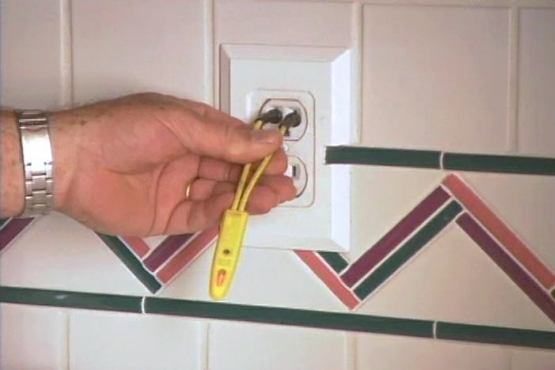
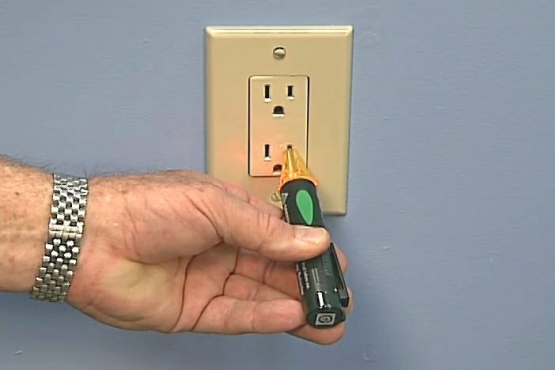
Begin by turning off the power at the breaker panel. Use a piece of tape to cover the breaker to ensure that no one mistakenly turns it back on while you are working. Next, remove any covers or shades that may be on the existing fixtures, and then loosen the wire connectors. Once the connectors and wires have been separated, the screws holding the fixtures to the ceiling can be removed.
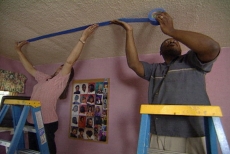
Plan the New Track Layout
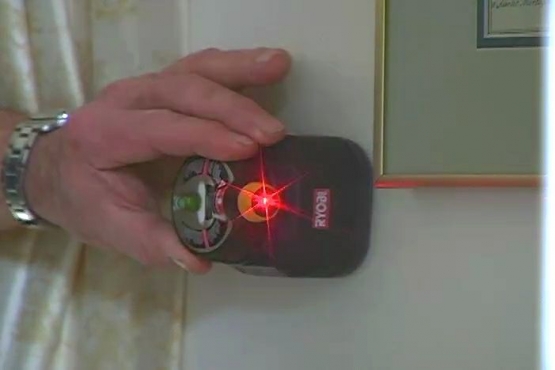
Track lighting is very directional, so first determine the location for the lights based upon the needs that you have. As you make your plan, use painters tape to mark a tentative layout on the ceiling of where you think the track should be installed.
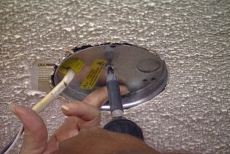
Determine Your Power Supply
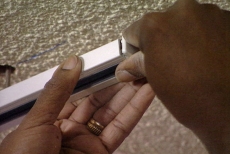
In this case, Ron needs to install a junction box where the power supply comes through the ceiling. This is easily done by using a wallboard saw to cut out a template of the junction box. Once the hole is cut, the wires can be pulled through the back of the box and then the box itself can be screwed into the ceiling joist. The track lighting adapter should be screwed directly onto the face of the new junction box and the wires attached to the adapter as described in the instructions that came with your lighting system.
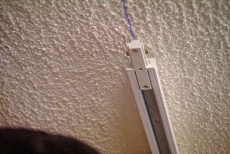
Assemble and Install the Track
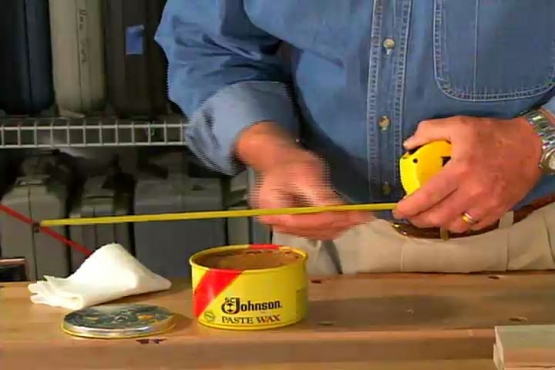
Now that you've determined the location of your track lighting, you can remove the painters tape from the ceiling and snap a chalk line to ensure that your tracks are a consistent distance from the wall. Cut the first piece of track to the correct length using a hack saw, and once you've made careful measurements and snapped your line, go ahead and snap the first piece of track into the adapter.
Secure the Track to the Ceiling
The track will be secured to the ceiling with toggle bolts. After the track is all in place, tighten the bolts and install any covers or end pieces that may have come with your track lighting kit.

Install the Fixtures
After the track is securely fastened to the ceiling, you may begin installing the fixtures, keeping in mind the original needs that you were trying to meet when you planned the layout of your system. Remember that each fixture should have a purpose and feel free to continue to make adjustments to the lights until the room has the feel that you wanted to achieve.
Related Tips
Blog Articles

Maximize Your Yield with DIY Netting for Strawberry Beds
Keep your strawberries safe from pests with our DIY strawberry cage netting solution. Learn how to create sturdy frames and find the best netting for your strawberry plants.

Change It Up: Swapping Out Your Light Switch Plates
Tired of boring light switch covers? Upgrade your home decor with this simple guide on replacing light switch plates and make a statement in every room.

Revamp Your Outdoor Space: How To Stencil A Concrete Patio
Learn how to create a stunning patterned concrete patio with our easy-to-follow instructions for stenciling. Upgrade your outdoor space in no time.


