RON HAZELTON:
Well, there’s no doubt about it: summer’s just around the corner and I’m looking forward to some outdoor entertaining. Now I’ve got plenty of seating back here, but what I really want is a serving bar. Not something permanent, but something that I can set up when I want to, and then fold and take out of the way when I don’t need it; kind of like this chair. I think I’ve got a couple of ideas in mind.
RON HAZELTON:
Well, I think I've got the design pretty well worked out. Come on over and take a look. Now, this is what I imagine it’ll look like. It’ll be open on the back for storage, and then when I want to put it away, I just take off the top, remove the shelf, and then the sides fold in all the way until they’re flat, and then what I end up with are three flat pieces that I can then store.
RON HAZELTON:
Now for materials, I'm gonna use this exterior grade plywood. It's called T-111 for the front and for the sides.
And then for the top and for the shelf, I'm gonna use solid cedar. Now I could have used redwood or even pine but I love to work with cedar, so I'm really gonna enjoy this.
[SOUND CUT]
With the saw all set up, I begin cutting the four by eight sheets of plywood down to size.
[SAWING SOUNDS]
Well, I made a little mock up here to see how things are coming along. It looks really good, but I have noticed that this T-111 has a tendency to bow or twist. So in order to keep these panels straight, and to hide the exposed edges of the plywood, I'm going to wrap each panel in a solid wood frame, much like a picture frame.
I'm starting with 2 x 8’s that I'll rip down into strips one and a half inches wide. As a safety precaution, I unplugged the table saw because I'll need to change blades for this next step. After removing the ripping blade, I begin assembling the dado set on the saw arbor.
It's made up of scoring and cutting blades on the outside and chippers in the middle. By stacking the right combination of blades and chippers, I can cut a dado or groove the same width as the thickness of the plywood. I attach an auxiliary fence to the table saw with a couple of clamps and slide the fence into position.
With the blade lowered, I lay a piece of stock in place. To the fence, I'm going to fasten two of these “feather boards,” as they're called. I clamp one feather board to the auxiliary fence and another to the saw table top. This brace will help keep the tabletop feather board from moving.
Finally, I remove the stop. The feather boards apply consistent pressure to the work piece, help prevent kick backs, and allow me to keep my hands well clear of the blade. With the frame pieces made, I cut 45 degree miters on the ends, slip them over the edges of the plywood and nail them in place.
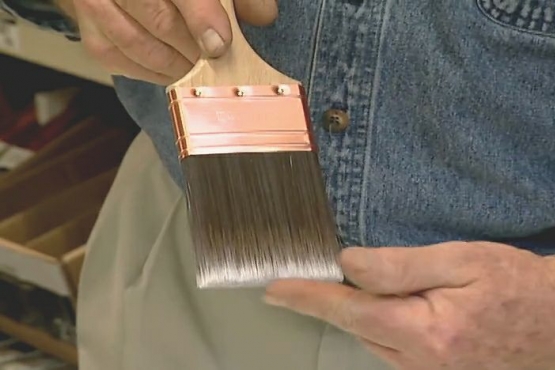
I'm going to make the top of the bar from four cedar boards, an inch and a quarter thick. All I'm gonna really have to do is glue them together, edge to edge. I'm using exterior-grade waterproof glue. Trimming these bristles a bit will give me a brush that's slightly stiffer and just right for glue spreading.
Now the idea here is to get good, even coverage, but avoid applying excess glue that would squeeze out and require a lot of extra cleanup. When all the edges are coated, I lay the boards flat on the bar clamps -- and tighten the hand screws.
This is just about the right amount of squeeze out. A few taps from a dead blow mallet ensures that the boards are firmly in contact with the bars below and flush on top. Now I can move onto the bar shelf. The process here is the same as for the top.
Only because the wood is just a bit thinner, I'm going to clamp a couple of battens across the shelf ends, just to make sure they remain flat and flush. The plastic will keep the battens from getting glued to the surface.
It's warm here in the shop, and the glue should dry fairly quickly.
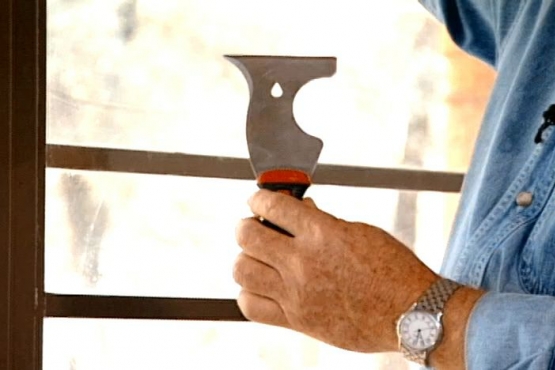
I've found that one of the easiest ways to clean up glue that has squeezed out is to remove it with a paint scraper. I'm careful to keep the scraper flat and not let the corners gouge the wood. Now to do this, it's important to have a very sharp paint scraper and if you'd like to find out how to sharpen one, then visit our website, www.ronhazelton.com.
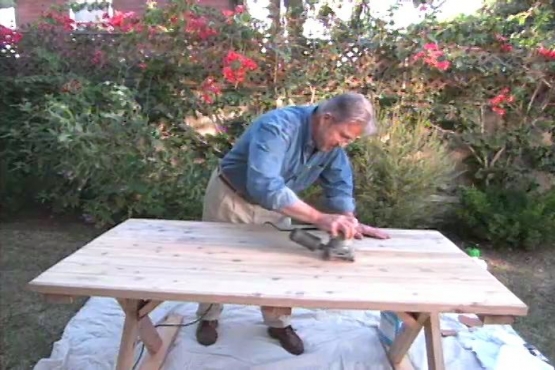
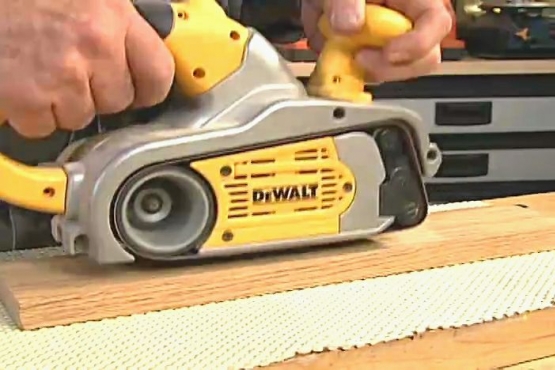
So, what we've just done here is turned four narrow boards into one wide one. Now for a bit of sanding. A piece of non-slip shelf liner or carpet underlayment, placed on the work bench, will keep the work piece from slipping while I'm using the belt sander to eliminate any ridges or slight differences in board thickness.
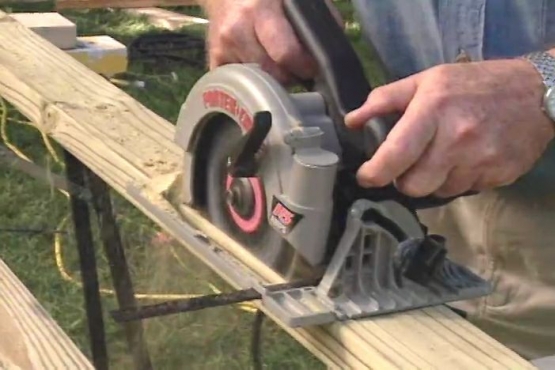
Next, I'll use the random orbital sander with 100 grit paper to remove any marks left by the belt sander. To trim off the ends of the bar top, I'm first clamping on a saw guide. The base plate on the circular saw glides along the edge of the guide, ensuring the cut will be perfectly straight and square. Now this is a folding bar, so I'll first clamp the sides to the front -- then attach them together with full length piano hinges.
With the base in position on the floor, I set the top in place and from underneath, trace the outline on the bottom. On this line, I'm clamping small strips of wood, then attaching them with screws. When setting up the bar, these will help guide the top into position and also hold the sides in place.
You know, to me, the bar top looks a little thin, so I'm going to cut rabbets into strips of cedar to create a sort of cap for the edge. I miter the ends, set them in position, and nail them in place. The shelf will be supported by these strips of wood that I'm nailing to the front and sides.
Now if this bar is going to be truly portable, it will of course need a handle. Well, I'd say that just about completes the work here in the shop. Outside, I fill the nail holes with putty, sand them level, then give everything one final going over.
Well, the bar is complete, all sanded and ready for a finish. Now this is a portable bar, I plan to take it outside, set it up and then bring it back in again. But I know full well, that it's gonna get wet from the rain and of course it's gonna be exposed to the sun, so I want to put a finish on here that will stand up to the outdoor elements. The same kind of finish that I might use, for example, on outdoor furniture.
I've picked up a couple of gallons of wood protector from the home improvement center. Now what I want is something that will give the bar a finished look, but even more importantly, shield it from water, rain, as well as spills. Well, this should do that. It also has UV inhibitors to protect against fading and resist mildew and discoloration. I'm using a brush to apply it, working it well into the surface of the wood, especially on the rough-sawn plywood face.
I'm using a gel stain and sealer for the grooves in the paneling. The gel gives me better coverage and doesn’t drip. On the top, I apply the wood protector, using long, straight strokes, brushing with the grain.
[Sound Cut]
Well, summer’s almost here and I’m ready for some fine outdoor entertaining. And when I’m finished, well, I’m just gonna fold up my portable bar and put it inside, out of the weather.
[RUMBLE OF THUNDER]
...Or not! Either way, I’m going to have good protection from water: whether it spills out of a glass or falls out of the sky.