How to Build a Cat Tree and Scratching Post
Construct a Carpet-covered Cat Tree with a Scratching Post and Tower
Construct a cat tree with a scratching post and cat tower that doubles as a sleeping and play area. Add a wide stable base made of two panels of 3/4-inch plywood. The tower is two-stories tall and has openings on all side. Cover the plywood surfaces with durable carpet and finish with four sisal-covered posts for climbing and scratching.
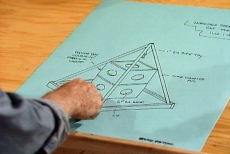
Draw the Plan and Dimensions for Your Cat Scratching Post
Plan the size and layout of this cat furniture on paper to confirm the dimensions and materials. This one uses plywood for the base and tower, both covered in carpet, and PVC pipes covered in sisal rope.

Make a Wide Stable Base to Prevent Tipping
Use two 3/4-inch plywood panels for the base, glued together with carpenter's glue. Drill countersunk shank holes and drive in screws to secure the panels and wooden strips as a lip around the perimeter.
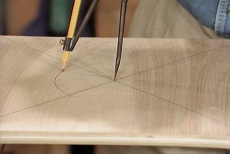
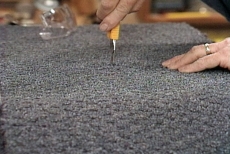
Cut Holes for the Sides and Top of the Tower
Position and cut two 6-inch holes on each plywood side panel and one on the top panel for the hollow 2-story tower. Mark the holes with a compass, drill to start them, and finish cutting with a jigsaw.
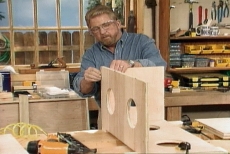
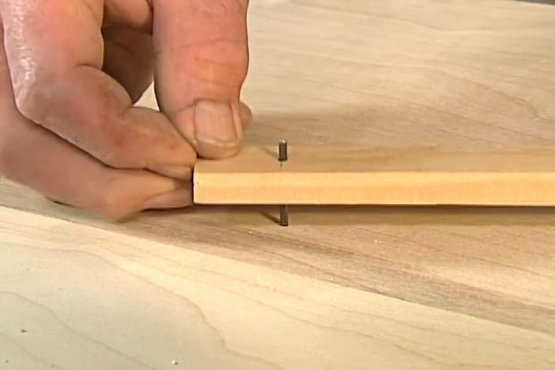
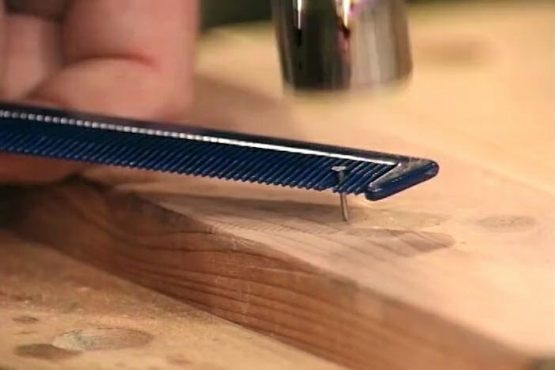
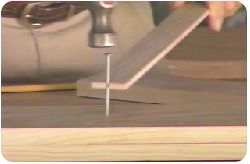
Assemble the Tower with Glue and a Pneumatic Nail Gun
Assemble the four side panels and the top with glue and nails, using a pneumatic nail gun. Insert the dividing panel for the floor between the two stories before attaching the last two sides.
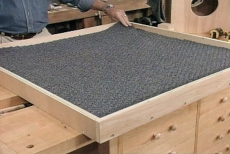
Cover All Visible Surfaces of the Base with Carpet
Cover the edges of the base with neat corners. Cut and staple a square of scrap carpet to fit the floor of your cat furniture. Staple it along the perimeter and in the center to hold it securely in place.
Cover the Tower with Carpet and Then Reopen the Holes
Cut and staple carpet panels to cover the cat tower. With a utility knife, cut the carpet over the holes into neat pie-shaped wedges from the center to the wooden edge. Apply glue, fold the wedges inside, and staple them.
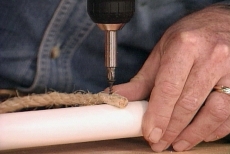
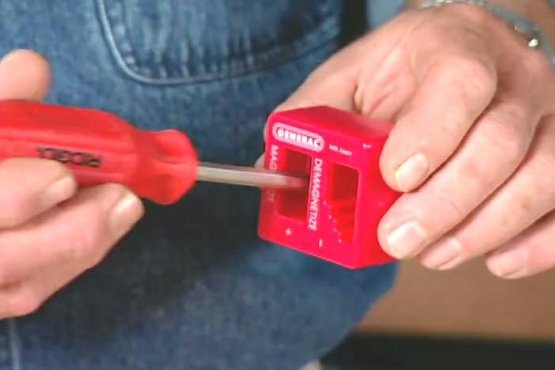
Create a PVC Pipe Frame for the Cat Tree
Cut four pieces of PVC pipe to length and glue wooden dowels into one end of each with epoxy. Drive a screw through the PVC pipe, the end of a piece of sisal rope, and into the wooden dowel.
Wrap the Sisal Rope around the Pipe and Tie It
Spin the PVC pipe with an electric drill and bit stuck in the wooden dowel while a helper guides the rope in tight wraps.
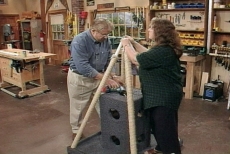
Position the PVC and Join Them with Screws
Place the PVC pipes in the four corners of the tray and bring them to a single point above the tower in a pyramid-like shape. Drive screws through the pipe and into the wooden dowels inserted earlier.
Related Tips


Blog Articles

Maximize Your Yield with DIY Netting for Strawberry Beds
Keep your strawberries safe from pests with our DIY strawberry cage netting solution. Learn how to create sturdy frames and find the best netting for your strawberry plants.

Change It Up: Swapping Out Your Light Switch Plates
Tired of boring light switch covers? Upgrade your home decor with this simple guide on replacing light switch plates and make a statement in every room.

Revamp Your Outdoor Space: How To Stencil A Concrete Patio
Learn how to create a stunning patterned concrete patio with our easy-to-follow instructions for stenciling. Upgrade your outdoor space in no time.


