How to Install the Hangman Products Slatwall Shelving System
Turn an Unfinished Stud Wall into Quick and Handy DIY Shelves with a Slatwall Shelving System and Accessories
Convert raw stud walls to shelving with ready-made aluminum hardware and useful accessories from Hangman Slatwall Shelving Systems in an easy, one-person project. Mount basic track components with screws directly on the bare studs. Construct shelves from 1/2-inch panels of hardboard or pegboard fitted with front and back edging that doubles as a bracket and brace. Shelving has never been easier!
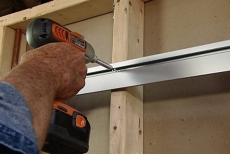
Mount the First Slatwall Shelving Track on Bare Wall Studs
Mount the first extruded aluminum track directly on the bare studs--no finished sheetrock surface is required. Level the track and drive screws through the predrilled holes deep inside the slot that runs from end to end.
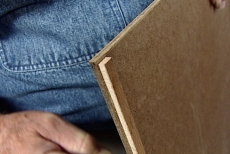
Choose Materials to Cover the Space between the Tracks
Select the material to cover the wall between the tracks. Cut panels of 1/4-inch decorative hardboard with a 1/4-inch spacer, or use 1/2-inch thick rigid panels of pegboard, corkboard, or melamine. Mix and match to suit yourself.

Position and Secure a Panel between Two Slatwall Tracks
Capture the panel between a Slatwall track mounted above and a second track butted against the bottom. Track edges are equipped with a lip that holds the panel while they're secured with screws. Repeat for each panel.

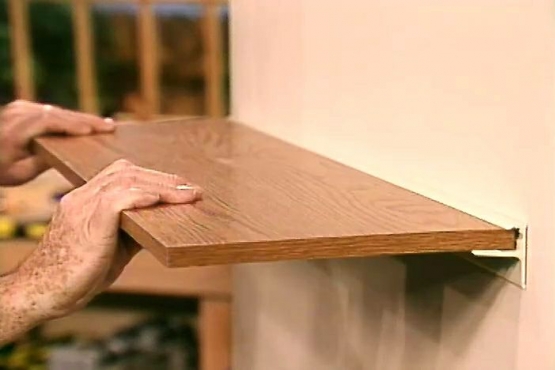
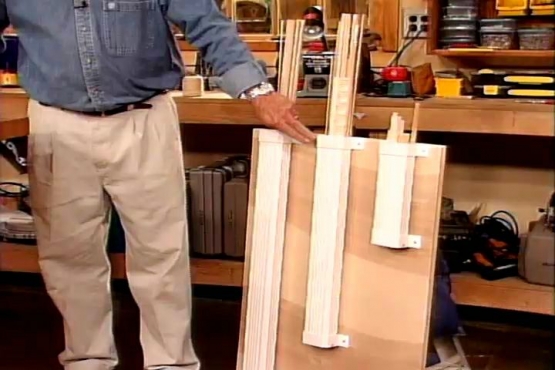
Edge 3/4-Inch Shelf Stock with Slatwall Shelf Brackets
Slip an extruded aluminum shelf bracket on the rear edge of 3/4-inch melamine-clad particleboard shelf stock. The aluminum brackets are screwed to the shelving material, secured with screws, and then slotted into the wall tracks to hang the shelf.

Dress the Shelves' Front Edges with a Slatwall Aluminum Cap
Add an aluminum Slatwall cap to the front edge of each shelf, tapping it into place with a mallet. The trim comes in several different designs to dress the front edge and provide additional strength and rigidity to the shelf.
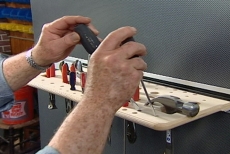
Add a Handy Slatwall Tool Caddy
Choose among Slatwall accessories for a tool caddy that is pre-drilled with a variety of openings to fit a variety of tools. Screw drivers, pliers, hammers and more fit neatly into the slots.
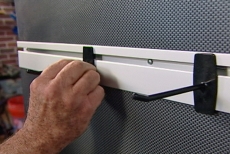
Insert Slatwall Hooks into the Wall Track for Heavy Tools
Slip on Slatwall hanging hook accessories designed to fit directly into the wall track for larger, heavier items such as extension cords, power drills, levels, and hand saws. Odd shapes can be accommodated with two hooks.
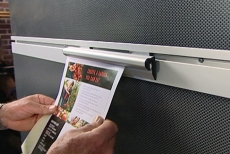
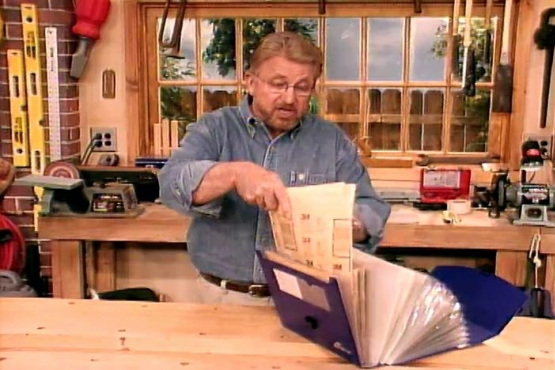
Try a Clip-It Strip Accessory to Hold Papers in Place
Use a Slatwall Clip-It Strip accessory to hold papers in place. It's handy for grasping cut lists and project plans, yet releases the paper without damage with a gentle pull downward.
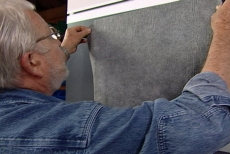
Holds Notes and Photographs with a Slatwall Mounting Mat
Use a Slatwall mounting mat to hold notes and photographs without clips, pins or tape as the finishing touch for your Slatwall Shelving System.
Related Tips

Blog Articles

Maximize Your Yield with DIY Netting for Strawberry Beds
Keep your strawberries safe from pests with our DIY strawberry cage netting solution. Learn how to create sturdy frames and find the best netting for your strawberry plants.

Change It Up: Swapping Out Your Light Switch Plates
Tired of boring light switch covers? Upgrade your home decor with this simple guide on replacing light switch plates and make a statement in every room.

Revamp Your Outdoor Space: How To Stencil A Concrete Patio
Learn how to create a stunning patterned concrete patio with our easy-to-follow instructions for stenciling. Upgrade your outdoor space in no time.


