How to Replace Wood Cabinet Doors with Glass
Replace Plain Kitchen Cabinet Doors with DIY Routed Frames and Sparkling Glass to Showcase Your Kitchen Treasures
Charm your plain cabinet doors with DIY magic and the clean gleam of glass to brighten your kitchen d?r. No magic wand is required to pull these "rabbets" out of a hat--use a router and saw to construct the new frames of routed poplar with lap joints, decorative edges, and rabbets to support the glass inside the doors.
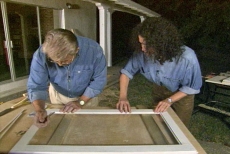
Remove Existing Cabinet Doors for Guides for Cutting New Components
Remove plain painted cabinet doors and measure them for dimensions for new components. Set up a saw and work-stop to straight cut poplar stock to exact lengths. Four cabinet doors will require eight long pieces and eight short ones.
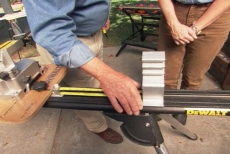
Route Four Poplar Planks at Once for Lap Joints
Route ends of poplar components to make lap joints for each corner of the cabinet doors. Each of four doors frames requires four components with two routed ends, so routing four ends in a single pass saves time.
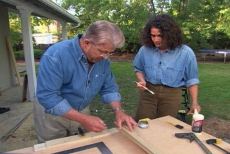
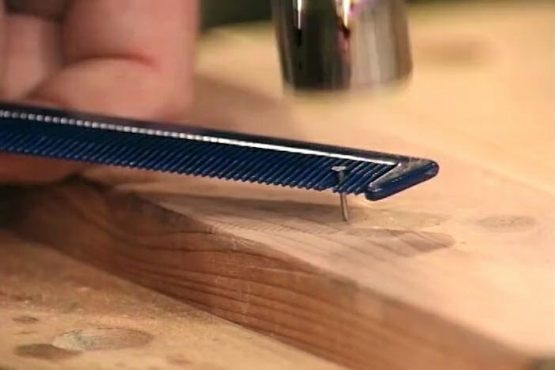
Brush Glue on Joints and Secure with a Pin Nailer
Apply yellow wood glue with a brush to both surfaces of the lap joints to attach frame pieces to each other. Use a pin nailer to drive in small brads and hold the joints in position until the glue dries.
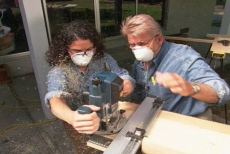
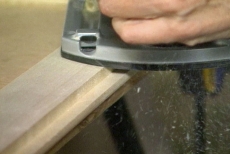
Use a Round-over Bit to Route Front Edges of Doors
Use a round-over bit on the router to make smooth curved surfaces on the front edges of the assembled cabinet doors. The ball bearing on the bit will help control its cutting depth. On completion, turn the frame face down.
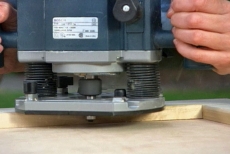
Route a Rabbet on the Inside Back Edge for Glass
Insert a rabbet bit in the hand-held router to create a step along the back inside edge of the door where the glass will sit. This bit also has a ball bearing to control the depth of the bit's cut.
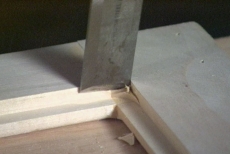
Dress the Corners of the Rabbets with a Chisel
Use a hammer and wood chisel to remove the small amount of wood the rabbet bit leaves in the inside corners. Square the corners neatly by making small vertical cuts on each side of the step and cutting the base.
Route Rabbets to Let Doors Fit Flat in Their Openings
Route rabbets on the outer back edges of each door. These ledges and hinges let the back of the cabinet doors fit partly into the door opening in the base cabinets rather than just resting flat on top.
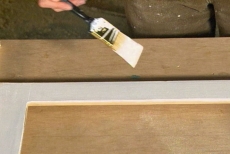
Paint the Assembled and Machined Cabinet Doors
Sand if necessary and apply primer and paint to the assembled and machined doors. It is far easier to paint them before mounting the doors to the cabinet bases.
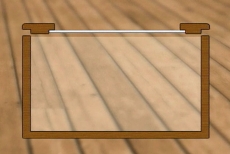
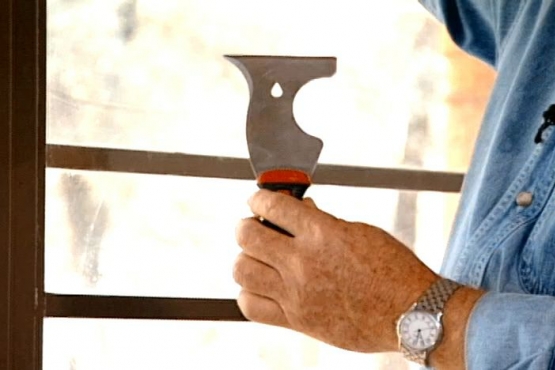
Install Glass in the Cabinet Doors
Insert glass into the back of each cabinet door. Cut and paint thin keeper strips to hold the glass in place, positioning them against the glass and securing them to the wooden door with small brads and a brad pusher.
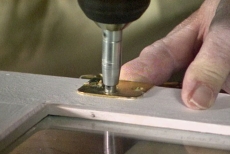
Pre-drill Countersunk Holes for Hinges and Mount the Doors
Use a self-centering countersunk bit on a power drill to pre-bore holes in the doors for their hinges. Position doors, insert screws in the hinges, and mount the new glass cabinet doors to the base cabinets.
Related Tips


Blog Articles

Maximize Your Yield with DIY Netting for Strawberry Beds
Keep your strawberries safe from pests with our DIY strawberry cage netting solution. Learn how to create sturdy frames and find the best netting for your strawberry plants.

Change It Up: Swapping Out Your Light Switch Plates
Tired of boring light switch covers? Upgrade your home decor with this simple guide on replacing light switch plates and make a statement in every room.

Revamp Your Outdoor Space: How To Stencil A Concrete Patio
Learn how to create a stunning patterned concrete patio with our easy-to-follow instructions for stenciling. Upgrade your outdoor space in no time.


