Repair Dry Rot: Expert Tips and Tricks
Repair Dry-rotted Wood by Packing It with Polyester Resin Wood Filler or Patching It with a Wooden Block
Fix dry-rotted wood and make something old new again to preserve its character and save money. Restore the appearance of dry-rotted shutters, window frames and other non-weight bearing surfaces by patching with a wooden block or forming three-dimensional reconstructions with polyester resin wood filler. A utility knife, sandpaper and paint complete these DIY projects, but neatness counts!
Dry rot can be a real headache, especially when it affects wooden surfaces like shutters or window frames. With a little know-how and the right materials, you can easily repair dry-rotted wood and bring back its former glory. This creative solution is to use polyester resin wood filler to pack the affected areas. This versatile filler not only fills in the damaged sections but also provides strength and durability to the wood. Follow us on social media and tell us how this solution worked for you! #fixdryrotinwood
Remove Crumbling Dry Rot and Apply Wood Hardener to Remainder
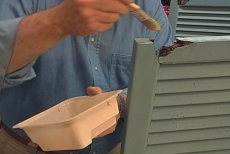
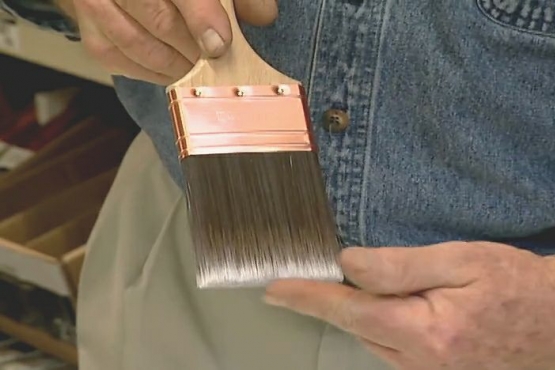
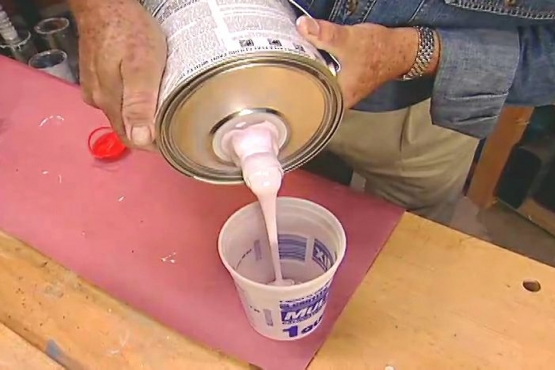
Remove crumbling wood and apply an epoxy-like wood hardener to consolidate the remaining affected area. Brush on the water-thinned wood hardener liberally so that it soaks into the rotted areas. Let it dry for about two hours.

Build a Form around the Damage to Shape Wood Filler
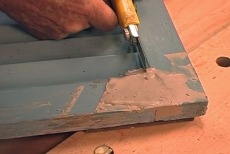
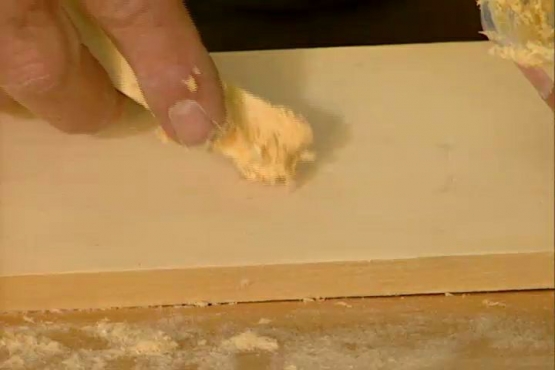
Build a form around the damaged area with pieces of wood/hardboard prior to packing the hole with wood filler. Spray lubricant on the form components to promote quick release from the wood filler. Tape or clamp the forms in place.
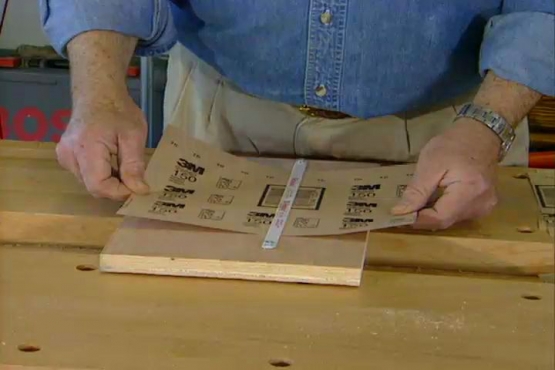
Remove the Forms and Shape the Hardened Wood Filler
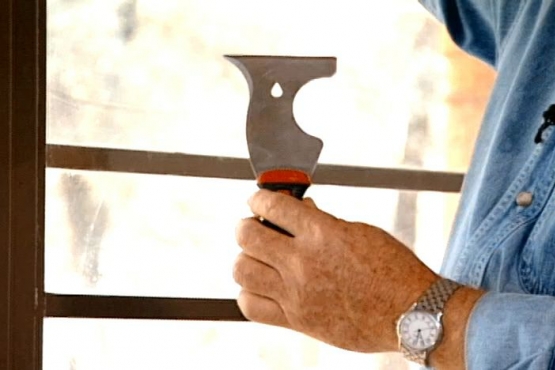
Allow the wood filler to dry for 10 minutes until it is hard and rubbery. Detach the forms and remove excess material with a utility knife, wood file, and/or sand paper to shape and smooth the repair.
Repair Broken out Areas with a Wooden Block Patch
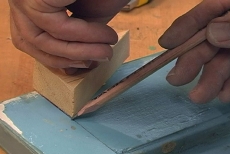
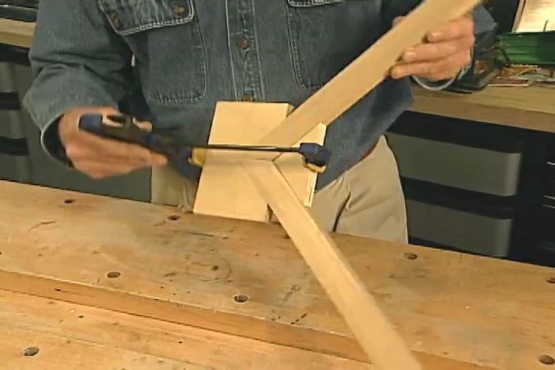
Cut a slightly over-sized block to fit the damaged area, trace it and cut on the trace lines with a Japanese handsaw to remove the dry rotted edges. Use a chisel or other hand tool to fit corners.
Apply Glue and Clamp the Wooden Block Patch in Place
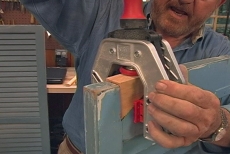
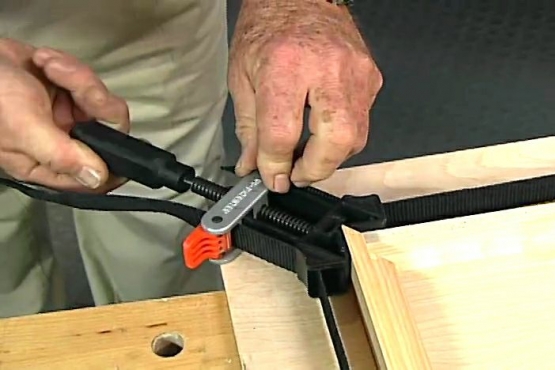
Glue the block into the shaped dry-rot damaged area with polyurethane glue. Position the block with a one-handed face-frame clamp to hold it horizontally and vertically until dry. Sand the block's surface flush with the surrounding area.
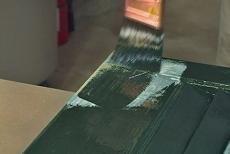
Paint the Sanded and Repaired Surface with Exterior Paint
Smooth the edges of the filled or block-patched repairs and other surface imperfections prior to applying two coats of good quality exterior paint. The paint will weatherproof and dress the repairs and extend the life of your repair project.
Related Tips

Blog Articles

Maximize Your Yield with DIY Netting for Strawberry Beds
Keep your strawberries safe from pests with our DIY strawberry cage netting solution. Learn how to create sturdy frames and find the best netting for your strawberry plants.

Change It Up: Swapping Out Your Light Switch Plates
Tired of boring light switch covers? Upgrade your home decor with this simple guide on replacing light switch plates and make a statement in every room.

Revamp Your Outdoor Space: How To Stencil A Concrete Patio
Learn how to create a stunning patterned concrete patio with our easy-to-follow instructions for stenciling. Upgrade your outdoor space in no time.


