How to Install a Vinyl Picket Fence
Install a Vinyl Picket Fence to Accent or Surround Your Yard and Coordinate with the House and Porch Rails
Enclose the entire yard or accent special areas with vinyl picket fence that is easy to install and guaranteed to be rot-free and never need painting. Posts are set plumb in concrete to ensure the vinyl picket fence sections rest squarely in their brackets while the gate operates smoothly. After all, good fences make good neighbors!
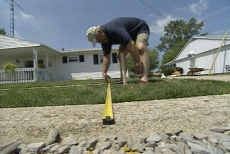
Mark the Vinyl Picket Fence Line and Corners
Drive stakes at the fence corners. Delineate the front and sides of the vinyl picket fence with string. Measure to ensure the strings are parallel to the curb and driveway or other landmarks in the yard.
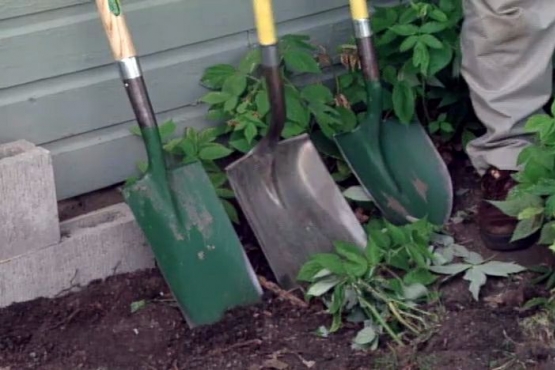
Position and Dig Post Holes for the Vinyl Picket Fence
Position a fence post every eight feet along the proposed vinyl picket fence line and mark each location with a stake. Use a posthole digger or power auger to drill post holes.

Pour Gravel in the Vinyl Picket Fence Post Holes
Add about six inches of gravel to the bottom of the vinyl picket fence post holes for drainage. Even though the posts are vinyl and rot-proof, water standing in the post holes can let the posts shift over time.

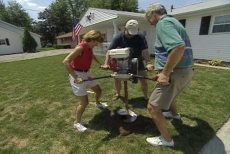
Pour Cement into the Vinyl Picket Fence Post Holes
Pour 1.5 to 2 80-pound bags of dry concrete mix into a wheelbarrow for each vinyl picket fence post, add water, and mix with a hoe. Fill post holes with wet cement leaving several inches of top margin.
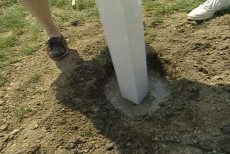
Work the Vinyl Picket Fence Posts into the Cement
Work the hollow vinyl picket fence posts into the wet cement, forcing the mixture inside as well as around them. Use a post level to ensure each post is plumb while the cement sets into hardened concrete.

Determine Positions for Vinyl Picket Fence Sections on Posts
Determine how far off the ground to mount the sections of vinyl picket fence. Mark locations for top and bottom rails on the posts. Position and screw the brackets to the posts and the picket sections to the brackets.
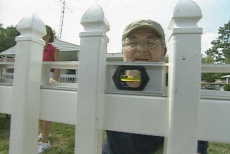
Mount and Level the Remaining Posts and Vinyl Picket Fence
Set the next post plumb in its hole with gravel and cement. Position and mount the brackets. Add the vinyl picket fence section and ensure it is level before securing it to the brackets with screws. Repeat as necessary.
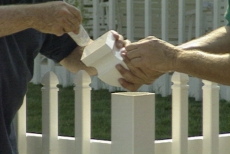
Top the Vinyl Picket Fence Posts with Finials
Cut the post tops to the correct height using a circular saw and a handsaw. Use PVC adhesive to glue the top decorative top, also called a finial, to the vinyl picket fence posts.

Mount the Gate in the Vinyl Picket Fence
Mount the remaining vinyl picket fence sections and posts on either side of the gate, ensuring posts are plumb and leave enough space for the gate section. Install provided hinge and latch hardware with bolts and screws.
Related Tips
Blog Articles

Maximize Your Yield with DIY Netting for Strawberry Beds
Keep your strawberries safe from pests with our DIY strawberry cage netting solution. Learn how to create sturdy frames and find the best netting for your strawberry plants.

Change It Up: Swapping Out Your Light Switch Plates
Tired of boring light switch covers? Upgrade your home decor with this simple guide on replacing light switch plates and make a statement in every room.

Revamp Your Outdoor Space: How To Stencil A Concrete Patio
Learn how to create a stunning patterned concrete patio with our easy-to-follow instructions for stenciling. Upgrade your outdoor space in no time.


