Construct Your Own Porch Railings
How to Build a Wooden Porch Railing using Stock Rails and Balusters. Rails and Balusters are Cut to Length On Site.
Build custom porch railing to add character and safety to your porch with a straightforward DIY project that starts with purchased upper and lower rail and baluster stock. If necessary, add a new railing post to help span long distances, decorating the post with a cap and finial and applying coats of fresh white paint to the whole project.
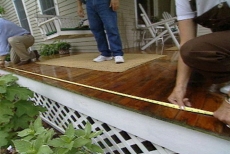
Mark Cutlines on the Porch Floor for a New Post
Measure the distance between existing porch roof supports/posts to determine if the porch railing stock will span the distance. If wooden railings are not long enough, center cutlines dimensioned for a new post halfway between the porch supports.
Saw the Opening for the New Post with a Jigsaw
Drill a starter hole for a jigsaw blade within cutlines marked for the new railing post. Cut precisely along the rectangular cutlines with a jigsaw. Insert the post into the hole, resting it on a leveled paver on the ground.
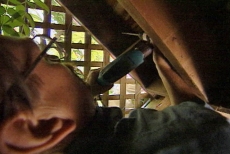
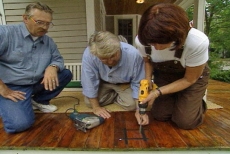
Attach the Railing Post to Porch Framing with Lag Screws
Bore pilot holes into the framing with a right-angled drill, working from a position beneath the porch. Insert lag screws to attach the new post to the porch floor joists. Snug the lag screws with a socket wrench.
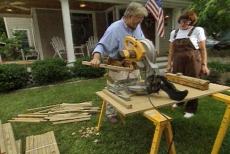
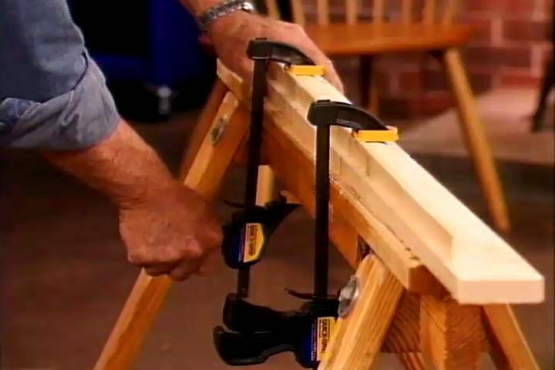
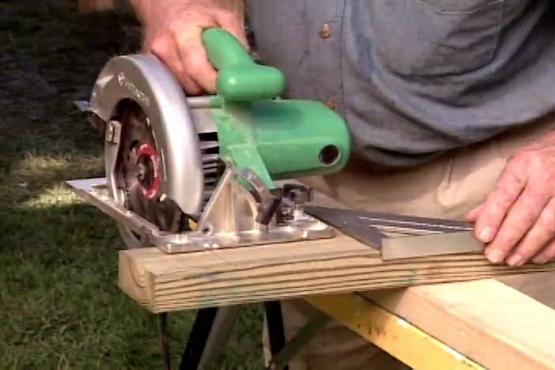
Cut Balusters to Length with a Saw and Cutting Jig
Cut ready-made balusters to length using a power miter saw or chop saw. Temporarily screw the base to a plywood work surface and set up a stop block as a cutting jig to ensure railing balusters are of identical length.
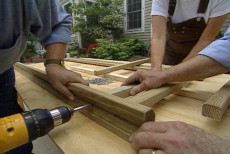
Attach Balusters and Bottom Porch Railing with Screws
Space balusters according to building code along the bottom porch railing. Lay out the pieces on a flat surface and screw through the underside of the bottom wooden railing into the center of the positioned balusters.

Nail Top Porch Railing onto the Bottom Rail Assembly
Set the bottom railing and baluster assembly upright and position the top railing after marking baluster positions. Adjust the balusters as necessary on the marks and drive two nails through the railing into each baluster to stop it from rotating.

Screw Assembled Porch Railing Units to Posts
Secure porch railing units to posts with finish-head screws. First, position the piece of railing between posts, ensuring that it is level and doesn't bind. Drill angled pilot holes from each side of the rails and drive in screws.
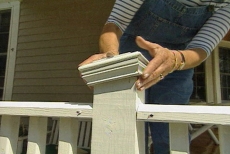
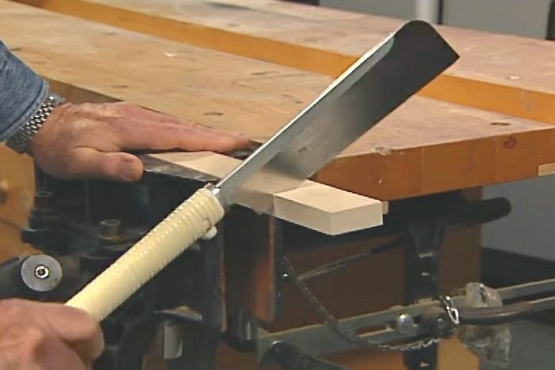
Saw off the New Railing Post to the Correct Length
Remove excess length from the new post top with a handsaw. Add a decorative cap and finial to top the new post and match any existing stair railing posts. Prime and paint the porch railings and the new post.
Related Tips
Blog Articles

Maximize Your Yield with DIY Netting for Strawberry Beds
Keep your strawberries safe from pests with our DIY strawberry cage netting solution. Learn how to create sturdy frames and find the best netting for your strawberry plants.

Change It Up: Swapping Out Your Light Switch Plates
Tired of boring light switch covers? Upgrade your home decor with this simple guide on replacing light switch plates and make a statement in every room.

Revamp Your Outdoor Space: How To Stencil A Concrete Patio
Learn how to create a stunning patterned concrete patio with our easy-to-follow instructions for stenciling. Upgrade your outdoor space in no time.


