RON HAZELTON:
You know, one of the things I've never been happy with in this house is the low water pressure. It means low water volume at the sink, in the shower, the bathtub, even the toilets take longer than normal to fill up.
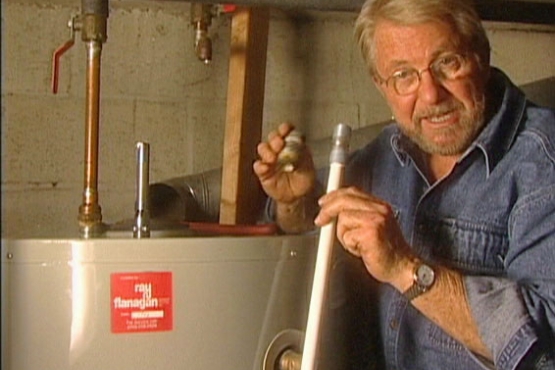
So just how low is my water pressure? Well, to find out, I get a screw-on water pressure gauge from the truck toolbox, attach it to a hose bib in the basement, and then turn on the water. Just over 40 pounds. Now up on the second floor, it's probably a lot less.
Now I've spoken to the water company and this is the best they can do in terms of providing water pressure. So, the only thing I can think of doing is trying to find a way to boost the pressure here, inside the house. Yep, I'm gonna take my water pressure problem into my own hands.
A search under water pressure booster pump leads me to the GrundFos site, one of the world's largest pump manufacturers. And this product called the Easy Boost, captures my interest.
I locate a local dealer and a few days later, the pump is here, along with plumbers Rick Jerzik and Danny Paul. The first step is to turn off the water supply to the house, then open a faucet upstairs to break any vacuum, open a faucet in the basement, and finally drain the remaining water from the pipes.
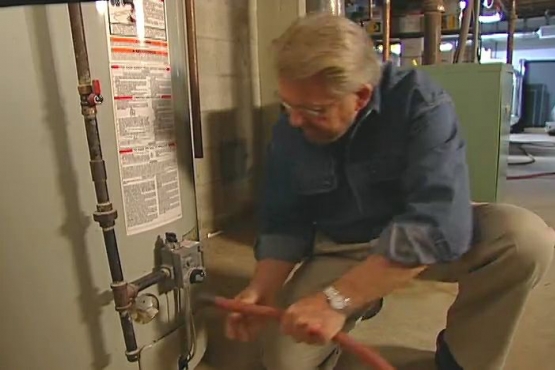
Right now, my municipal water supply comes in here, goes up this riser and then on to the rest of the house. The plan is to install a shutoff valve here, then divert the water to the pump where the pressure will be boosted. The high pressure water will then return to the main supply line and be available anywhere in the house. With the water off, Rick begins cutting the riser.
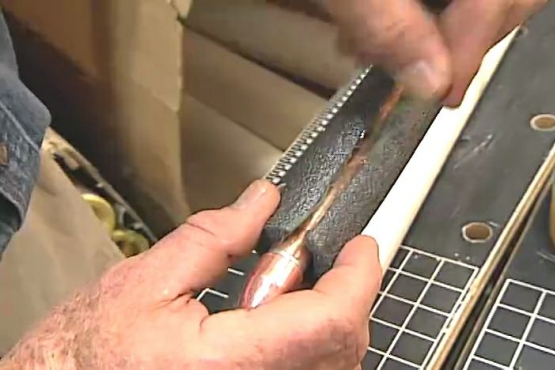
Notice how he reverses direction momentarily, while at the same time, twisting the knob? This technique allows the cutter to be advanced more easily and reduces the likelihood of distorting the pipe. Next, he installs a shutoff valve at the beginning of the pump loop. Then begins rebuilding the riser.
Notice how he uses the cutter's de-burring tool to mark the pipe. Up to this point, the pipes are being dry fitted. That is, no soder. In fact, many of these joints will never see soder. Meet the Pro Press tool. This cordless cruncher with the jaws of a snapping turtle just clamps around these special fittings and in four seconds flat, compresses the fitting permanently under the pipe. This is one very cool device, but with a price tag of 1500 to 2000 dollars, it will probably remain in the pro's domain for now.
Both the pipes and pump will have to stand off the wall by several inches. To make that happen, Danny uses a drill and masonry bit to bore holes into the concrete wall —
[DRILL SOUND]
— then inserts plastic anchors and drives in a hanger base. The hanger and post are attached to the base and the pipe is secured into the mounting bracket. More press fittings — then it's time to install these flexible water lines to isolate any pump vibration.
Using two wrenches keeps the adjacent pipe and joints from being twisted. Next, additional plastic anchors are tapped in place and these pump mounting clamps attached to the wall. Once the pump itself is in position, the clamps snap together.
Some subassemblies do get sodered together. But most of the inline joints are left to Pro Press. This small pressure tape functions a bit like a shock absorber, preventing what's known as the water hammer effect. This is the pressure sensor, when it detects any drop in water pressure it immediately signals the pump to start.
And here is the brain of the system, the controller. It monitors water pressure, tells the pump when to start and stop, and how fast to run. Its microprocessor also detects malfunctions and displays error codes if there's a problem.
With the power on and everything ready to go, Greg Garcia programs the controller and runs a startup diagnostic test, using a hand held remote unit. Before firing up the booster pump, I go upstairs and conduct a water flow experiment in the shower. It takes one minute and 50 seconds to fill up a five-gallon bucket. Then, I set the pressure to 70 pounds and repeat the test.
This time, that same five-gallon bucket fills to the brim in just over a minute, almost twice as fast. I conduct a similar experiment at the kitchen sink and get just about the same results. In fact, everywhere I check, I find that wimpy water pressure is a thing of the past.
Well, there's several things that I like about this system. First of all, it's very compact, takes up virtually no floor space. It's very quiet when it operates and it allows me to actually adjust my water pressure.
Now right now, I've got it set on 70 pounds, that's twice what I had before, but if I wanted to, I could take it up as high as 100. Probably wouldn't do that very often, but if I wanted to have some high pressure water for washing the deck or the outside of the house, I might want to do that. All around, I am very happy with the system.