How to Install a Bathroom Tile Floor
Remove the Existing Outdated Vinyl and Design a New Look for Your Bathroom with Ceramic Floor Tiles
Update your bathroom with ceramic tiles. After removing the toilet, bathroom floor trim, and the old vinyl and adhesive, use a cardboard template and chalk lines to position a central design and grid for the field tile. Learn to mix and apply thin-set mortar, cut tiles to fit around walls and drains, and to grout and clean the finished floor.
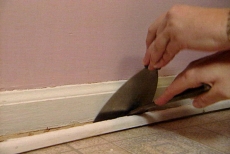
Remove Existing Vinyl Flooring, Fixtures and Trim
Remove the toilet and baseboard shoe molding. Pull up the vinyl flooring from the bathroom floor and scrape up adhesive residue.
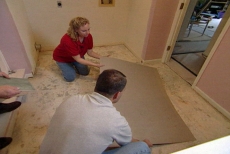
Make a Template for the Central Design
Make a cardboard template sized to match the decorative ceramic tiles for the central design or "island" of special tile. Decide where the template looks best.
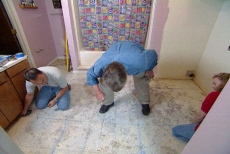
Outline the Island's Position and Mark a Grid
Mark the edges of the island template and field tile positions with chalk lines, spraying them with hair spray to preserve them while you work. Temporarily mark the edges of the center island with glued wood strips.

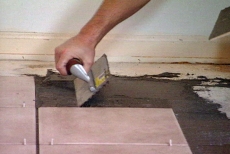
Mix and Apply Thin Set Mortar
Mix thin set mortar in a five gallon bucket using an electric drill with a mixing paddle. Apply the mortar with a notched trowel tipped up at a 45-degree angle to produce uniform rows or ridges of mortar.
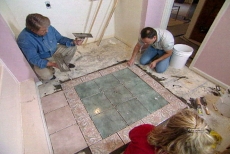
Set Ceramic Tiles in Decorative Island
Set tiles into the mortar, press down firmly using a very slight twisting motion. Use tile spacers to keep the grout lines uniform and straight. Remove wood strips.
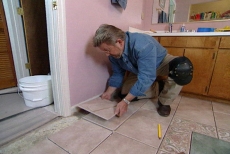
Set Full Field Tiles
Follow the same process for setting whole field tiles, working from the island outward toward the walls. Leave the tiles that require special cuts until the next step.
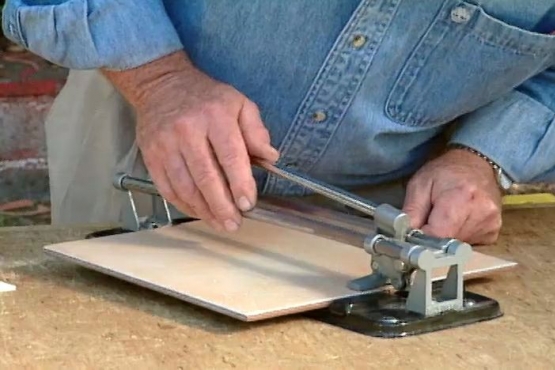
Mark and Cut Edge Tiles That Fit Against the Bathroom Walls
Use a wet saw to cut the edge tiles. Follow the video steps that demonstrate how to cut these tiles to precisely the right size.

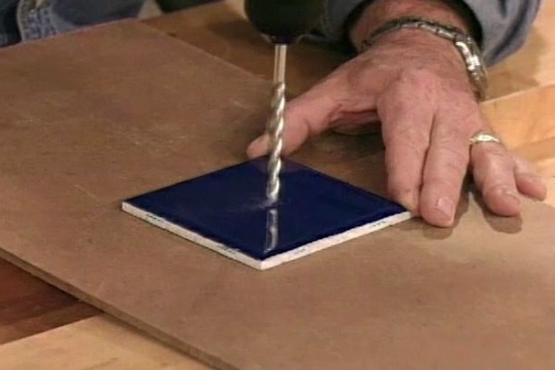
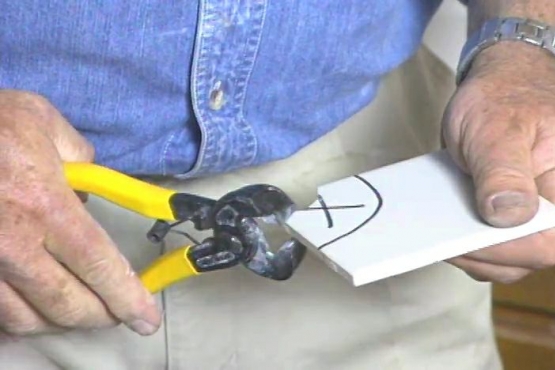
Cut Tiles to Fit Around Door Casing and Toilet Drain
Use a template gauge to transfer intricate shapes like the door casing onto the tile. Make a cardboard template for the toilet drain. Make major cuts with the tile wet saw and cut tight corners and curves with tile nippers. Cement everything in place.
Grout the Tile Joints
Mix grout. Force the grout into the joints with a rubber grout float, then tilt the float to a 45-degree angle and draw it across the tile from corner to corner to avoid scooping grout from the joints.
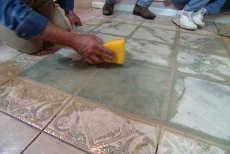
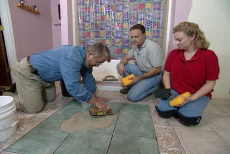
Clean off Excess Grout and Shape Joints
Let the grout dry until firm to the touch. Using a damp sponge and light to moderate pressure, smooth the joints and clean the remaining grout and haze from the face of the tile. Re-install the toilet and wall trim.
Related Tips
Blog Articles

Maximize Your Yield with DIY Netting for Strawberry Beds
Keep your strawberries safe from pests with our DIY strawberry cage netting solution. Learn how to create sturdy frames and find the best netting for your strawberry plants.

Change It Up: Swapping Out Your Light Switch Plates
Tired of boring light switch covers? Upgrade your home decor with this simple guide on replacing light switch plates and make a statement in every room.

Revamp Your Outdoor Space: How To Stencil A Concrete Patio
Learn how to create a stunning patterned concrete patio with our easy-to-follow instructions for stenciling. Upgrade your outdoor space in no time.


