How to Make Fancy Moldings and Trim
Install Additional Trim to Flat Casings to Give Depth and Detail
If your room, or even your entire house, is in need of some decorative details, consider adding some depth to your door casings and baseboards with these simple techniques. Flat casings and moldings can leave a room feeling none dimensional, but by installing shoe moldings, plinth blocks, corner blocks and other decorative details, you can pull out the full decorative potential of your home.
Measure Carefully
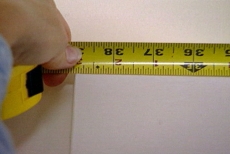
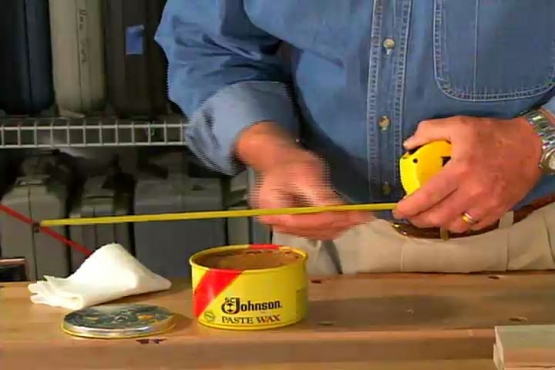
Accurate measurements are vitally important when installing molding and trim. Gaps and mis-cuts can deter from the appearance of the final product. Remember to always read the tape measure from eye level, so that you can see exactly where the true measurement begins and ends. Another key piece of advice here is to always measure/cut the pieces just a little bit long. It's a lot easier, and less expensive, to cut a little bit more off than to have to start with a whole new piece if your first cut was too short.

Cut the Mitered Joints
You may find it helpful to start your measurement from the 1" mark. The hook at the end of the tape is usually not rigid, and can fluctuate as much as 1/8" as you pull on it. Just remember to add an inch to you final measurement when you are marking the piece to be cut. The joints for this project are 90 degree miters, so each piece will be cut at a 45 degree angle. When the two 45 degree cuts are pieced together, it makes a 90 degree, square, corner.
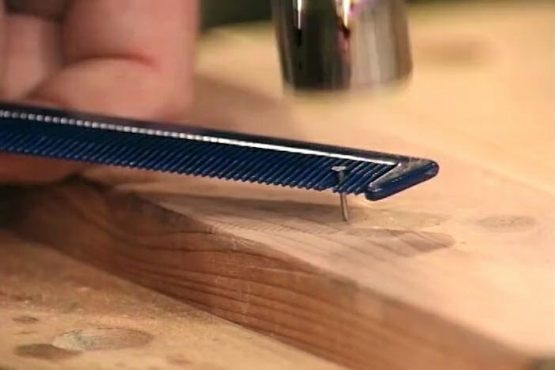
Install the Molding
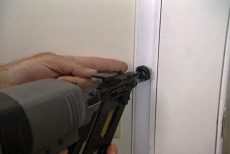
The fastest way to install trim and molding is with a nail gun. The nail gun allows you to quickly and effectively hang the trim and sink the nail heads without using a hammer. In older homes, the plaster can be brittle and using a hammer can cause the plaster to crack, crumble or fall into the wall cavity behind the trim. Make sure you wear safety goggles when using a nail gun. They have plenty of safety features, but they do create a back blast of air that can puff into your face. The goggles may help keep you from flinching.
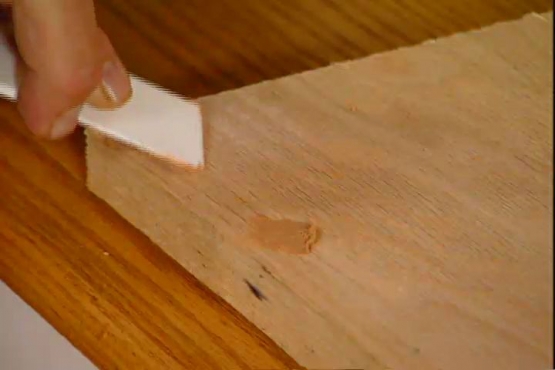
Customize Plinth and Corner Blocks
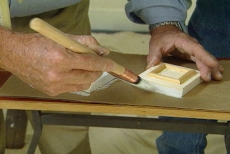
Plinth and corner blocks give the impression that your door casing is part of a decorative column. These pieces can be easily installed over your existing flat casing. This is a chance for you to really be creative, as the flat surface of the blocks that you cut can then be enhanced with other pieces of trim to create whatever appearance you want. In this case, Ron is using a half round for the corner blocks.
Install the Final Pieces of Trim
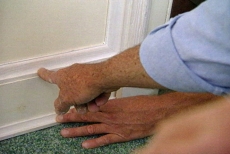
Once the corner and plinth blocks are in place, install a final, top layer of trim to tie them together. This last piece will give the multi-dimensional depth to your casing that really makes it stand out. A piece of shoe molding or quarter round along the baseboard will help tie the baseboard into the plinth block that you've nailed to the casing as well, thus leaving all of the room's trim at the same depth.
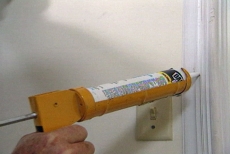
Caulk and Paint
Spend a little time with a caulk gun in your hand to fill all of the gaps and seams in your work. This step will guarantee a professional appearance. Once the caulk has dried, prime any bare wood and then coat the entire project area with a semi-gloss enamel paint. The semi-gloss will give the perfect sheen to your new trim work, and it creates a hard enough surface to help protect it from nicks and dings better than a flat paint.
Related Tips


Blog Articles

Maximize Your Yield with DIY Netting for Strawberry Beds
Keep your strawberries safe from pests with our DIY strawberry cage netting solution. Learn how to create sturdy frames and find the best netting for your strawberry plants.

Change It Up: Swapping Out Your Light Switch Plates
Tired of boring light switch covers? Upgrade your home decor with this simple guide on replacing light switch plates and make a statement in every room.

Revamp Your Outdoor Space: How To Stencil A Concrete Patio
Learn how to create a stunning patterned concrete patio with our easy-to-follow instructions for stenciling. Upgrade your outdoor space in no time.


