How to Make a Pull-Out Shelf for Pots and Pans
Learn how to build a pullout for pots and pans which maximizes storage agrea and eliminates the need to get down on the floor to access whatever is in the back.
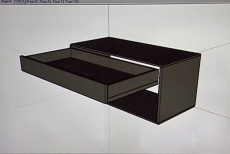
Homeowners plan to build a pullout for pots and pans beneath their kitchen cook top. The pullout will make maximum use of this storage area and eliminate the need to get down on the floor and move items at the front of the current storage to access whatever is at the back. They have designed a pullout unit with two wide slide-out trays that will fit into the available space, retaining the existing cabinet doors but removing a shelf and a supporting stile from the cabinet frame. Construction materials include poplar lumber and birch plywood.
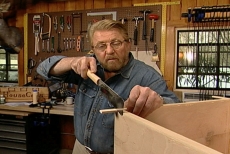
Plan Pull-out Shelves to Address Available Space and Obstacles
Design and draft a pull-out shelf plan to address available space, dimensions, materials, the supporting stile in the middle of the cabinet opening, and potential problems such as electrical wiring or gas piping beneath the cook top.
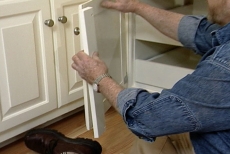
Reinforce the Cabinet Opening and Remove the Center Stile
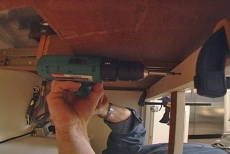
Strengthen the upper edge of the cabinet opening by screwing a one-by-two on the back of the cabinet facing before cutting out the stile. Remove the existing fixed shelves that will prevent the pull-out shelves from operating.
Purchase and Cut Poplar Lumber and Birch Plywood to Size
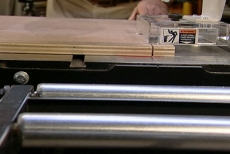
Buy poplar stock lumber and birch plywood. Use a table saw to cut the materials to the appropriate dimensions for the pullout pots and pans shelves according to your building plan and cut list.
Assemble the Open-fronted Frame/Case for the Pull-out Shelves
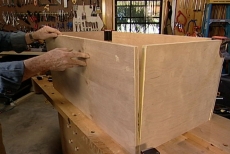
Glue the plywood panels--a bottom, top, back, and two sides--together initially into an open-fronted case to hold the pull-out shelves. Secure the panels permanently with a pneumatic nail gun.
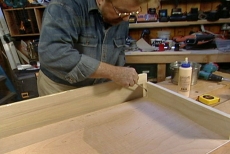
Cover the Raw Edges of the Pull-out Shelves Case
Cut and glue narrow finishing strips of solid poplar along the raw front edges of the open-fronted case for the pull-out shelves. Secure them with a pin nailer and trim any overhang from the corners with a Japanese hand saw.
Assemble the Sliding Drawers/Trays for the Pull-out Shelves
Secure the sides and back on top of the bottom panel of the drawer/tray. Mount the front flush to the tray’s forward edge overhanging about an inch on the sides to conceal the drawer glides. Reinforce with screws.
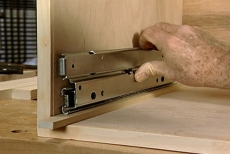
Install Both Halves of the Full-extension Drawer Glides
Position the stationary portion of the metal drawer glides to the left and right sides of the cabinet interior and secure. Mount the moving portions on the sides of the drawers. Test the sliding action of the drawers.

Position the Pull-out Shelves beneath the Cook Top
Remove the drawers temporarily and test the fit of the empty (and now lighter) case in the cavity beneath the cook top. Adjust the fit, if necessary, and reinsert the drawers that form the pull-out pots and pans shelves.
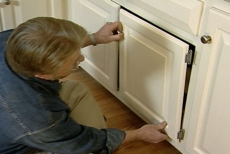
Remount the Cabinet Doors over the Pull-out Shelves
Reinstall the hinges and screws removed at the beginning of the project and remount the cabinet doors. The pull-out shelves will remain hidden until you need your pots and pans.
Attach a Replacement Stile to the Cabinet Door
Cut and paint a one-by-three the same length as the cabinet doors. Mount it with countersunk screws to the back of one door. It will fill the gap left by the stile removed earlier for the pull-out shelves project.
Related Tips


Blog Articles

Maximize Your Yield with DIY Netting for Strawberry Beds
Keep your strawberries safe from pests with our DIY strawberry cage netting solution. Learn how to create sturdy frames and find the best netting for your strawberry plants.

Change It Up: Swapping Out Your Light Switch Plates
Tired of boring light switch covers? Upgrade your home decor with this simple guide on replacing light switch plates and make a statement in every room.

Revamp Your Outdoor Space: How To Stencil A Concrete Patio
Learn how to create a stunning patterned concrete patio with our easy-to-follow instructions for stenciling. Upgrade your outdoor space in no time.


