How to Replace a Kitchen Faucet
Learn how to replace a kitchen faucet and install shut-off valves beneath the kitchen sink.
As part of a larger kitchen renovation project, a homeowner wants to start with the simple replacement of the kitchen faucet with a new model that he has already purchased. The original faucet is a single tap and lever model. As part of the faucet retrofit, we install shut-off valves and then update with a single tap and individual water valves.
To view a video showing how a compression fitting works cllick here.
Shut off the Water Supply Lines to the Kitchen Faucet
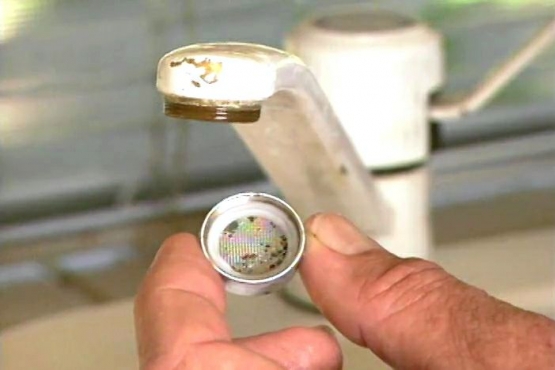
Turn off the hot and cold water supply to the kitchen faucet--we found the shutoff valves that controlled the first floor in the basement. Open the kitchen faucet to bleed off the water and any remaining water pressure.
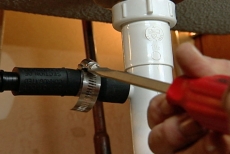
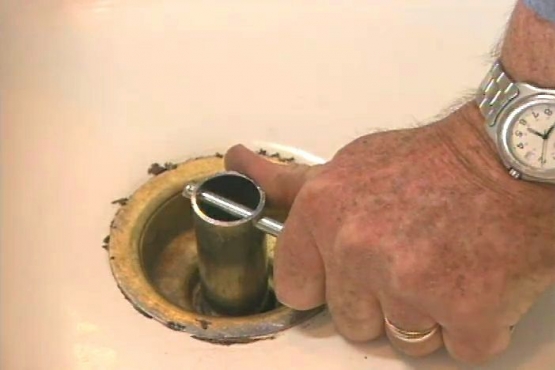
Remove the PVC Plumbing and Hoses below the Kitchen Sink
Remove the sink drain, starting with the dish washer hose and PVC plastic plumbing to provide more room and easier access. Removal is simple and reinstallation will be, too.
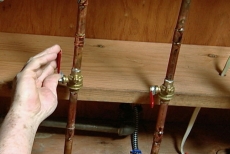
Detach the Copper Water Lines beneath the Sink
Cut the copper water lines with a pipe cutter to detach the lines from the faucet. You will install new shutoff valves beneath the sink so the water supply can be shut off without disturbing the rest of the house.
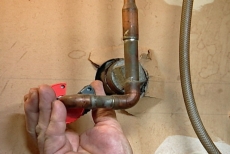
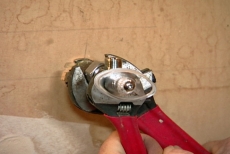
Loosen and Remove the Old Kitchen Faucet and Water Lines
Use a basin wrench to loosen cut water lines from the faucet and loosen the retaining nut that holds the faucet base. Lift out the old kitchen faucet and remove the old plumbers putty without scratching the stainless steel sink.
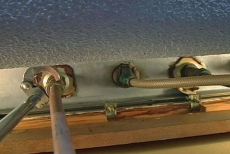
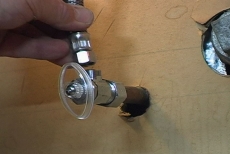
Install New Shutoff Valves below the Kitchen Faucet
Install new shutoff valves on the incoming water lines below the sink. Slip the valves over the ends of the copper pipes and tighten the compression fitting with two wrenches to avoid spinning the fitting and twisting the pipe.
Mount the New Kitchen Faucet on the Sink
Place a rubber O-ring on the new kitchen faucet base and insert it into the precut hole in the sink. Secure the mounting plate beneath the sink and secure it with a retaining nut and the plastic socket provided.
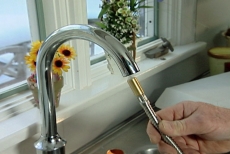
Insert the Spray Nozzle Hose into the Kitchen Faucet
Insert the spray nozzle hose into the end of the faucet, pushing it through and out the bottom. Push the hose all the way through and out the bottom side of the faucet base.
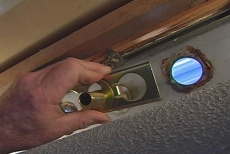
Apply Plumber's Putty
Apply plumbers putty to water valve bases. Insert the valves upwards through the sink, add C-rings, and hand-tighten the nuts beneath. Finish with the basin wrench. Clip on the hose that connects the valves to the faucets.
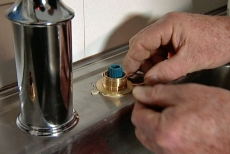
Connect the New Kitchen Faucet to the Water Lines
Connect the new water supply lines to the kitchen faucet and new shutoff valves. Screw the valve handles and trim on top of the valve bodies. Install the pump housing and pump for the liquid soap dispenser.

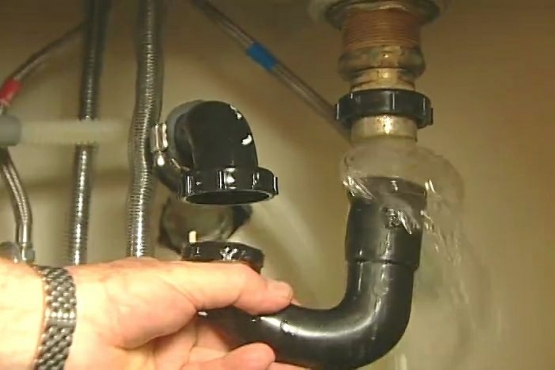
Reinstall the Plumbing beneath the Sink and Leak Test
Replace the drain plumbing beneath the sink, including the P-trap assembly and the dish washer hose. Lay paper towels on the bottom of the cabinet to test for leaks before you turn on the water at the shutoff valves.
Related Tips
Blog Articles

Maximize Your Yield with DIY Netting for Strawberry Beds
Keep your strawberries safe from pests with our DIY strawberry cage netting solution. Learn how to create sturdy frames and find the best netting for your strawberry plants.

Change It Up: Swapping Out Your Light Switch Plates
Tired of boring light switch covers? Upgrade your home decor with this simple guide on replacing light switch plates and make a statement in every room.

Revamp Your Outdoor Space: How To Stencil A Concrete Patio
Learn how to create a stunning patterned concrete patio with our easy-to-follow instructions for stenciling. Upgrade your outdoor space in no time.


