Ron:
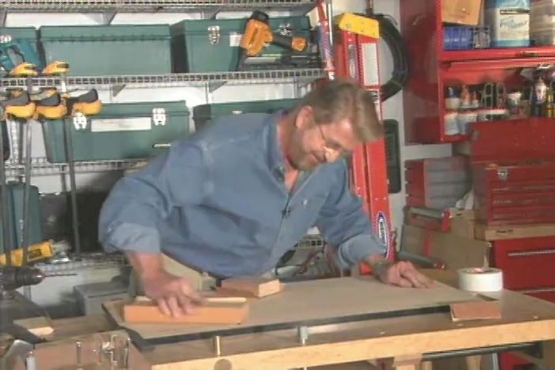
You know, there’s a lot of great unfinished furniture out there these days, as a matter of fact, I got this chair on the internet. Now, the only thing is when you buy a piece of unfinished furniture, you’ve got to finish it. So today, we’re going to finish this chair. The process is pretty much the same as it would be if it were a stripped piece of furniture. And I’m going to begin by doing something that might sound a little unusual – I’m going to give this chair a bath.
Now this is hot water, and this is a clean sponge. When I put this water on the wooden chair, the wood fibers are going to swell up and stand up something like whiskers. Then, when we sand the chair, we’re going to cut those off very cleanly. The second reason for wetting this wood is that it will allow the stain to penetrate more evenly by sort of opening the pores of the wood. Now, as the chair begins to dry, you can see some of these wood fibers sticking up right here. Those are the ones we’re going to be cutting off as we start sanding.
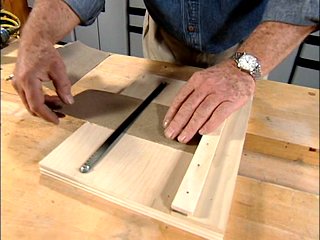
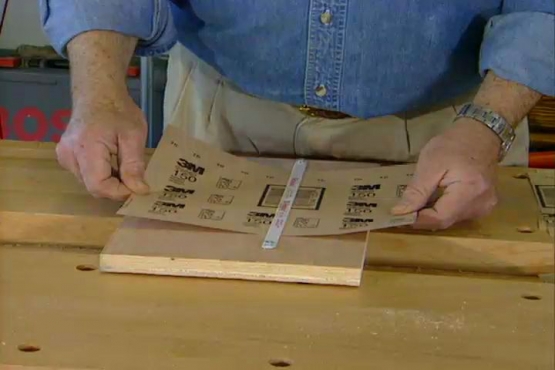
For the flat parts like the chair seat right here and the edge, I’m using sand paper. This is 220 grit paper. Notice I’m always sanding with the grain. Going across the grain would create some scratches that would really show up, when we started to put the stain on here. Now for the turnings, the spindles, the legs and the stretchers, I’m using this material. It’s kind of a plastic steel wool. Now however, even that won’t get into these tiny details right here on the legs. So for that, I’m going to take some jute twine, actually going to wrap it around here like this …
RON -- VO:
AS THE TWINE IS PULLED BACK AND FORTH, THE COARSE OUTER SURFACE SMOOTHS OUT THE GROOVES.
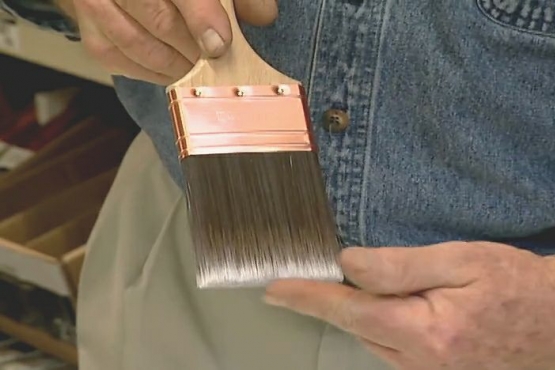
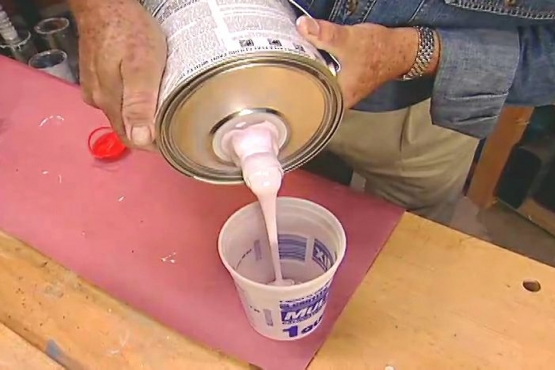
Well, it’s time to stain. Before we put this on for real, I’m going to do a test. This is always important, because each piece of wood accepts stain differently. So we’re going to do our test right on the bottom of the chair. Now I’ve mixed together two colors that I think I’m going to like, one’s darker, one’s sort of a medium brown. Into a third container. Stirred these together. And we’ll take a brush now. We’ll let this sit for just a few minutes. And then I’m going to wipe off the excess. And that’s pretty much what we’re going to end up with right there, and I think that’s going to be just fine.
Well, we’ve let the stain dry for several hours. Things are looking pretty good here, but I’ve got a little bit of a problem. You notice down here in the leg the color is sort of blotchy, darker in some spots, lighter in others? Well that often happens when you stain furniture. So what we’re going to do now is make up a little toner, to sort of even out this color. And to do that, we’re going to use some shellac, this is orange shellac. These are called tinting concentrates or tinting colors; I’m going to use two of them. This one is raw umber, this one is burnt sienna. You know what, before I put these in here, let’s just take our brush, and on this piece of scrap wood right here, I’m just going to paint a little bit of this.
See, the natural color of shellac is kind of yellow, anyway. That’s going to impart a little bit of color just in itself. Now, to that yellow shellac we’re going to add a little bit of raw umber, which is a dark almost black color, and a little bit of burnt sienna, which is much more of a red, sort of a red brown. Now we’ll just stir this up, want to get those pigments well mixed here.
Well, I finally got the color that I wanted for this toner, after a little bit of experimentation. And so what I’m able to do now is blend in some of these light spots and dark spots, give this a more uniform look. And also, this is shellac, so it’s also going to act as a sealer on here, seal in all the color, and set us up for the next step in this finishing process.
After our shellac-based toner has dried, I give the chair a light sanding, and remove the dust with a tack cloth.
The purpose of a clear finish – we’re using a polyurethane varnish today – is to protect everything else that’s underneath. In this case, the stain and our color coat, our toner that we put on there. But also, to add some sheen. Now, I’m going to let this dry overnight.
Well, it’s been about twenty-four hours, our finish is thoroughly dry. Now we’re going to go over it with some steel wool. Very, very fine, four O’s steel wool. 0000. And we’re going to dip this pad into some paste wax, which is a furniture paste wax like this. The wax kind of acts like a lubricant for the steel wool, which will sort of smooth off the finish here, removing any particles that might have gotten stuck here while the finish was drying. Once we’ve gotten this applied, go back over it with a clean dry cotton cloth like this one.
Now isn’t that a beauty? What I like about the steel wool and wax is that it does impart a very beautiful satin sheen. But almost more important to me is the way it makes the wood feel: smooth as silk.