How to Hang Pictures So They Won’t Tip
How to Hang a Picture Level and Exactly Where You Want It
If you're fed up with pictures that hang askew at odd angles, well, here's my technique for hanging pictures level, so they'll stay level.
Begin by holding the picture where you want it to hang and make a small pencil mark along the top of the frame at the center. Spread your thumb and forefinger until they're five inches apart, then hook them under the hanging cable on the back side of the artwork. Pull up until the cable is taut.
Then measure the distance from the cable to the top edge of the frame. Now, measure down from the original mark on the wall the same distance, in this case, about two and a quarter inches, and make a second mark. This is where the cable will touch the wall behind the picture.
Using a level, draw a line from this mark, about three inches to either side of the center. Then measure from your center mark, two-and-a-half inches to the left......and two-and-a-half inches to the right.
Align the bottom of a picture hanger (not the nail that holds the hanger) with each of these two marks, and secure each of them to the wall.
If you want to make doubly sure that your pictures won't budge, try adding small, rubberized bumper stickers to the bottom corners.
The double-hanger approach that will keep your picture from getting out of kilter.
Careful measurements and two hooks... enough to keep your pictures right where you want them -- on the level.
Blog Articles
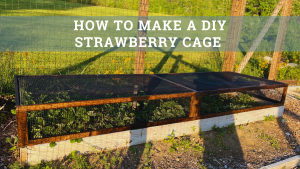
Maximize Your Yield with DIY Netting for Strawberry Beds
Keep your strawberries safe from pests with our DIY strawberry cage netting solution. Learn how to create sturdy frames and find the best netting for your strawberry plants.
Change It Up: Swapping Out Your Light Switch Plates
Tired of boring light switch covers? Upgrade your home decor with this simple guide on replacing light switch plates and make a statement in every room.
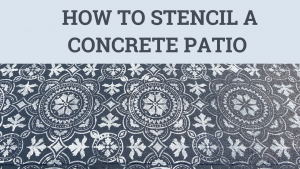
Revamp Your Outdoor Space: How To Stencil A Concrete Patio
Learn how to create a stunning patterned concrete patio with our easy-to-follow instructions for stenciling. Upgrade your outdoor space in no time.


