How to Make a Tape Storage Rack
7 Easy Steps for Making a Tape Storage Rack That Keeps Tapes Organized, Visible and Accessible
If you’re like me, you have several different tapes around your house. There’s masking tape, duct tape, painters tape, electrical tape; different tapes for different jobs and those tapes all have varying widths and diameters. The problem is trying to keep those rolls organized and in one location for easy access. Here, I’ll provide you with 7 straightforward steps to create a custom-built tape rack.
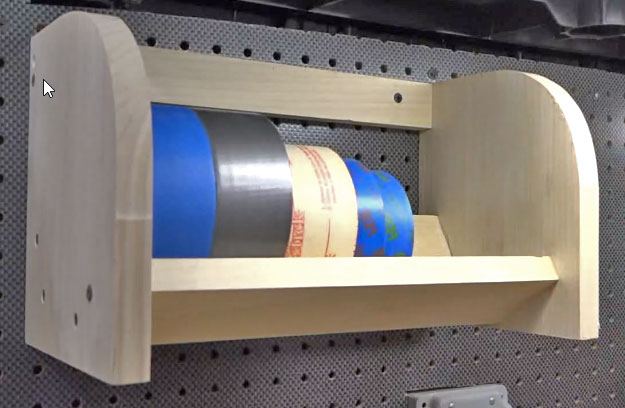
 This rack will accommodate all my various rolls and will keep my tapes visible and organized making it easy for me to pick out the exact one I need for a particular project.
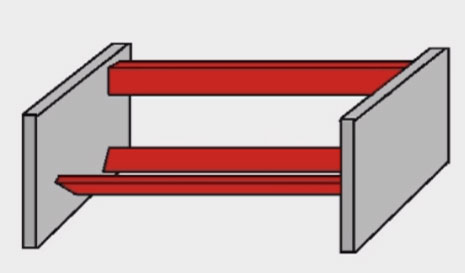
I’ve designed this storage rack with two ends and three rails. The two rails near the bottom will hold the tape, while the one at the top will allow the rack to be mounted to a wall or tool board.
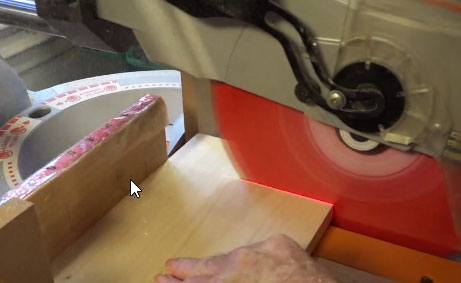 |
1. Cut ends to size. Make sure the size of your rack will fit the space available for it and that it will accommodate the largest of your tape rolls. |
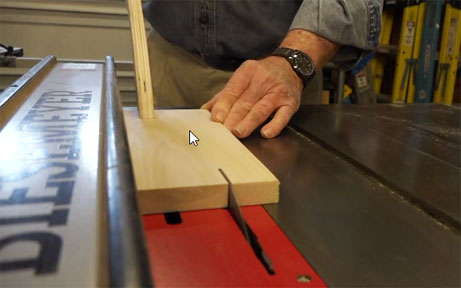 |
2. Rip the rails to width and cut to length. Think about how long the rack should be. How many of rolls of tape do you plan on storing? Be sure to leave a little extra room for additional purchases. |
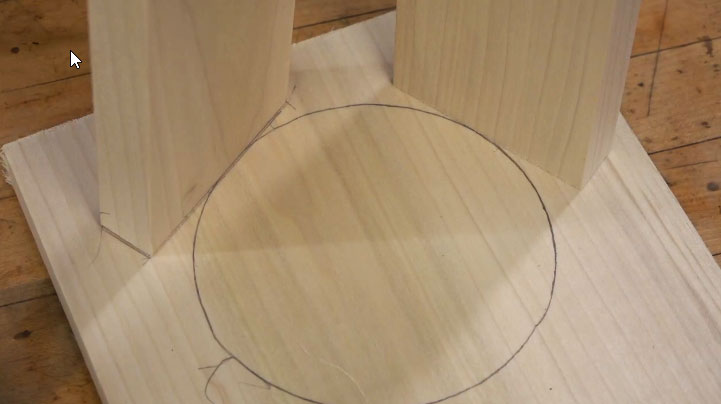 |
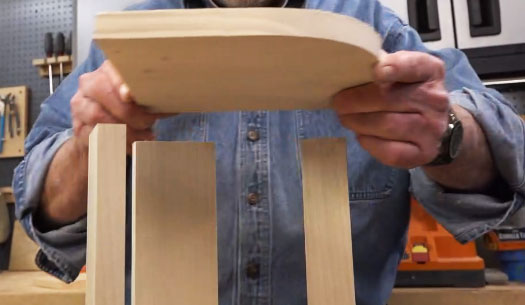
3. Determine the rail positions. Use the largest roll of tape as a template and outline it on one end of the rack. |
 |
4. Tape the two ends together and drill clearance holes. This ensures your ends will line up perfectly with the rails. NOTE: I’ve modified my design a bit to include a radius at the front. This eliminates any sharp edges and makes the rack more aesthetically pleasing. |
 |
5. Assemble the ends and rails. I used hot melt glue to temporarily hold the parts together until the screws are driven in. |
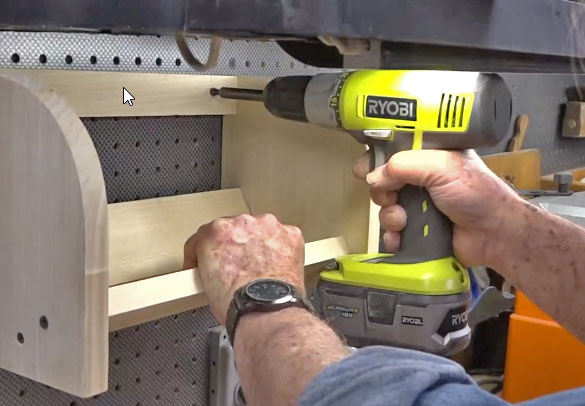 |
6. Mount the tape rack. Find a location that is convenient, up and out of the way, yet visible. I’ve drilled holes in the mounting rail that line up with the holes in the pegboard beneath my wall cabinets. |
 |
7. Watch the video. View the video for complete instructions and building tips. |
Recommended Articles
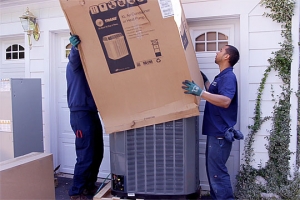
The How’s and Why’s of Upgrading a Central AC System
A step-by-step video demonstration showing removal and replacement of a central air conditioning system. Includes advantages of new, state-of the-art AC systems.
If You’ve Got a Project That Involves Demolition, You’ll Want to Know About This Tool.
I try out a new tool designed and engineered to do one task exceptionally well -- demolition.