A Better Solution For Drawer Liners that Stay Put
A Better Solution For DIY Drawer Liners that Stay Put & Keep Loose Items From Shifting
Here’s an alternative to standard drawer shelf liners that will solve items moving within your drawers.
If the items inside your drawers are rattling and sliding, it’s time to actually solve the problem. Rustling within your drawers can be loud and irritating. When you open or close your drawer, the contents shift. Not only does this lead to disorganization, but it is downright annoying.
You may 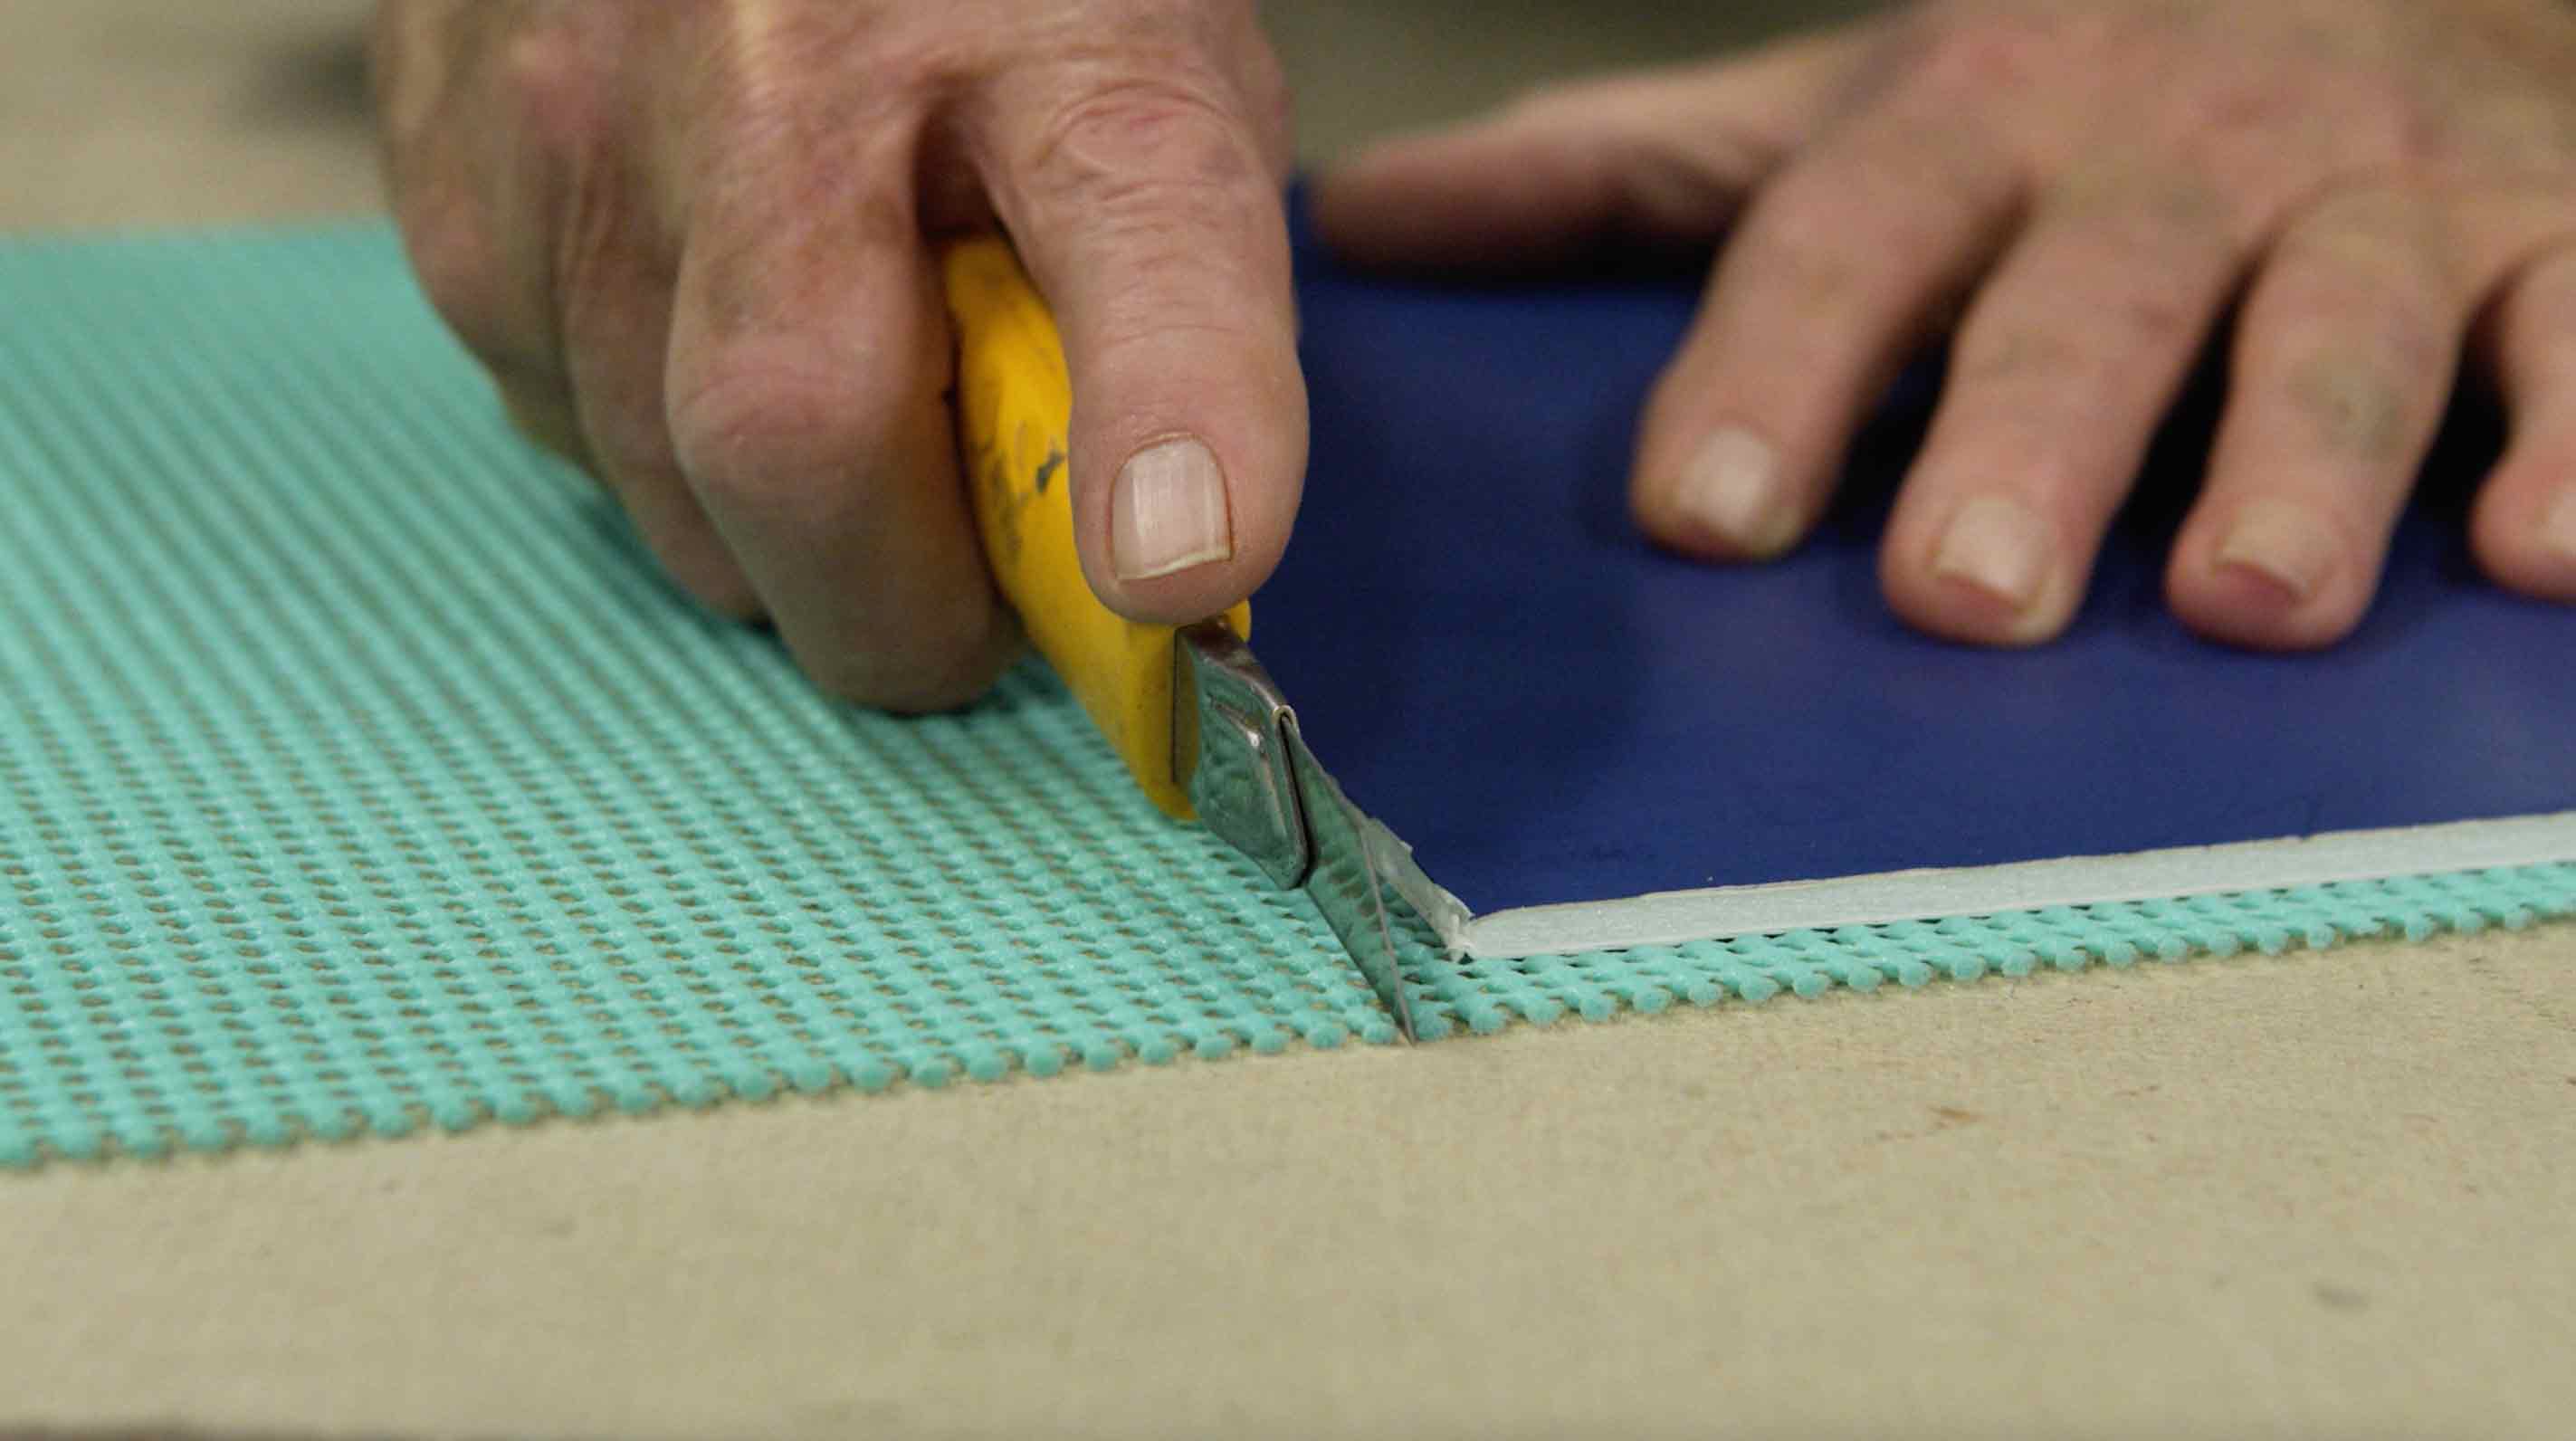 have seen standard drawer liner material that looks a little like non-slip rug underlay. It might serve the purpose temporarily by dampening the noise. But, soon enough it becomes wrinkled and thus defeats its purpose. They have a tendency to bunch up and move whenever you open or close the drawers. Not only are these spongy liners inefficient, but they have little spaces or holes in them which attract dust, crumbs, and dirt. In addition to being almost impossible to clean, they also have a tendency to stick to the underside of things as you take them out of the drawer.
Another type that you may have seen is self-adhesive liners. But, these are painful to remove, leaving residue behind and damaging your drawers in the process. They also don’t help much in the way of dampening noise or preventing items from shifting.
If the image that comes to mind when you think of a drawer liner is vinyl, wrinkled, or possibly self-adhesive, then it’s time to get updated to something that actually works. In my video and post, I’ll show you how to make your own drawer liner that will stay put and keep your things from inside the drawer shifting around. I’ll show you step-by-step how easy it is to make this yourself and actually solve this problem. Plus, your drawer liner will remain wrinkle-free and be easy to clean.
This type of drawer liner is worth it because it will be long-lasting and actually solve the problem. The liner helps keep the drawer surface in great condition and also prevents any damage from any sharp cooking utensils that can damage the bottom of the drawer.
MEASURING YOUR DRAWER
The first step is to measure the inside dimensions of the drawer. You’ll want to measure the width (side to side) and length (front to back) to ensure an accurate measurement.
USING A FOAM CORE
Then, transfer those measurements to a piece of foam core or poster board.
When cutting foam core or poster board, place it on top of a piece of corrugated cardboard or fiberboard. This keeps the knife sharp when it cuts through this material. You want to make sure you are using a sharp blade and take two or three passes so you get the ultimate smooth, clean cut.
When I’m finished cutting, I do a test fit.
DRAWER LINER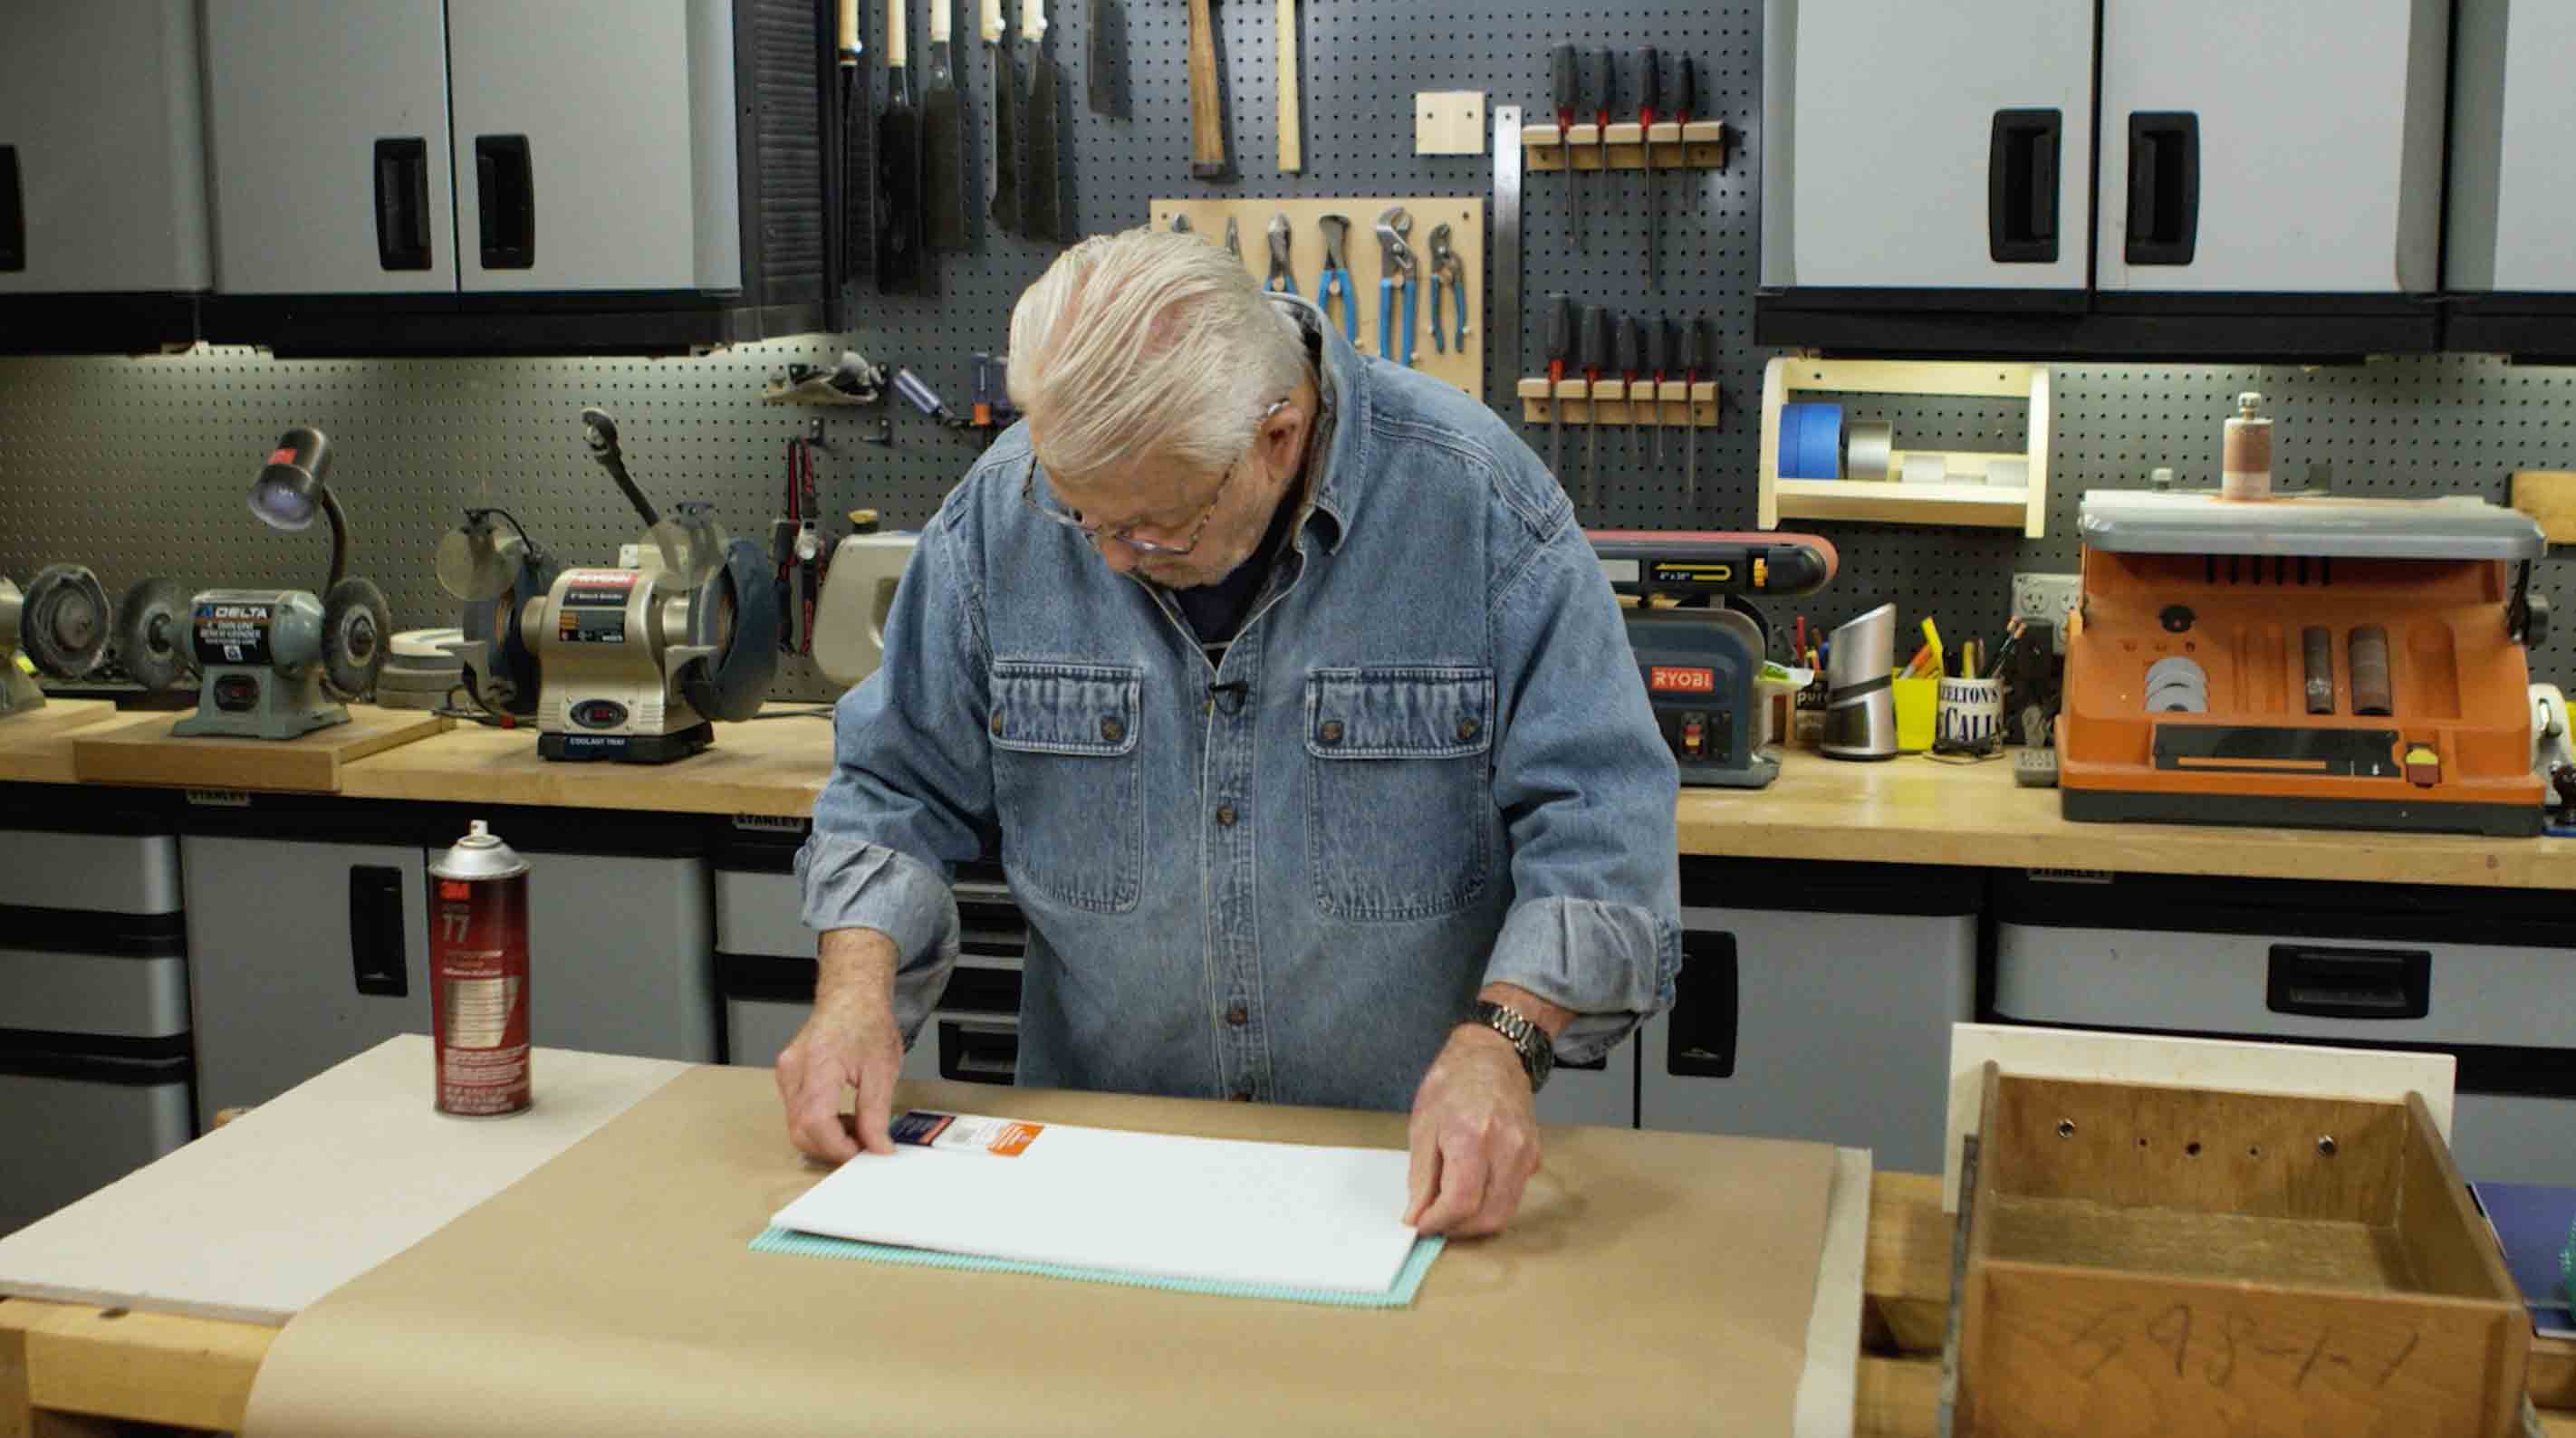
This drawer liner comes in a wide range of colors. You can go with a neutral to “hide” it or choose a bold color to make a statement.
I roll out a section and place the foam core on top. Then, using a utility knife again, cut the liner slightly wider and longer than the board.
The next step is to glue the liner to the foam core or poster board. The best method is to use a spray adhesive. To reduce the mess, I recommend coverling the work surface with Kraft paper or newspaper.
If you’ve never used spray adhesive before, it is best to hold the can about ten to twelve inches from the surface and keep it in motion, sweeping side to side continuously.
Give the adhesive a minute to get tacky and then lay the foam core or poster board on top and press down firmly. Using my sharp utility knife again, I carefully trim off the excess material.
Now you are almost done. Simply drop your new board and liner into your drawer.
The fit should be snug and when you put items on it, you’ll see that they will not shift and rattle around.
ADDING A PULL TAB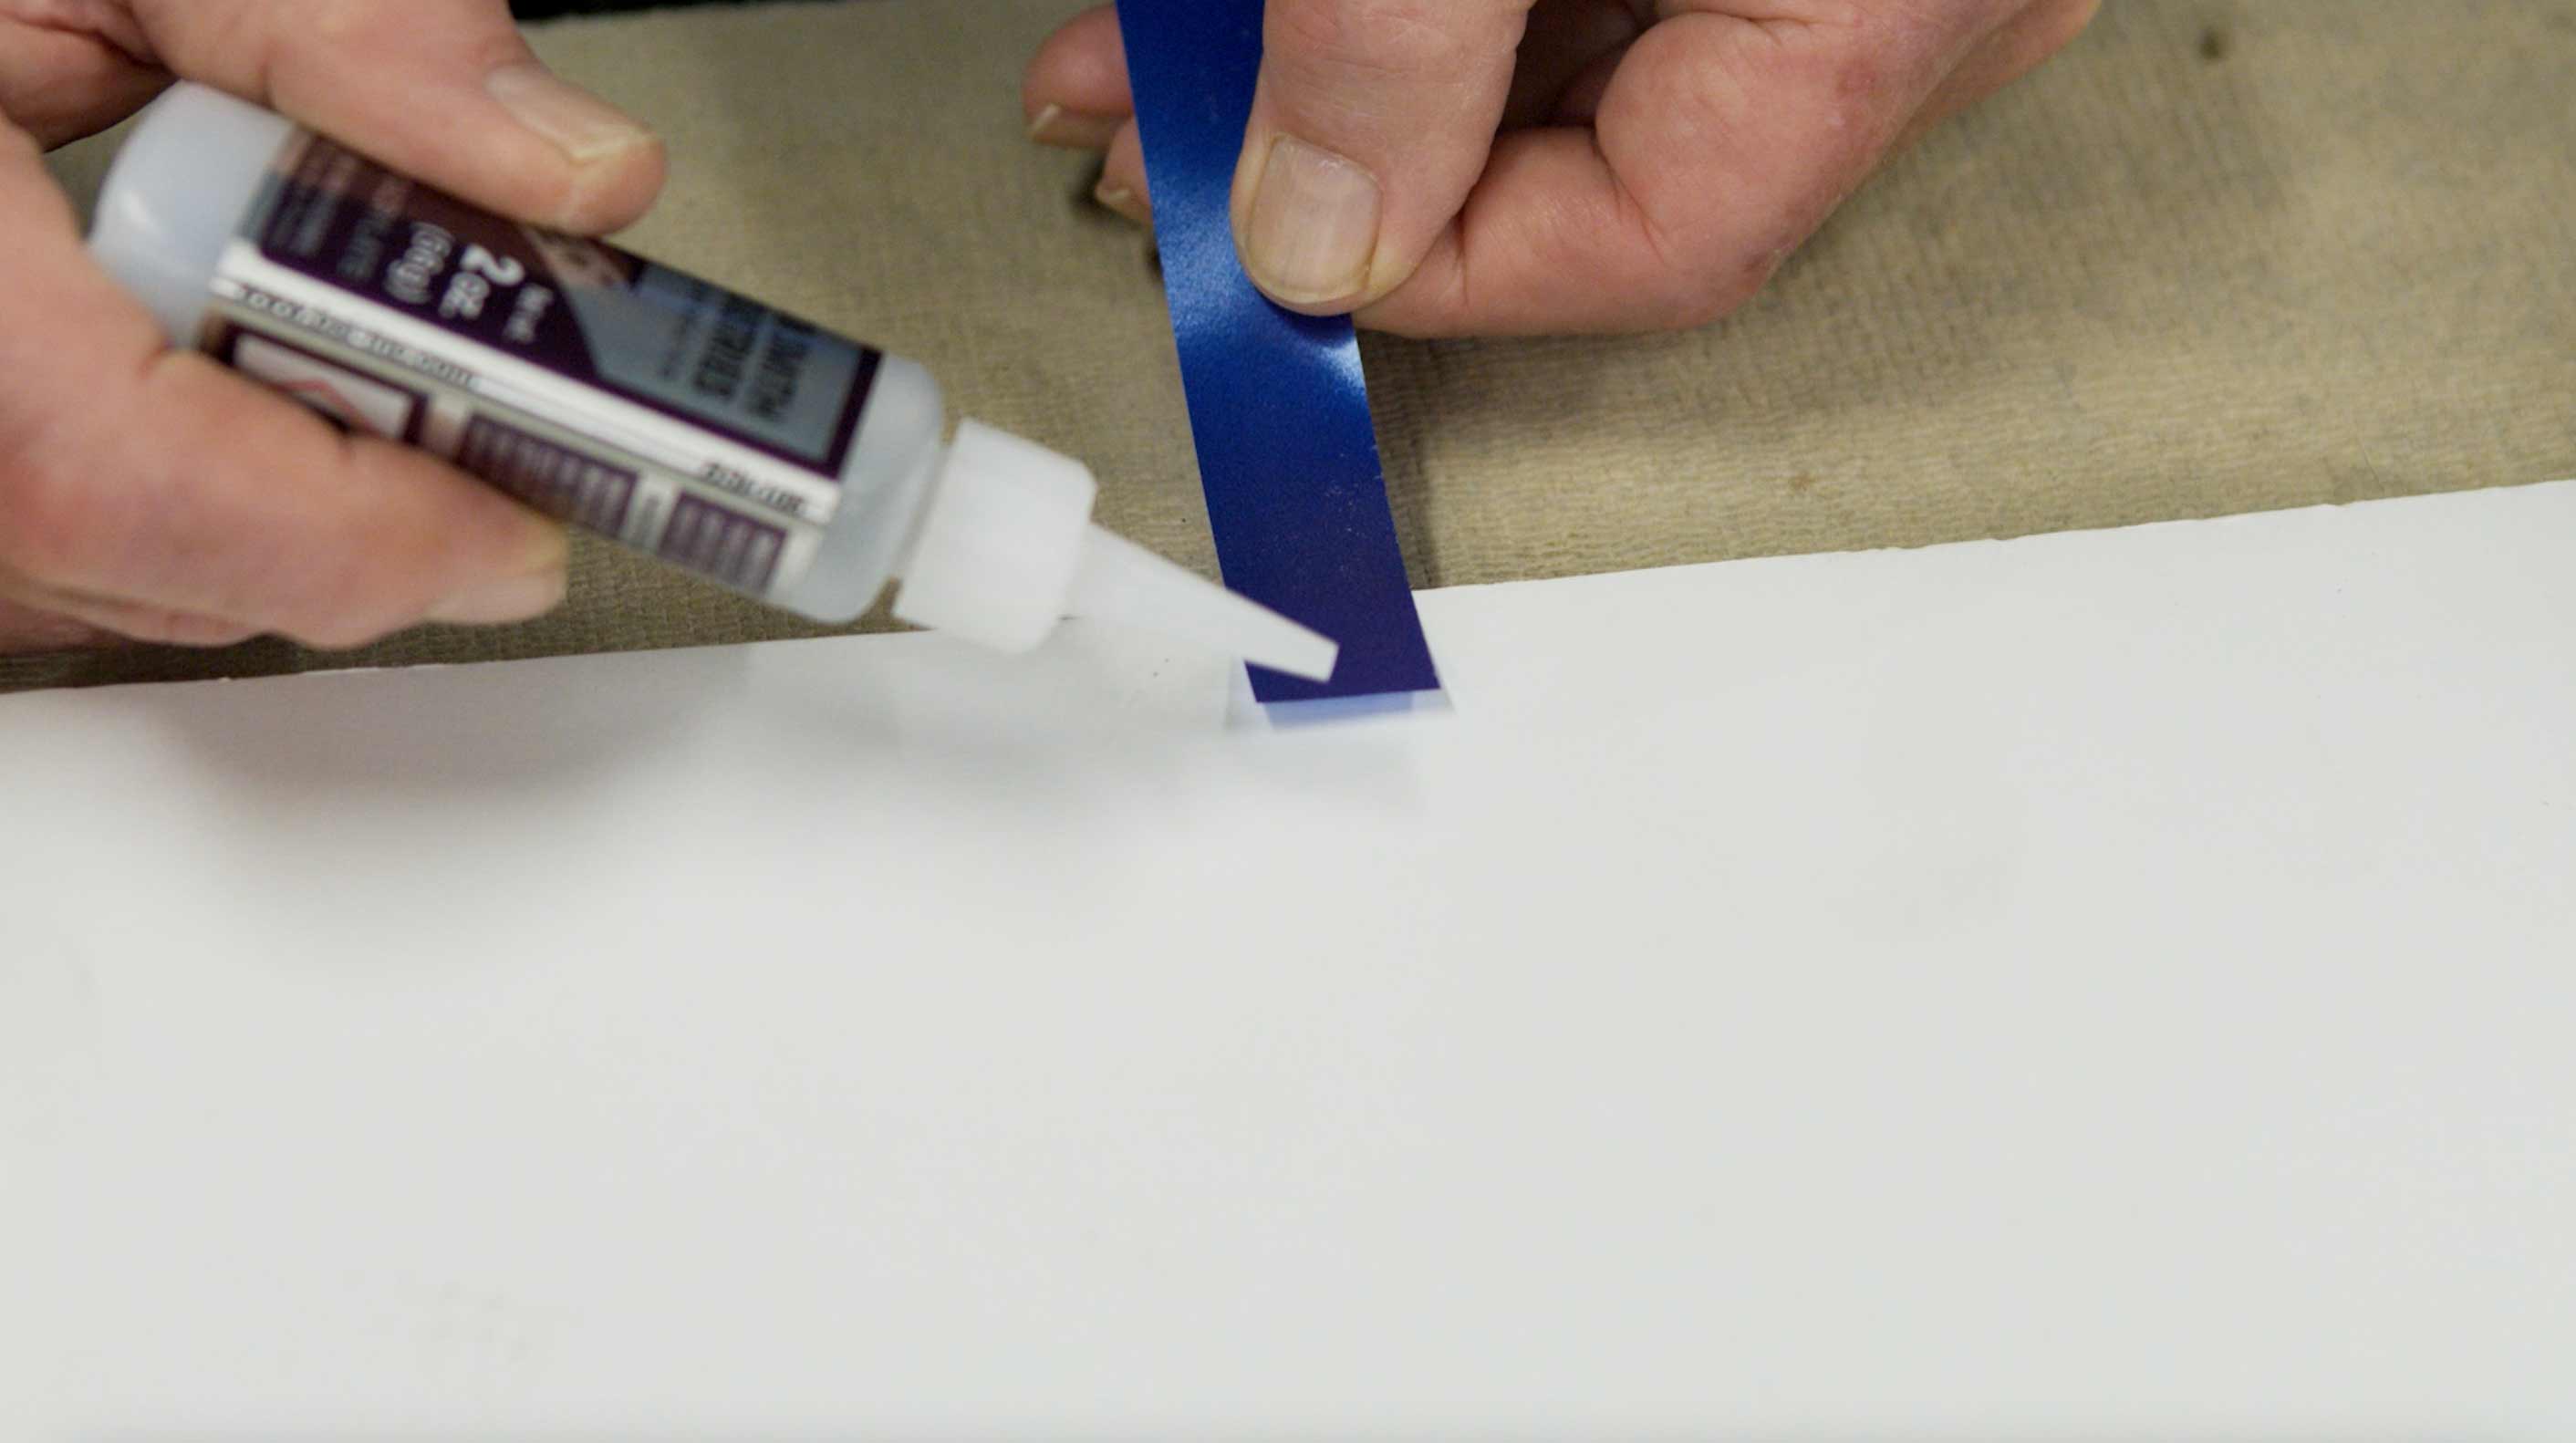
I encourage you to add pulls to these drawer liners because while it is great that they fit snugly if you want to remove it to clean this will give you an easy way to do that.
I use a ribbon to make a pull tab.
On the back of the foam core, put a small amount of Cyanoacrylate or CA glue. Use a putty knife, to press the ribbon in place, instead of your fingers to avoid getting the glue on your fingers. This glue has a strong bond and dries fast. If you want it to dry even faster, you can spray an accelerator to speed up the dry time.
Next, fold the ribbon over and glue the opposite end. Use your utility knife to cut off the excess ribbon.
Now the drawer bottom is easy to remove by simply pulling up the tab upward.
Say goodbye to loud rattling every time you open or close your drawers. This solution is easy to do yourself and will keep your items from shifting within the drawer. Not only will this drawer liner solution keep your items in place, but the liner also won't bunch up, it will be easy to remove to clean, and it will last a long time.
If you are truly inspired to add even more organization around your house, consider making your own drawer dividers.
Recommended Articles
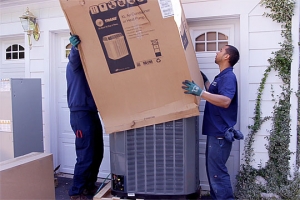
The How’s and Why’s of Upgrading a Central AC System
A step-by-step video demonstration showing removal and replacement of a central air conditioning system. Includes advantages of new, state-of the-art AC systems.
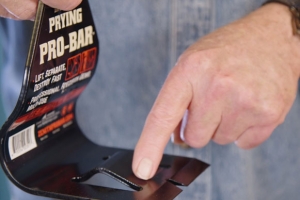
If You’ve Got a Project That Involves Demolition, You’ll Want to Know About This Tool.
I try out a new tool designed and engineered to do one task exceptionally well -- demolition.