Create a DIY Faux Stone Accent Wall
This post is in partnership with Decorative Ceiling Tile. The opinions and recommendations are my own.
For more information on the Faux Stone Accent Wall featured in this video CLICK HERE.
How To Create a Faux Stone Accent Wall Easily
A faux stone accent wall, or feature wall, is a trendy way to give your room a decorative flair. It provides texture, depth, and a beautiful focal point for your space. With this project, you can mimic the look of a traditional stone wall with a fraction of the effort and cost.
There are a variety 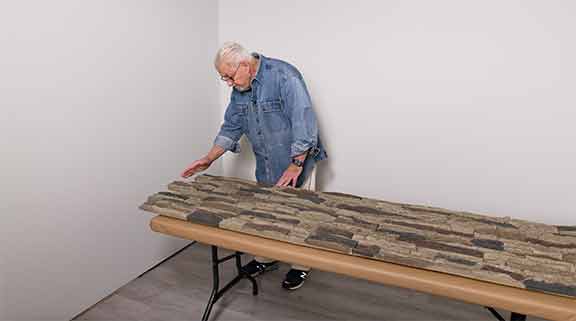 of ways to tackle this type of project, ranging from layering your wall with a cement board, to using mortar, etc. My approach uses extraordinarily realistic polyurethane panels that look just like stone but don’t require all the materials and labor.
Each panel is a precise duplicate of individually selected real stones which are hand-stained by artisans to ensure the panels look indistinguishable from the real thing. This material makes it very easy to do this project yourself. It’s a shortcut worth doing for a statement wall that will get everyone’s attention.
In this video, you’ll see how you can create a DIY faux stone accent wall just like mine and hear my installation tips to help you along the way.
Before You Begin:
- Measuring your space and determining how much material you need can be a challenge. A wall tile project calculator like this one can be a great place to start.
- Once you have all of your faux stone accent wall panels, bring them into the room where they will be installed about 24 hours ahead of time because it is important to acclimate them to the temperature and humidity of the space where they will be installed.
- Store them flat as opposed to putting them up on edge.
- Prepare yourself for some prep work ahead of installation. This groundwork will save you from a headache if you skip ahead.
- Because of the interlocking design of the panels, you’ll need to trim the ends on the panels that will be against your walls.
- Check for the evenness of your floor. Even the slightest slope may mean that the pieces won’t interlock properly. This can all be solved by making a few adjustments before you begin the installation.
How To Prepare the Faux Stone Material to Fit
These panels are designed to be interlocking. Because of this design, you will notice a staggered end if you’re lining it up with a straight edge, just as I did in my pr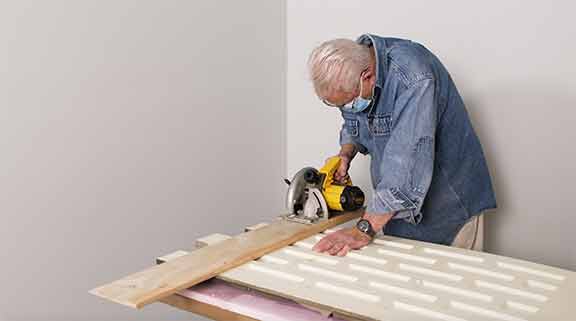 oject. So, how do you do that? You’ll need to cut the end off with a circular saw while supporting the piece with a scrap piece of rigid foam insulation. This will allow me to cut completely through the panel while it’s entirely supported. After you make your mark, secure a saw cutting guide with screws, and with a circular saw make the cut. The panel will then fit snugly into the corner.
Like many homes, you may encounter an uneven floor. In my room, the floor was not level by nearly 2 1/2" over the length of the wall and that can make the interlocking joints fit improperly. If your room is not level either, you’ll need to make an adjustment on the first row of panels.
To do this, I projected a level line on the wall using a laser level. Then placed the first panel on the floor and compared the top edge of the panel with the level laser line. In my case, the panel was almost three-quarters of an inch higher than the level line on the right end. To correct this, I set my cutting guide to remove zero off the left end of the bottom edge and three-quarters of an inch off the right end, making, in effect, a tapered cut. The top edge of the panel was now aligned with the laser level line.
How To Install Faux Stone Around Electrical Outlets
There’s a good chance that your wall will have an electrical outlet. Anticipating this, the makers of this kit provide you with electrical housing. You’ll need to measure the exact opening of your electrical outlet and then use the housing as a guide to cut the opening.
To do this, first, turn off the power at the circuit breaker. Then locate the exact position of the opening relative to the panel. Remove the outlet cover, unscrew the receptacle, and disconnect the wires so that you can measure the distance from the edges of the electrical box, then transfer those measurements to the panel.
The next step is to use the housing as a template and draw the outline of the housing on the panel. Then, using a drill and jigsaw, you can cut out the opening for the electrical outlet.
 How to Attach the Faux Stone Panel To Your Wall
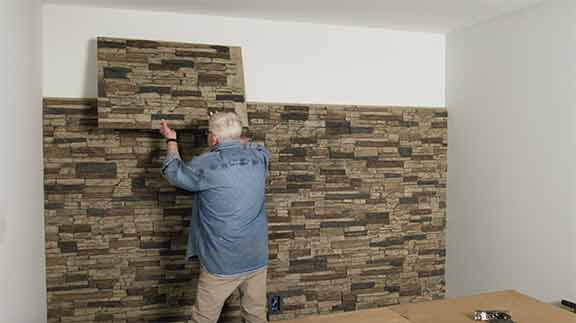
Apply high-quality construction adhesive in long straight beads on the backside of the panel and set the first panel in position. Then, use a finish nail gun to hold the panel in place while the adhesive sets. Repeat the process until you have completed each row.
Some Tips Worth Noting:
To avoid a straight seam that goes from the floor to the ceiling, cut the end panel of the second row shorter than the one below. This way, the joints between the panels will be staggered for a more natural look.
As you are installing the panels, a sanding block or a plane can be useful when removing small amounts of material, ensuring a tight, precise fit.
Use wood filler to fill any visible nail holes. And using touch-up paint, provided by the manufacturer, blend in the color.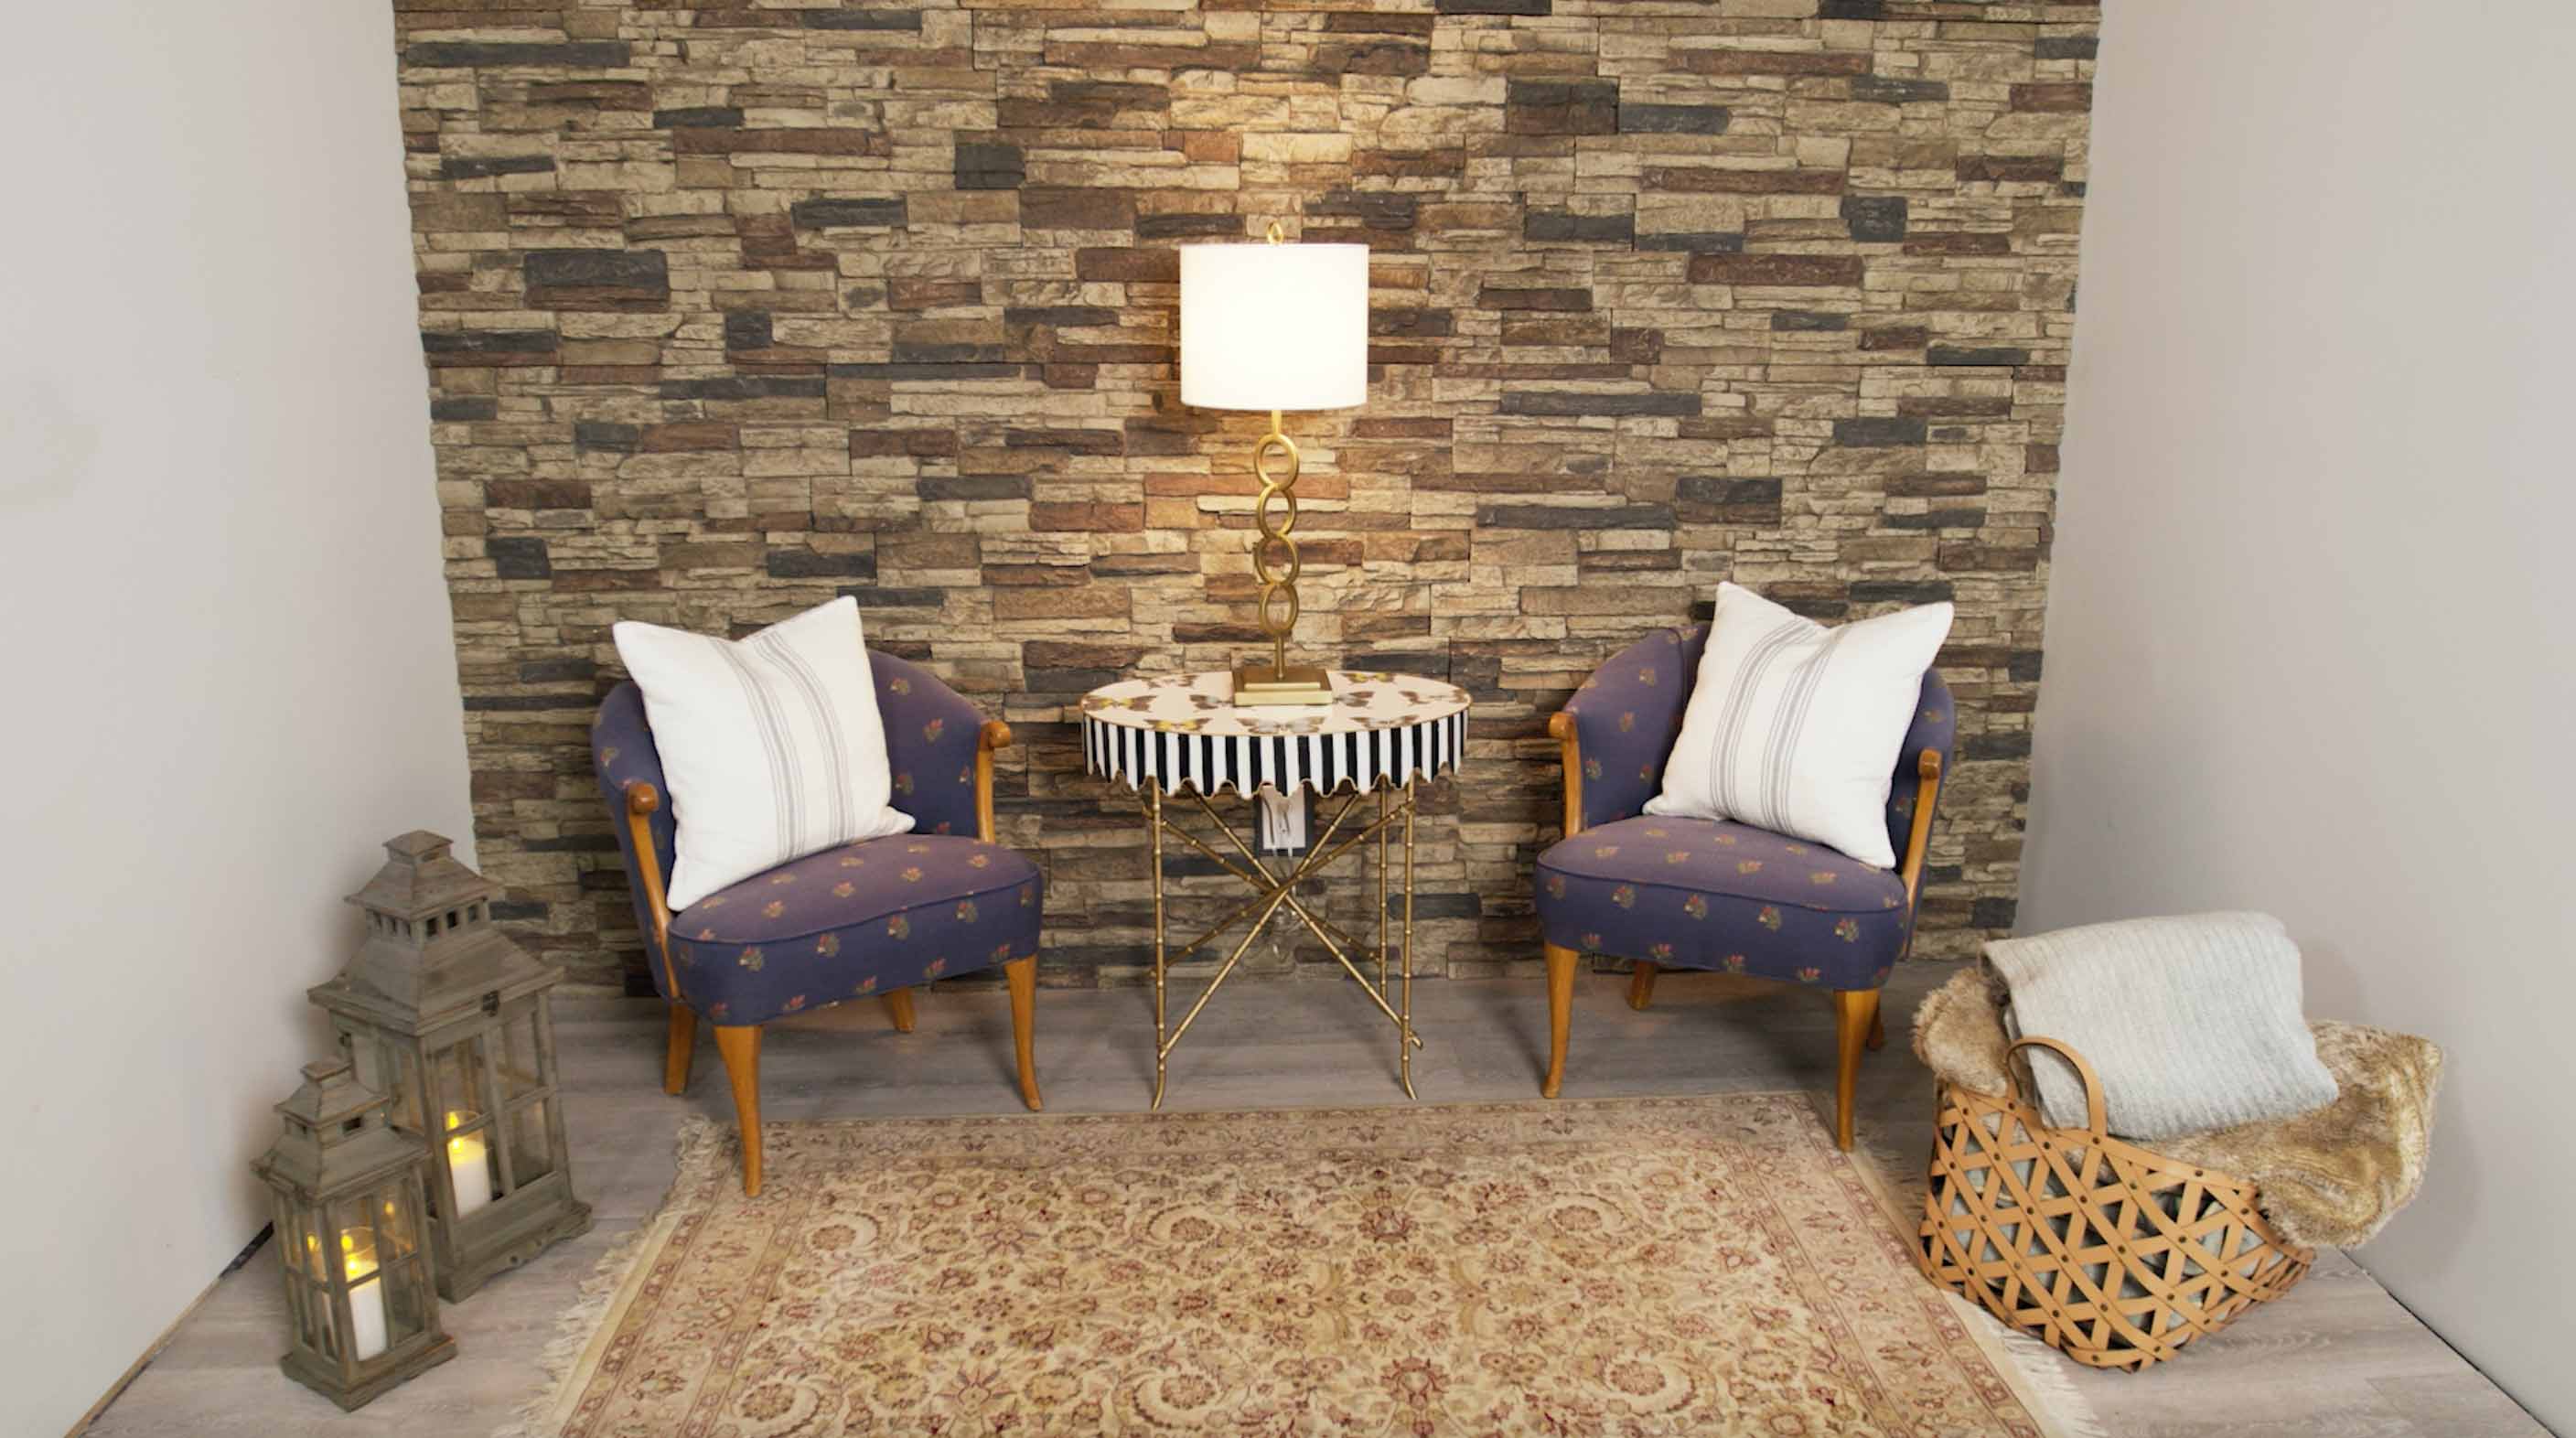
A DIY faux stone accent wall can be installed without the mess, or the specialty tools and masonry experience needed for real stone. Not only is the look truly authentic, but it’s also one you can absolutely create yourself. For more projects that instantly improve the look of a room, explore how to install a wall-mounted fireplace or how to make wall panels with molding.
Recommended Articles

The How’s and Why’s of Upgrading a Central AC System
A step-by-step video demonstration showing removal and replacement of a central air conditioning system. Includes advantages of new, state-of the-art AC systems.
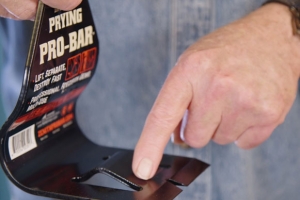
If You’ve Got a Project That Involves Demolition, You’ll Want to Know About This Tool.
I try out a new tool designed and engineered to do one task exceptionally well -- demolition.