How to Seal Sinks, Bathtubs, Backsplashes and More Using 100% Silicone Sealant
Replacing dirty, moldy or cracking sealant around sinks, tubs and backsplashes can be a tricky and sticky job but it doesn’t have to be. By using these techniques, the job will be surprisingly easy and the results will look as though they were done by a pro.
This project was done in collaboration with the manufacturer of GE Sealants & Adhesives, by whom I have been compensated to produce the video and article, and to render my honest opinions, observations and experiences. For more information about the sealant used in this project, visit this web page.
Removing Old Sealant and Preparing the Surface
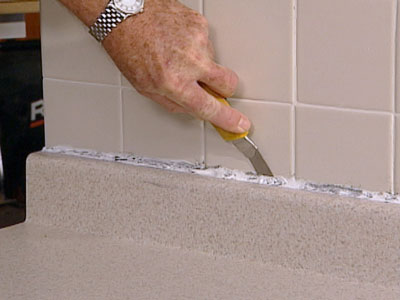 In most cases, there will be existing sealant that will need to be removed. The best way to do this is by cutting it out using a utility knife with a new blade. Two cuts are required, one horizontally and one vertically. This will release the old sealant and allow it to be peeled away. Any remaining sealant on the surface can be removed with a paint scraper fitted with a fresh blade (see the video). Finally, a non-metallic abrasive pad can be used to remove any remaining bits and pieces.
If mold has accumulated around and under the old sealant, it’s important to kill any remaining spores by brushing household bleach into the joint. Let it dry thoroughly before going to the next step. You can avoid this problem in the future by using a sealant with a mold inhibitor.
Choosing a Sealant
For my money, the best choice is, 100% silicone sealant. For this video demonstration, I'm using GE Silicone 2*+ Kitchen and Bath sealant. There are several reasons I prefer 100% silicone. First, silicone sealants can adhere to a wide variety of surfaces including metal, masonry, ceramic tile, laminates, glass, porcelain, granite, plastic, and wood. This is important because many sealing situations involve dissimilar materials, for example, a solid surface countertop and a ceramic tile backsplash.
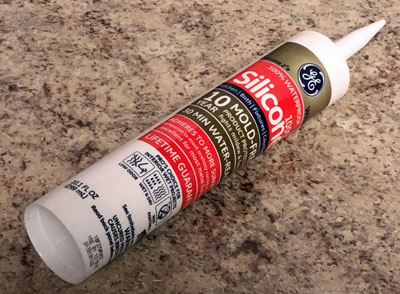 Also, silicones like GE Silicone 2+ Kitchen and Bath sealant are permanently waterproof and flexible. They will not shrink, crack or break down over time, to allow water to seep through.
The one reason some folks tend to avoid 100% silicone is that they believe it is difficult to use. However, that’s not the case if you follow a few simple techniques.
How to Apply 100% Silicone
I prefer using a cartridge and caulking gun rather than a tube. The caulking gun gives me more control, especially if the gun has a drip-free feature that retracts the push rod after each pull of the trigger.
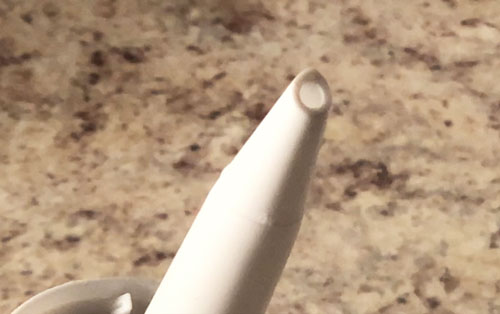 Sealant cartridges have a tapered nozzle – the further back from the tip the nozzle is cut, the wider the bead of sealant that will be dispensed. It’s important to cut the nozzle so that the sealant bead is just wide enough to fill the joint. This will help avoid over-filling and the need to clean up excessive material.
I prefer to hold the caulking gun at a forty-five-degree angle and pull the gun toward me. There’s a demonstration of this in the video.
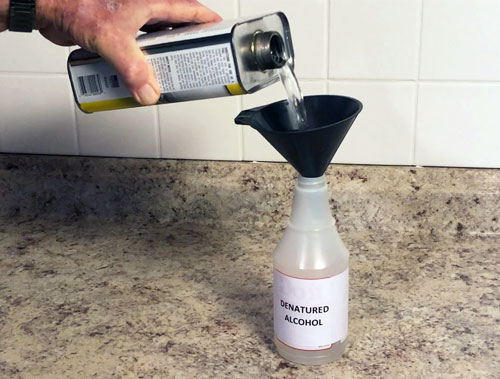 The final step in applying 100% silicone sealant is smoothing or “tooling” the bead to eliminate any bumps or irregularities. This is the key to a professional-looking job. And here’s a secret to make this easy: after laying down the bead, apply some denatured alcohol to it using a small spray bottle. While the alcohol is still wet, draw your finger over the bead to smooth it out. And, remember to always wear a protective rubber glove while doing this.
The GE Silicone 2+ Kitchen and Bath sealant I used in this project is ready to withstand water in as little as 30 minutes.
*Silicone 2 is a trademark of Momentive Performance Materials Inc.
Recommended Articles
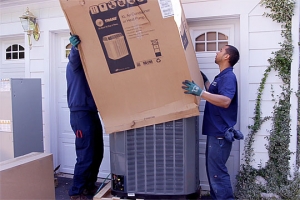
The How’s and Why’s of Upgrading a Central AC System
A step-by-step video demonstration showing removal and replacement of a central air conditioning system. Includes advantages of new, state-of the-art AC systems.
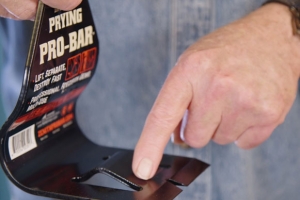
If You’ve Got a Project That Involves Demolition, You’ll Want to Know About This Tool.
I try out a new tool designed and engineered to do one task exceptionally well -- demolition.