How to Refinish a Flea Market Find without Removing the Old Finish
One-Step Stain and Finish Transforms Without the Need for Stripping
This post is in partnership with Minwax. The opinions and recommendations are my own.
For more information on the PolyShades product featured in this video click here.
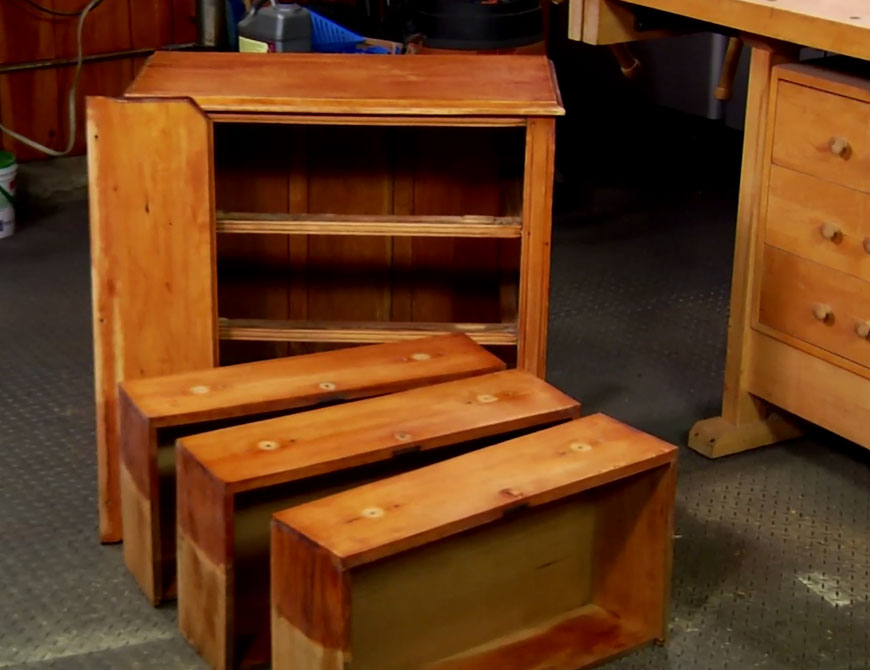 While poking around a local flea market I found a small three-drawer chest that was Ideal for our son’s room except for one thing – the finish. The existing finish was intact, but faded and simply the wrong color to blend with the existing furniture in his room.
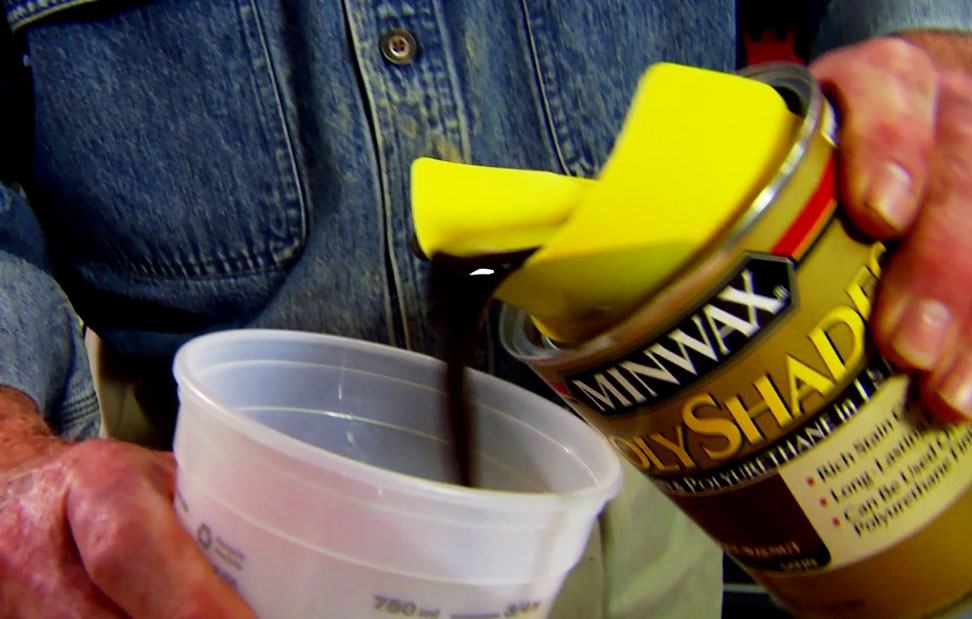 By-Pass the Stripping The solution was not to strip, stain, and refinish, but, instead, to use a combination of stain and polyurethane that can be applied over the existing finish. For this project, I’m using a Minwax product called PolyShades.
 Prepare the Surface As in most finishing projects, proper surface preparation is the key to getting great results. After removing the hardware, I cleaned the surface well using a soft cloth and naphtha. Older furniture usually has an accumulation of dirt, oil, and wax that needs to be removed in order to allow the new finish to properly adhere. After cleaning, I lightly sanded the entire piece making sure to always sand in the direction of the grain. This prevents scratches.
Get Rid of the Dust Sanding always leaves surface dust. I remove it by first wiping with a clean, soft cloth then repeat the wiping using a tack cloth that actually picks up and holds any remaining dust particles.
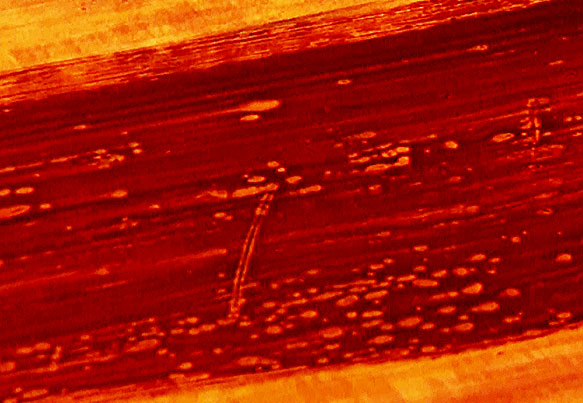 Test for Contamination These days, a lot of furniture care products contain silicone, a material that produces a temporary shine. Silicone is actually a lubricant and that’s the problem – it works so well that it can actually repel a new finish creating small craters on the surface. Brush on a bit of finish as a test; if the craters appear, watch the video to see how best to deal with the problem.
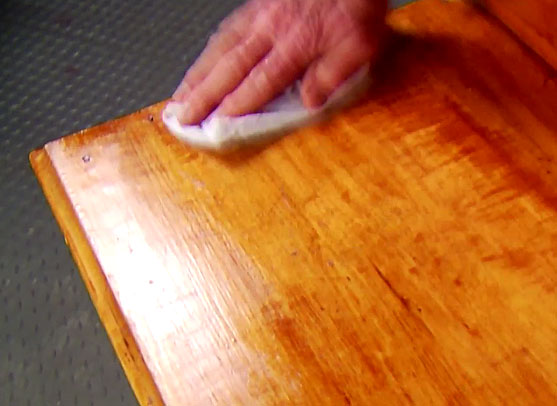
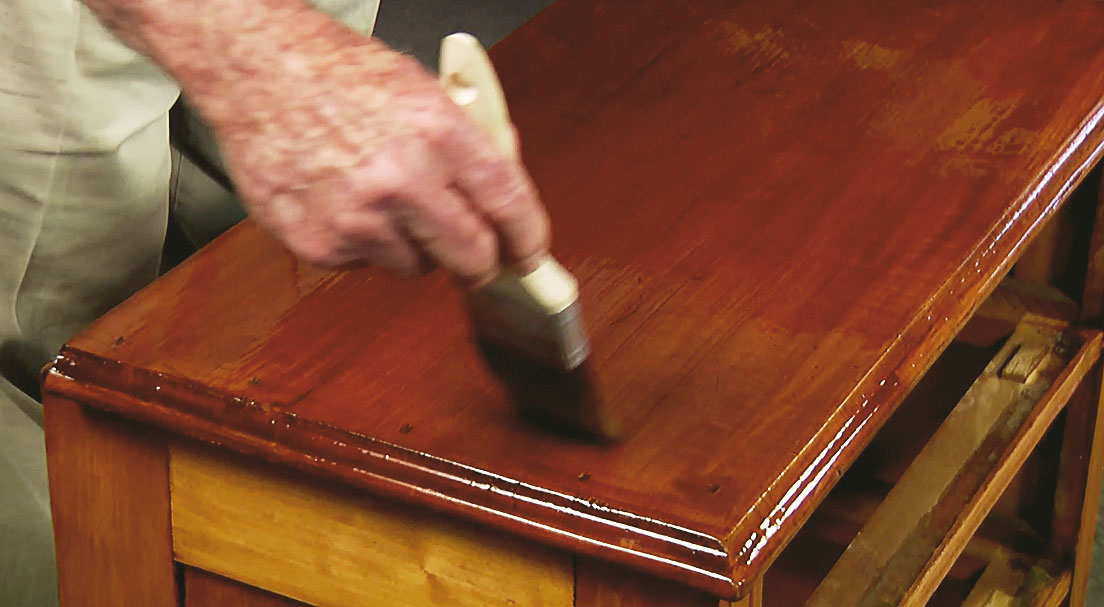 Good Brushing Technique Good brushing starts with a high-quality brush. In my book, the better the brush, the better the end result … I’m not exaggerating. Apply the finish using long, straight, overlapping strokes. Once a section is coated, hold the brush at a forty-five-degree angle and move from one end to the other. This technique is called striking off. Avoid over-brushing. As soon as the surface looks good … stop.
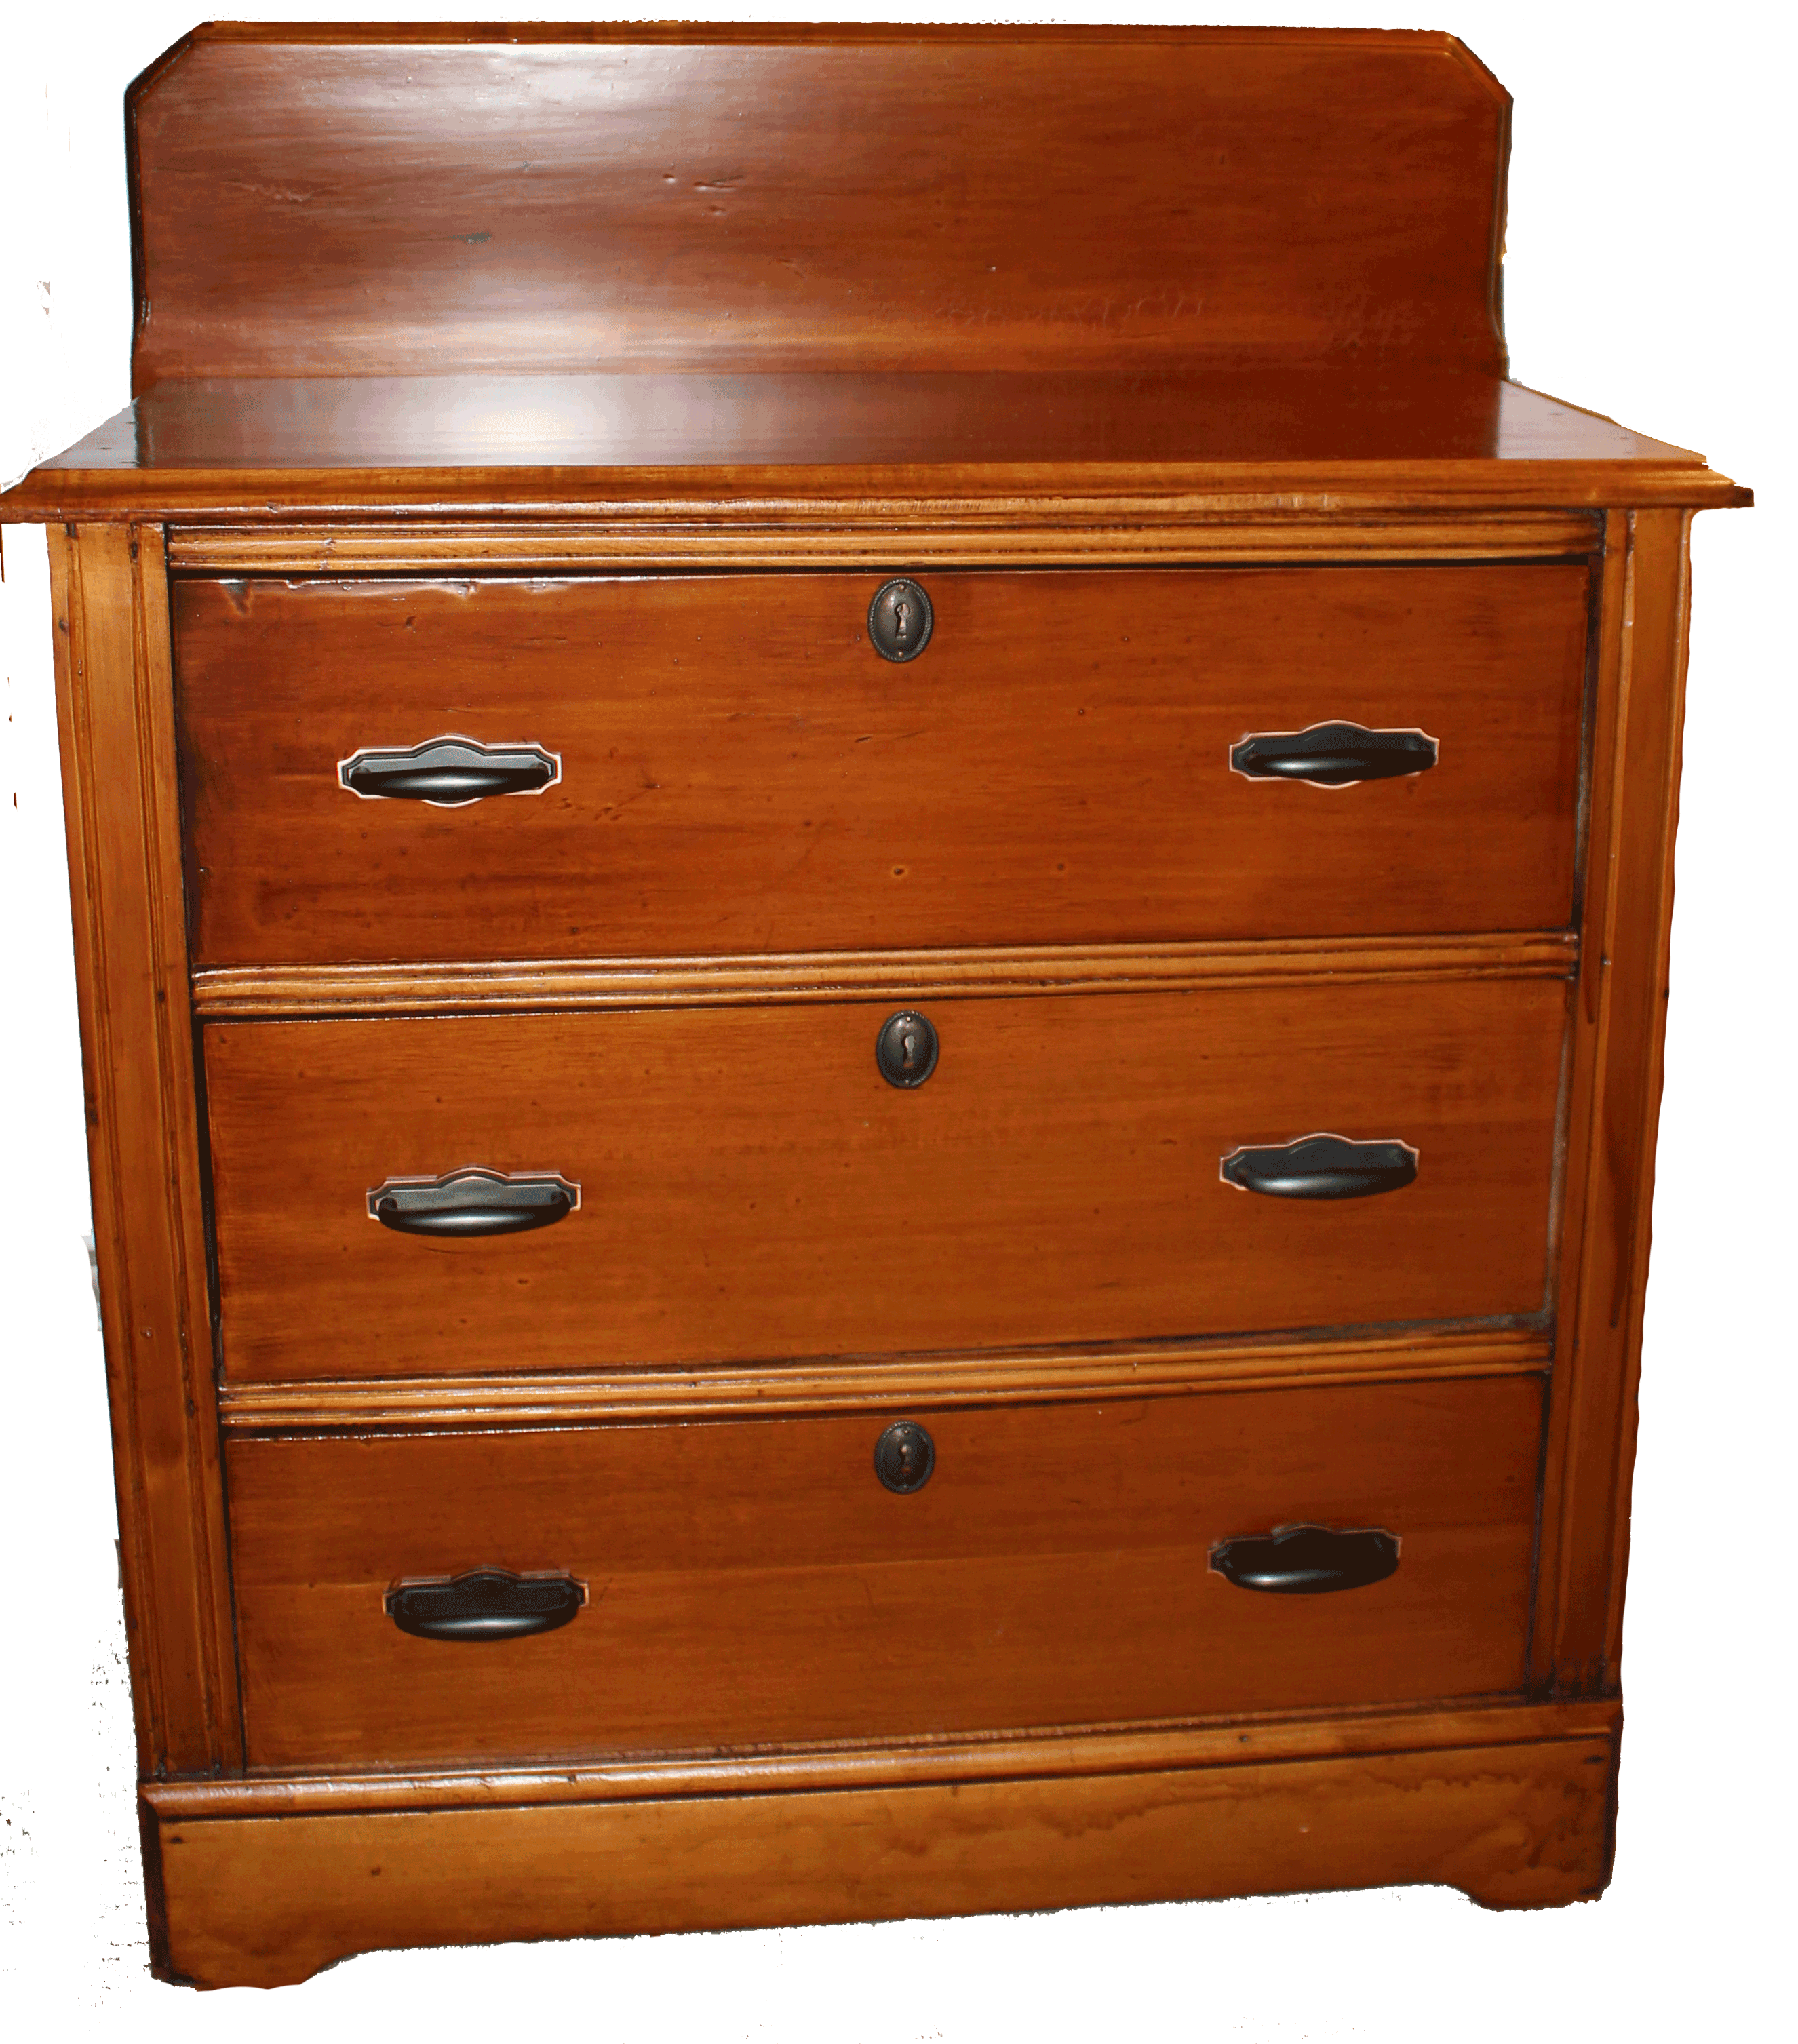
Heirloom Handsome with Half the Work I let the finish dry overnight, then added the final touch by installing new hardware.
Recommended Articles
The How’s and Why’s of Upgrading a Central AC System
A step-by-step video demonstration showing removal and replacement of a central air conditioning system. Includes advantages of new, state-of the-art AC systems.
If You’ve Got a Project That Involves Demolition, You’ll Want to Know About This Tool.
I try out a new tool designed and engineered to do one task exceptionally well -- demolition.