4 Best Ways to Remove a Screw with a Stripped Head
Four Methods for Removing a Screw with a Damaged or Stripped Out Head. One is Guaranteed to Work for You.
Nothing can grind a project to a halt like a screw with a stripped head. One of these removal methods is bound to solve the problem. I like to thing of screw removal tools as a sort of first aid kit. You don't need it often, but when you need it you're glad you have it on hand.
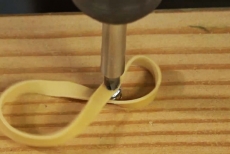
Try the Rubber Band Trick
If the screw head is not too badly damaged, this simple trick can work. Use plenty of downward pressure and turn the screw slowly.
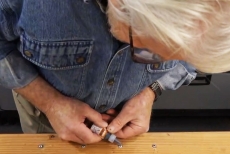
Increase the Friction
This product, called Screw Grab, is a thick fluid with gritty crystals suspended in the solution. Often, this added friction between the screw and screwdriver tip is just enough to do the trick.
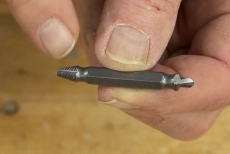
A Tool Meant for Screw Removal
This double-ended tool was designed just for screw removal. One end features a reamer to create a shallow hole, the other end has an extractor. Watch the video to see how this works.
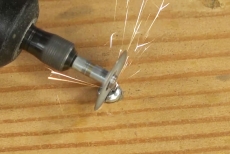
Cut a Screwdriver Slot
If you have a rotary tool this is slick method that almost never fails. Put a metal cut off disc in the collet and grind a slot deep enough and wide enough to accommodate a flat blade screwdriver.
Blog Articles
Maximize Your Yield with DIY Netting for Strawberry Beds
Keep your strawberries safe from pests with our DIY strawberry cage netting solution. Learn how to create sturdy frames and find the best netting for your strawberry plants.
Change It Up: Swapping Out Your Light Switch Plates
Tired of boring light switch covers? Upgrade your home decor with this simple guide on replacing light switch plates and make a statement in every room.
Revamp Your Outdoor Space: How To Stencil A Concrete Patio
Learn how to create a stunning patterned concrete patio with our easy-to-follow instructions for stenciling. Upgrade your outdoor space in no time.


