How To Cut Accurate Miters Easily Even on Non-Square Corners
Cut Perfect Miters to Fit Irregular Corners and Angles with a Miter Gauge That Also Saves Time and Materials
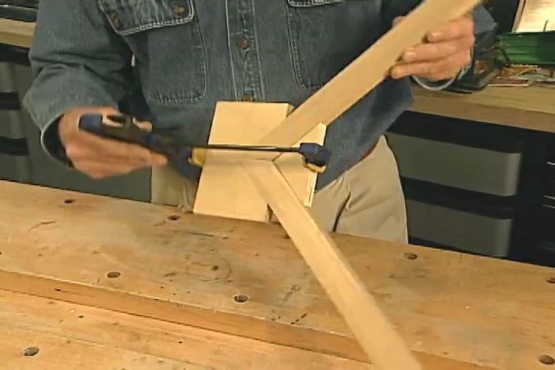
Save time figuring for miter joints and prevent material waste resulting when a miter joint does not fit properly. Exchanging that T-bevel and protractor for the miter gauge demonstrated here will let you measure, calculate and convert angles to miter saw settings, and improve your productivity in a single step. All that is left is cutting the perfect miter.
Click Here for more information on the protractor used in this demonstration.
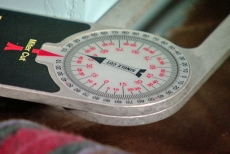
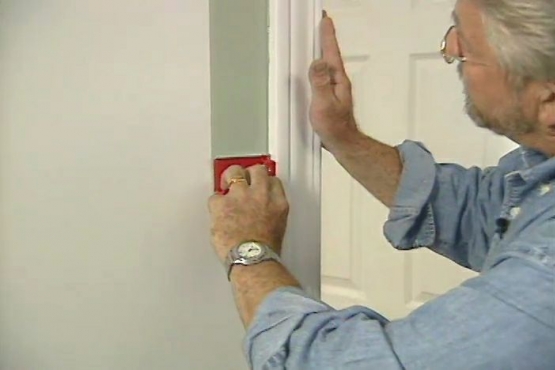
Position the Tool against the Work and Read the Setting
Place the legs of the adjustable tool against the work angle and read the setting for the miter saw, as indicated by the red arrow. The angle is already converted to the correct setting--in this demo, 38 degrees.

Adjust the Miter Saw to the Left and Right Settings
Adjust the miter saw left 38 degrees and cut one side of the miter joint. Readjust the miter saw right to 38 degrees and cut the other side of the joint.
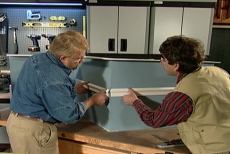
Position Pieces over the Work Angle in a Perfect Joint
Align the mitered end of the pieces of molding together on top of the corner or outside work angle. They join in a perfect miter joint as determined with the miter gauge.

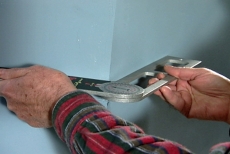
Place the Tool to Measure an Inside Angle
Open the tool so that it fits into an inside angle and place the legs flat against each wall. In this demonstration, the setting on the miter saw will be 41 degrees.
Adjust the Miter Saw and Cut the Molding
Set the miter saw to 41 degrees left and cut the first piece of crown molding in the demonstration, then readjust to 41 degrees right for the second piece. Join the pieces for the inside work angle.
Use the Tool to Measure for a Wide Baseboard Bevel
Prepare to cut a wide baseboard by measuring the work angle with the tool and then setting the miter saw for a bevel cut at the angle indicated.

Measure for Single-angle Cuts for the Ends of Flooring Planks
Use the tool to measure in corners for single angle cuts like those on the ends of flooring planks. For that purpose, read the setting on the inside scale on the miter gauge.

Use the Full-size or Mini-model of the Miter Gauge
Choose either the full-size or mini-version of this miter gauge. The smaller version works identically to the first, but is small enough to fit in a back pocket or a tool belt.
Related Tips

Blog Articles

Maximize Your Yield with DIY Netting for Strawberry Beds
Keep your strawberries safe from pests with our DIY strawberry cage netting solution. Learn how to create sturdy frames and find the best netting for your strawberry plants.

Change It Up: Swapping Out Your Light Switch Plates
Tired of boring light switch covers? Upgrade your home decor with this simple guide on replacing light switch plates and make a statement in every room.

Revamp Your Outdoor Space: How To Stencil A Concrete Patio
Learn how to create a stunning patterned concrete patio with our easy-to-follow instructions for stenciling. Upgrade your outdoor space in no time.


