How to Fix a Leaky Fish Pond
Add a Conversation Piece to Your Deck or Patio in the Form of an Attractive and Non-Leaky Fishpond
Add an unusual water feature to your wooden deck or concrete patio--not the leaky fishpond that may spring to mind, but a small well-constructed "above ground" project in which the weight and configuration of the fishpond liner is properly supported. Once the foundation is correct, stock it with rocks, plants, and colorful goldfish and let water and conversation flow!

Siphon out the Water and Discard the Leaky Fishpond
Siphon out the water and disassemble the existing leaky fishpond. Examine the fishpond liner before discarding it to confirm that cracks occurred and were probably caused by insufficient support in the frame for the 500 pounds of water weight.
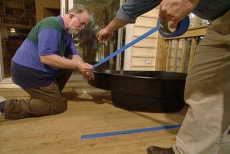
Select the Best Position for the New Fishpond Liner
Purchase a new, undamaged fishpond liner that suits the location and traffic pattern on the deck. Experiment to find the best position, and then outline the selected "footprint" on the deck with masking tape.

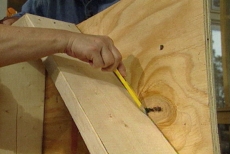
Measure Perimeter Dimensions for the Fishpond Liner
Measure along the tape outline to get perimeter dimensions for the combination wooden frame/enclosure that will support the fishpond liner. Building a fishpond frame in the correct size and configuration is crucial to supporting the weight of the water.
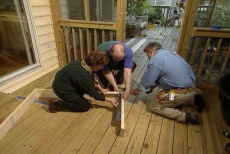
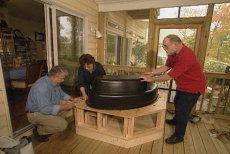
Build a Base for the Fishpond Frame from Two-by-Sixes
Cut two-by-sixes to dimension according to base measurements. Position them to ensure they are square or angled as required before assembling them. An extra support in the center will help support the 500 pound fishpond that will rest on top.
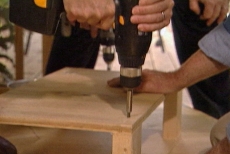
Cut a Plywood Deck for the Fishpond Base
Add a plywood deck on top of the completed base, tracing the shape of the frame on the plywood and removing corners as required with a circular saw. The deck should match the shape of the fishpond base.
Construct a Platform to Support the Fishpond's Second Level
Construct a small platform on the deck to support the shallow elevation of the fishpond. The plastic fishpond liner has two levels and, consequently, two bottoms. Stress will crack it if both levels are not properly supported.

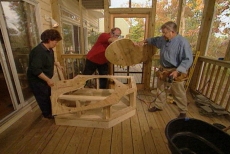
Build Sidewalls Using Studs for Additional Fishpond Support
Construct the sidewalls to measure from the first deck to the bottom of the fishpond's lip where a second deck will be installed. Use standard wall construction with horizontal top and bottom plates with studs for strong sidewalls.
Cut a 3/4-Inch Plywood Upper Deck for the Fishpond
Shape an upper deck from 3/4-inch plywood. Turn the fishpond upside down, position it, and trace its lip onto the plywood. Draw a second line (the cutting line) inside the first to allow support for the width of the lip.
Cut the Opening in the Fishpond Deck with a Jigsaw
Cut out the opening with a jigsaw, supporting the cutout with temporary supports to prevent it falling, binding the saw blade, and splintering the edge. Flip the deck and secure it to the frame. Position the pond in the opening.

Finish Construction of the Fishpond with Cedar Planking
Use a power miter box to cut multiple pieces of tongue-in-groove cedar planking to cover the sidewalls. Secure the planks with finish nails. Fill the fishpond, plug in the filter and fountain, and add the fish. Let the conversation flow!
Related Tips
Blog Articles

Maximize Your Yield with DIY Netting for Strawberry Beds
Keep your strawberries safe from pests with our DIY strawberry cage netting solution. Learn how to create sturdy frames and find the best netting for your strawberry plants.

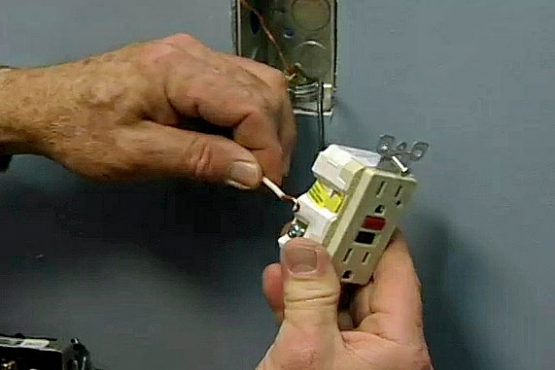
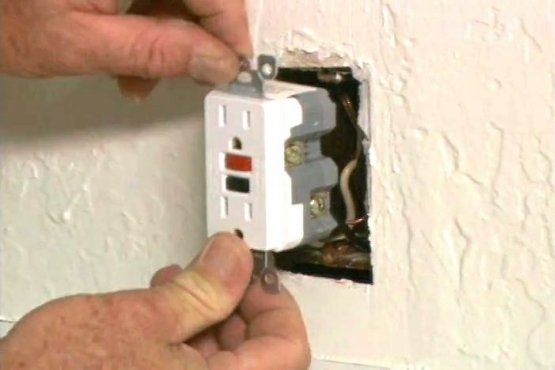
Change It Up: Swapping Out Your Light Switch Plates
Tired of boring light switch covers? Upgrade your home decor with this simple guide on replacing light switch plates and make a statement in every room.

Revamp Your Outdoor Space: How To Stencil A Concrete Patio
Learn how to create a stunning patterned concrete patio with our easy-to-follow instructions for stenciling. Upgrade your outdoor space in no time.


