How to Make Floating Shelves for a Dining Room
Make and Install Lightweight Shelves that Seem to Float on the Dining Room Wall without Any Visible Means of Support
Sandwich wooden stringers between pieces of 1/4-inch plywood to make hollow-core shelves that are lightweight but strong. Face the edges with strips of solid wood. Paint the assembled floating shelves for a clean crisp look before mounting them over ledgers fastened to the wall studs for strong but hidden support. Your handiwork is now ready for your artwork!
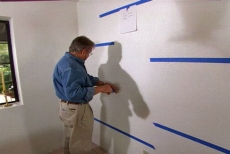
Determine the Layout for the Floating Shelves
Experiment with painters tape to determine the desired number of floating shelves, their positions relative to each other and the wall, and their lengths. Our free-form shelves have different lengths but identical widths.
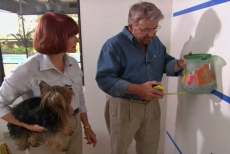
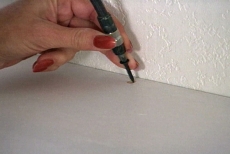
Measure and Record the Chosen Dimensions for Each Floating Shelf
Designate each shelf/tape with a letter to identify it from the others. Measure and record the chosen length and width for later use in making a cut list and positioning the constructed floating shelves. These shelves are 10-inches wide.
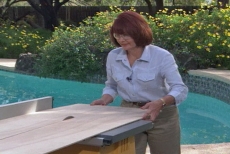
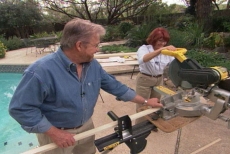
Rip 1/4-Inch Plywood into 10-Inch Panels of Proper Length
Use a table saw to rip 1/4-inch plywood into 10-inch wide strips that will form the top and bottom skins for all the hollow floating shelves. Cut the skins/panels to length with a chop saw.
Cut Stringers to Support the Top and Bottom Panels
Cut solid 1- by 2-inch strips to sandwich between the panels and form the floating shelves' hollow core. Each shelf will need two short strips for the sides and one long strip along the front. The back will be open.

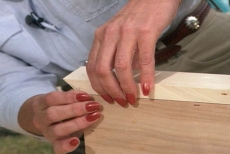
Secure Pairs of Top and Bottom Panels to Stringers
Glue the front and sides of a top panel/skin to stringers and secure the skin with staples. Secure a bottom skin in the same way, leaving the backs open. Repeat for each floating shelf.
Conceal Edges of the Floating Shelves with Mitered Wooden Trim
Edge the floating shelves with solid wooden strips mitered to make neat corners. The trim covers the seam where the stringers join the plywood skins. Apply glue and align the miters perfectly before securing them with finishing nails.
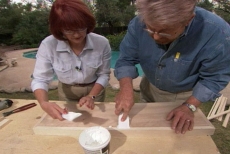
Fill Nail Holes and Gaps with Spackling Compound
Use a putty knife to fill nail holes and gaps along the edge trim with spackling compound. Sand the dry spackling and clean the surface before priming and painting each floating shelf with a small roller.
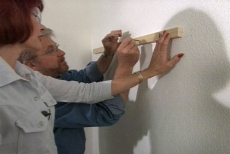
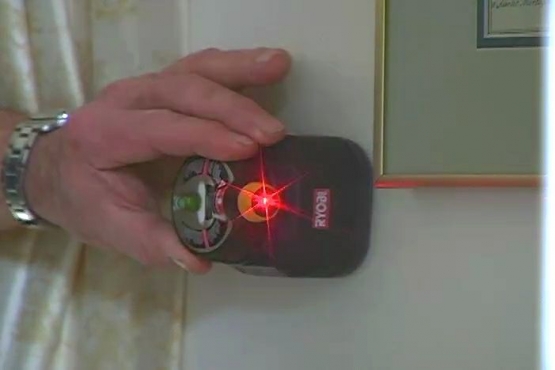
Attach Cleats to the Wall Studs for Floating Shelves
Use an electronic stud sensor to locate and mark the wall studs. Pre-drill pilot holes in the cleats and drive screws through them into the studs for maximum support. The cleats will be covered by the hollow floating shelves.
Install the Floating Shelves over Their Respective Cleats
Slide the open back of each floating shelf over its respective cleat. Use a power drill equipped with a flexible shaft and bit holder to drive screws through pilot holes in top of the shelf and into the cleat.
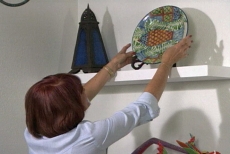
Arrange the Art Objects along the Floating Shelves
Array your collectibles on the floating shelves, trying different arrangements until you arrive at the perfect balance of size, shape and color.
Related Tips


Blog Articles

Maximize Your Yield with DIY Netting for Strawberry Beds
Keep your strawberries safe from pests with our DIY strawberry cage netting solution. Learn how to create sturdy frames and find the best netting for your strawberry plants.

Change It Up: Swapping Out Your Light Switch Plates
Tired of boring light switch covers? Upgrade your home decor with this simple guide on replacing light switch plates and make a statement in every room.

Revamp Your Outdoor Space: How To Stencil A Concrete Patio
Learn how to create a stunning patterned concrete patio with our easy-to-follow instructions for stenciling. Upgrade your outdoor space in no time.


