How to Replace Your Bathroom Sink
Replace a Worn, Scratched and Decades-old Bathroom Sink, Updating the Counter, Light Fixture, and Mirror to Complete the Makeover
Replace the sink, countertop, and light fixture to bring your bathroom decor into the 21st Century after four decades of service. Removing the mirror lets us install a molded acrylic countertop, porcelain enamel sink and elegant faucets. After reinstalling the mirror and dressing its damaged edges with molding, wiring the new light fixture brightens the bathroom with more light.
Disconnect the Old Light Fixture and Remove the Mirror
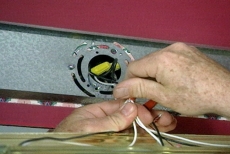
Remove the old light fixture and mirror from the wall. First disable the electrical circuit that powers the light, then slip the light's face plate off its bracket and loosen the wire nuts that connect the electrical wires.
Detach the Sink, Plumbing, and Water Supply
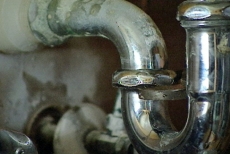
Remove the sink and plumbing. Unscrew the drainpipe nut and remove the P-trap. Place a container beneath it to catch any residual water. Disconnect the water supply. Emptying and removing the cabinet drawers makes this step easier.
Remove the Countertop with a Putty Knife and Pry Bar
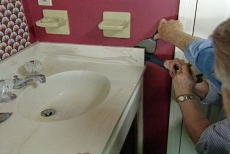
Detach the old countertop. Cut through paint and caulking along the backsplash with a utility knife. Use a putty knife and pry bar to loosen and remove the unit. Discard the countertop or recycle it.
Repair Damage Caused by Countertop Removal
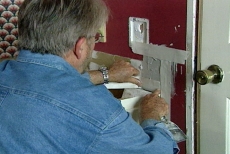
Repair damage to the wall. Fill holes with drywall patches, using the demonstrated trick of a glued backer-board and balloon to hold the patch in place while you cover the seams with joint compound and tape.
Install the Sink and Faucets before Mounting the Countertop
Install the sink in the countertop before mounting it in the bathroom. Installation is easier when you aren't lying on your back in a cramped area. Have the sink cutout and the holes for the faucets made at the factory.
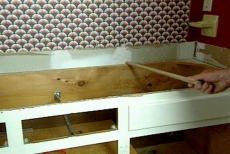
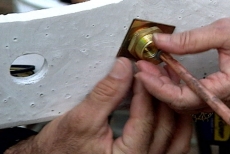
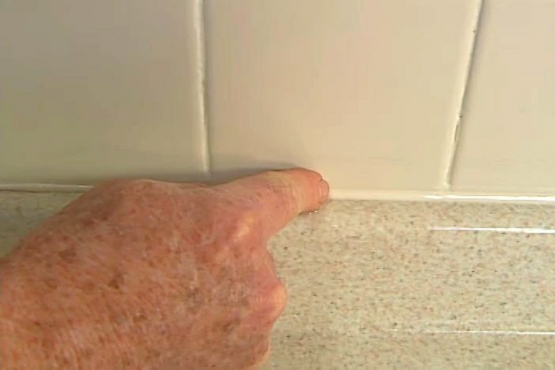
Apply Silicon around the Upper Edge of the Base Cabinet
Run a bead of silicon along the top edge of the cabinet base. Lay two dowel rods across the open cabinet and slide the countertop over them to avoid disturbing the sealant. Remove the dowels once the countertop is positioned.
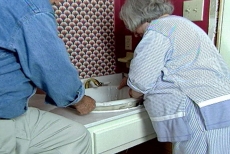
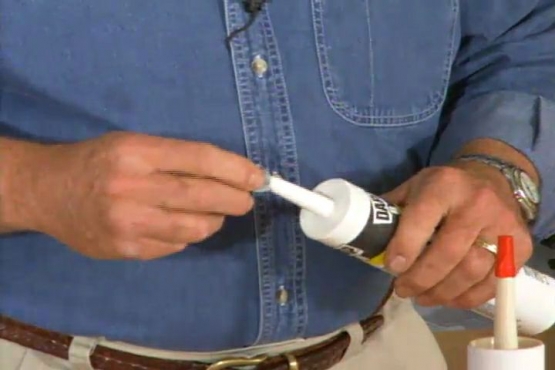
Run a Bead of White Silicon around the Sink Opening
Apply a bead of while silicon around the sink opening to seal the gap between the porcelain sink and the countertop. Carefully lower the sink into position without disturbing the sealant. Remove the excess.
Reattach the Plumbing and Remount the Mirror
Reconnect the plumbing under the sink, reinstalling the P-trap and tightening the nuts on the drainpipe. Remount the mirror by positioning it and taping the clips to hold it in place.
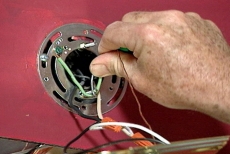
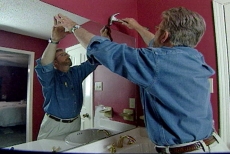
Reconnect the Electrical Wiring and Attach the New Light Fixture
Install the new light fixture, reconnecting the wiring with wire nuts and attaching the face plate to the mounting bracket. Reactivate the electrical circuit. Paint as necessary to cover any wall repairs.
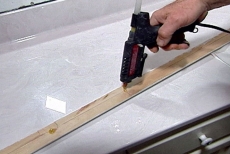
Cover Damage on the Mirror's Edge with Decorative Molding
Cut mitered wooden molding strips to cover the age damage on the mirror's edge. Apply hot melted glue to adhere the molding to the entire perimeter of the mirror and make something old look like new.
Related Tips


Blog Articles

Maximize Your Yield with DIY Netting for Strawberry Beds
Keep your strawberries safe from pests with our DIY strawberry cage netting solution. Learn how to create sturdy frames and find the best netting for your strawberry plants.

Change It Up: Swapping Out Your Light Switch Plates
Tired of boring light switch covers? Upgrade your home decor with this simple guide on replacing light switch plates and make a statement in every room.

Revamp Your Outdoor Space: How To Stencil A Concrete Patio
Learn how to create a stunning patterned concrete patio with our easy-to-follow instructions for stenciling. Upgrade your outdoor space in no time.


