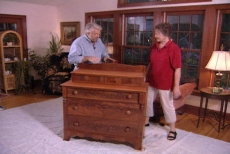
How to Stain and Finish an Antique Dresser
Salvage a Painted Antique by Removing Grease and Water Marks and Restoring the Stained and Varnished Beauty of Its Wood
Restore the charm and beauty of antique furniture whose antique value and patina have been compromised by paint, stains, and a deteriorated finish. This antique dresser has already been stripped of paint during an earlier attempt at restoration, but removing grease, stains, and water marks prior to refinishing it reclaims the charm and beauty of its earlier life.
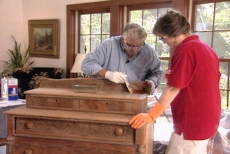
Examine the Antique Furniture Finish and Protect the Work Area
Examine antique furniture damage areas and obtain stain removers and finishing products to correct them. Prepare a well-ventilated work area. Cover the floor and surrounding objects with drop cloths and newspapers and wear gloves and safety glasses.
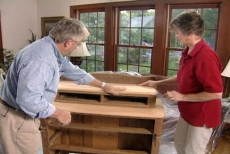
Apply the Stripping Solution to the Antique Furniture
Apply semi-paste stripping solution with a paint brush to the antique furniture one surface at a time. Brush carvings or crevices with a brass brush. Work with the grain of the wood and give it several minutes for effect.

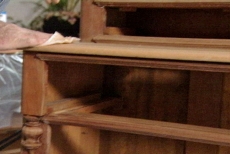
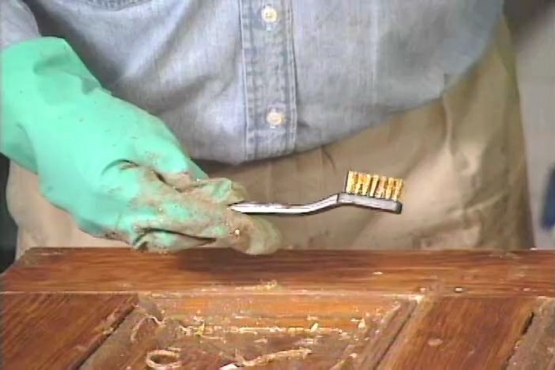
Scrape Loosened Finish from Antique Furniture with a Putty Knife
Lift the old finish gently with a putty knife, cleaning off the blade frequently. Recoat the antique furniture if necessary and use medium-coarse steel wool in stubborn or detailed areas where the putty knife is ineffective.
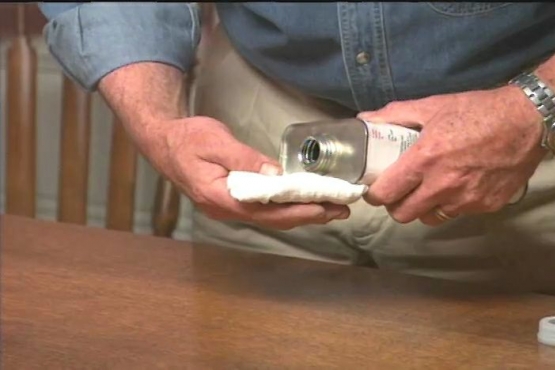
Use Lacquer Thinner to remove Stripper and Other Residue
Dip fine steel wool in lacquer thinner and apply to the antique furniture to neutralize the stripper and remove residue. Strippers may leave a waxy residue and particles of the old finish may cling to the surface during restoration.
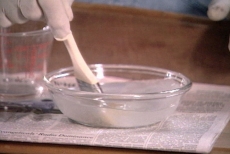
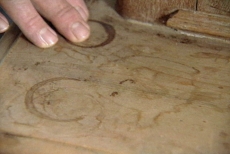
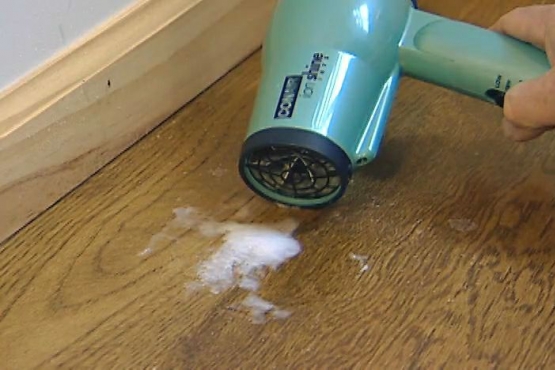
Brush Oxalic Acid onto Marked Areas of the Antique Furniture
Dissolve oxalic acid in hot tap water. Brush it on marred surfaces of the antique furniture to remove watermarks, grease or oil. Let it dry and sponge the powdery residue off with warm water. Household bleach may be used as well.
Smooth Surfaces of the Antique Furniture with Fine Sandpaper
Use 100-grit sandpaper to lightly smooth the antique furniture's surface, then switch to 150-grit for a final pass. Work with the wood grain as you sand, never across the grain during the restoration.
Clean the Antique Furniture with a Tack Cloth
Remove all dust and grit from the antique furniture with a tack cloth, wiping the sticky cloth across the entire surface to remove dust and lint. Fold the tack cloth periodically to expose a fresh sticky area.
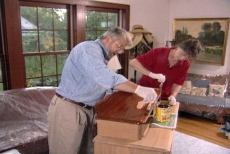
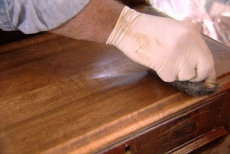
Stain the Antique Furniture with Gel Stain
Apply gel stain to the antique furniture with a brush or cloth. Work with the grain, paying special attention to ornate carved areas or crevices to ensure coverage. Work on individual surfaces that can be coated in a few minutes.
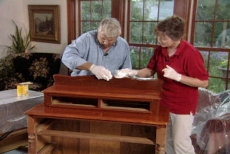
Wipe off Excess Stain from Antique Furniture and Let It Dry
Allow several minutes for stain penetration on the antique furniture and wipe off the excess with a lint-free rag. Greater pressure on the cloth removes more stain to produce a lighter color. Recoat if necessary to reach a deeper color depth.
Top Coat Antique Furniture with Tung Oil
Apply one to three top coats of Tung oil to waterproof and protect the new finish while retaining the antique furniture's character. Check and follow the manufacturer's application instructions to obtain the desired finish.
Related Tips

Blog Articles

Maximize Your Yield with DIY Netting for Strawberry Beds
Keep your strawberries safe from pests with our DIY strawberry cage netting solution. Learn how to create sturdy frames and find the best netting for your strawberry plants.

Change It Up: Swapping Out Your Light Switch Plates
Tired of boring light switch covers? Upgrade your home decor with this simple guide on replacing light switch plates and make a statement in every room.

Revamp Your Outdoor Space: How To Stencil A Concrete Patio
Learn how to create a stunning patterned concrete patio with our easy-to-follow instructions for stenciling. Upgrade your outdoor space in no time.


