How to Replace Tile Grout in a Kitchen Countertop
The most vulnerable part of a tile countertop is the grout between the tiles, especially near the sink right here, where it gets a lot of water and a lot of scrubbing. In fact, this countertop, if you look closely here, you'll see the grout has practically worn away. That means that water can go between the tiles and rot the countertop underneath. Now the first step is to remove as much of the old discolored, crumbling grout as you can. And the tool to do that with is this. It's called a grout saw. It's a piece of steel or steel blade right here with some carbide steel welded right along the edge. This is very hard stuff. And it's very simple to use this. Just place it on the grout and run it back and forth like this.
Now there are two reasons for doing this. The first is that it will remove a lot of the discolored grout, the old discolored grout. Secondly, it will create a place for the new grout to go, kind of a depression. With the old grout gone, now it's ready to put some new grout in.
You want to start by dampening the joints here with a sponge. Use a rubber float to force the grout into the joints between the tiles. Tip it up at about 45 degrees. Now be sure you go on a diagonal from one corner of the tile to the other.
Give the grout a few minutes to set up and then wash the surface of the tiles with a sponge. You may have to do this two or three times. Change the water as often as needed to keep it clean. Give the tile a final buffing with a paper towel to remove any haze and then say goodbye to that grungy old grout and hello to the new.
Blog Articles
Maximize Your Yield with DIY Netting for Strawberry Beds
Keep your strawberries safe from pests with our DIY strawberry cage netting solution. Learn how to create sturdy frames and find the best netting for your strawberry plants.
Change It Up: Swapping Out Your Light Switch Plates
Tired of boring light switch covers? Upgrade your home decor with this simple guide on replacing light switch plates and make a statement in every room.
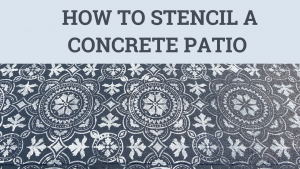
Revamp Your Outdoor Space: How To Stencil A Concrete Patio
Learn how to create a stunning patterned concrete patio with our easy-to-follow instructions for stenciling. Upgrade your outdoor space in no time.


