A New Design For A DIY Push Stick
A Guide For Making Your Own Ideal Push Stick
What do you look for in a push stick? For me, I want a push stick that won’t slip, operates smoothly, and keeps my hand well away from the blade. So, I decided to make my own box type push stick that rides on top of the fence. This DIY project checks off the three key things that I want out of a push stick and it is only made out of four parts - a top, two sides, and a handle! And, it’s constructed with screws (as opposed to glue or nails) - that way they can be replaced if necessary.
This DIY project is simple, long-lasting, and will give you everything you’re looking for in a push stick. Within my blog and video, I will show you each step so that you can make this easily yourself.
MATERIALS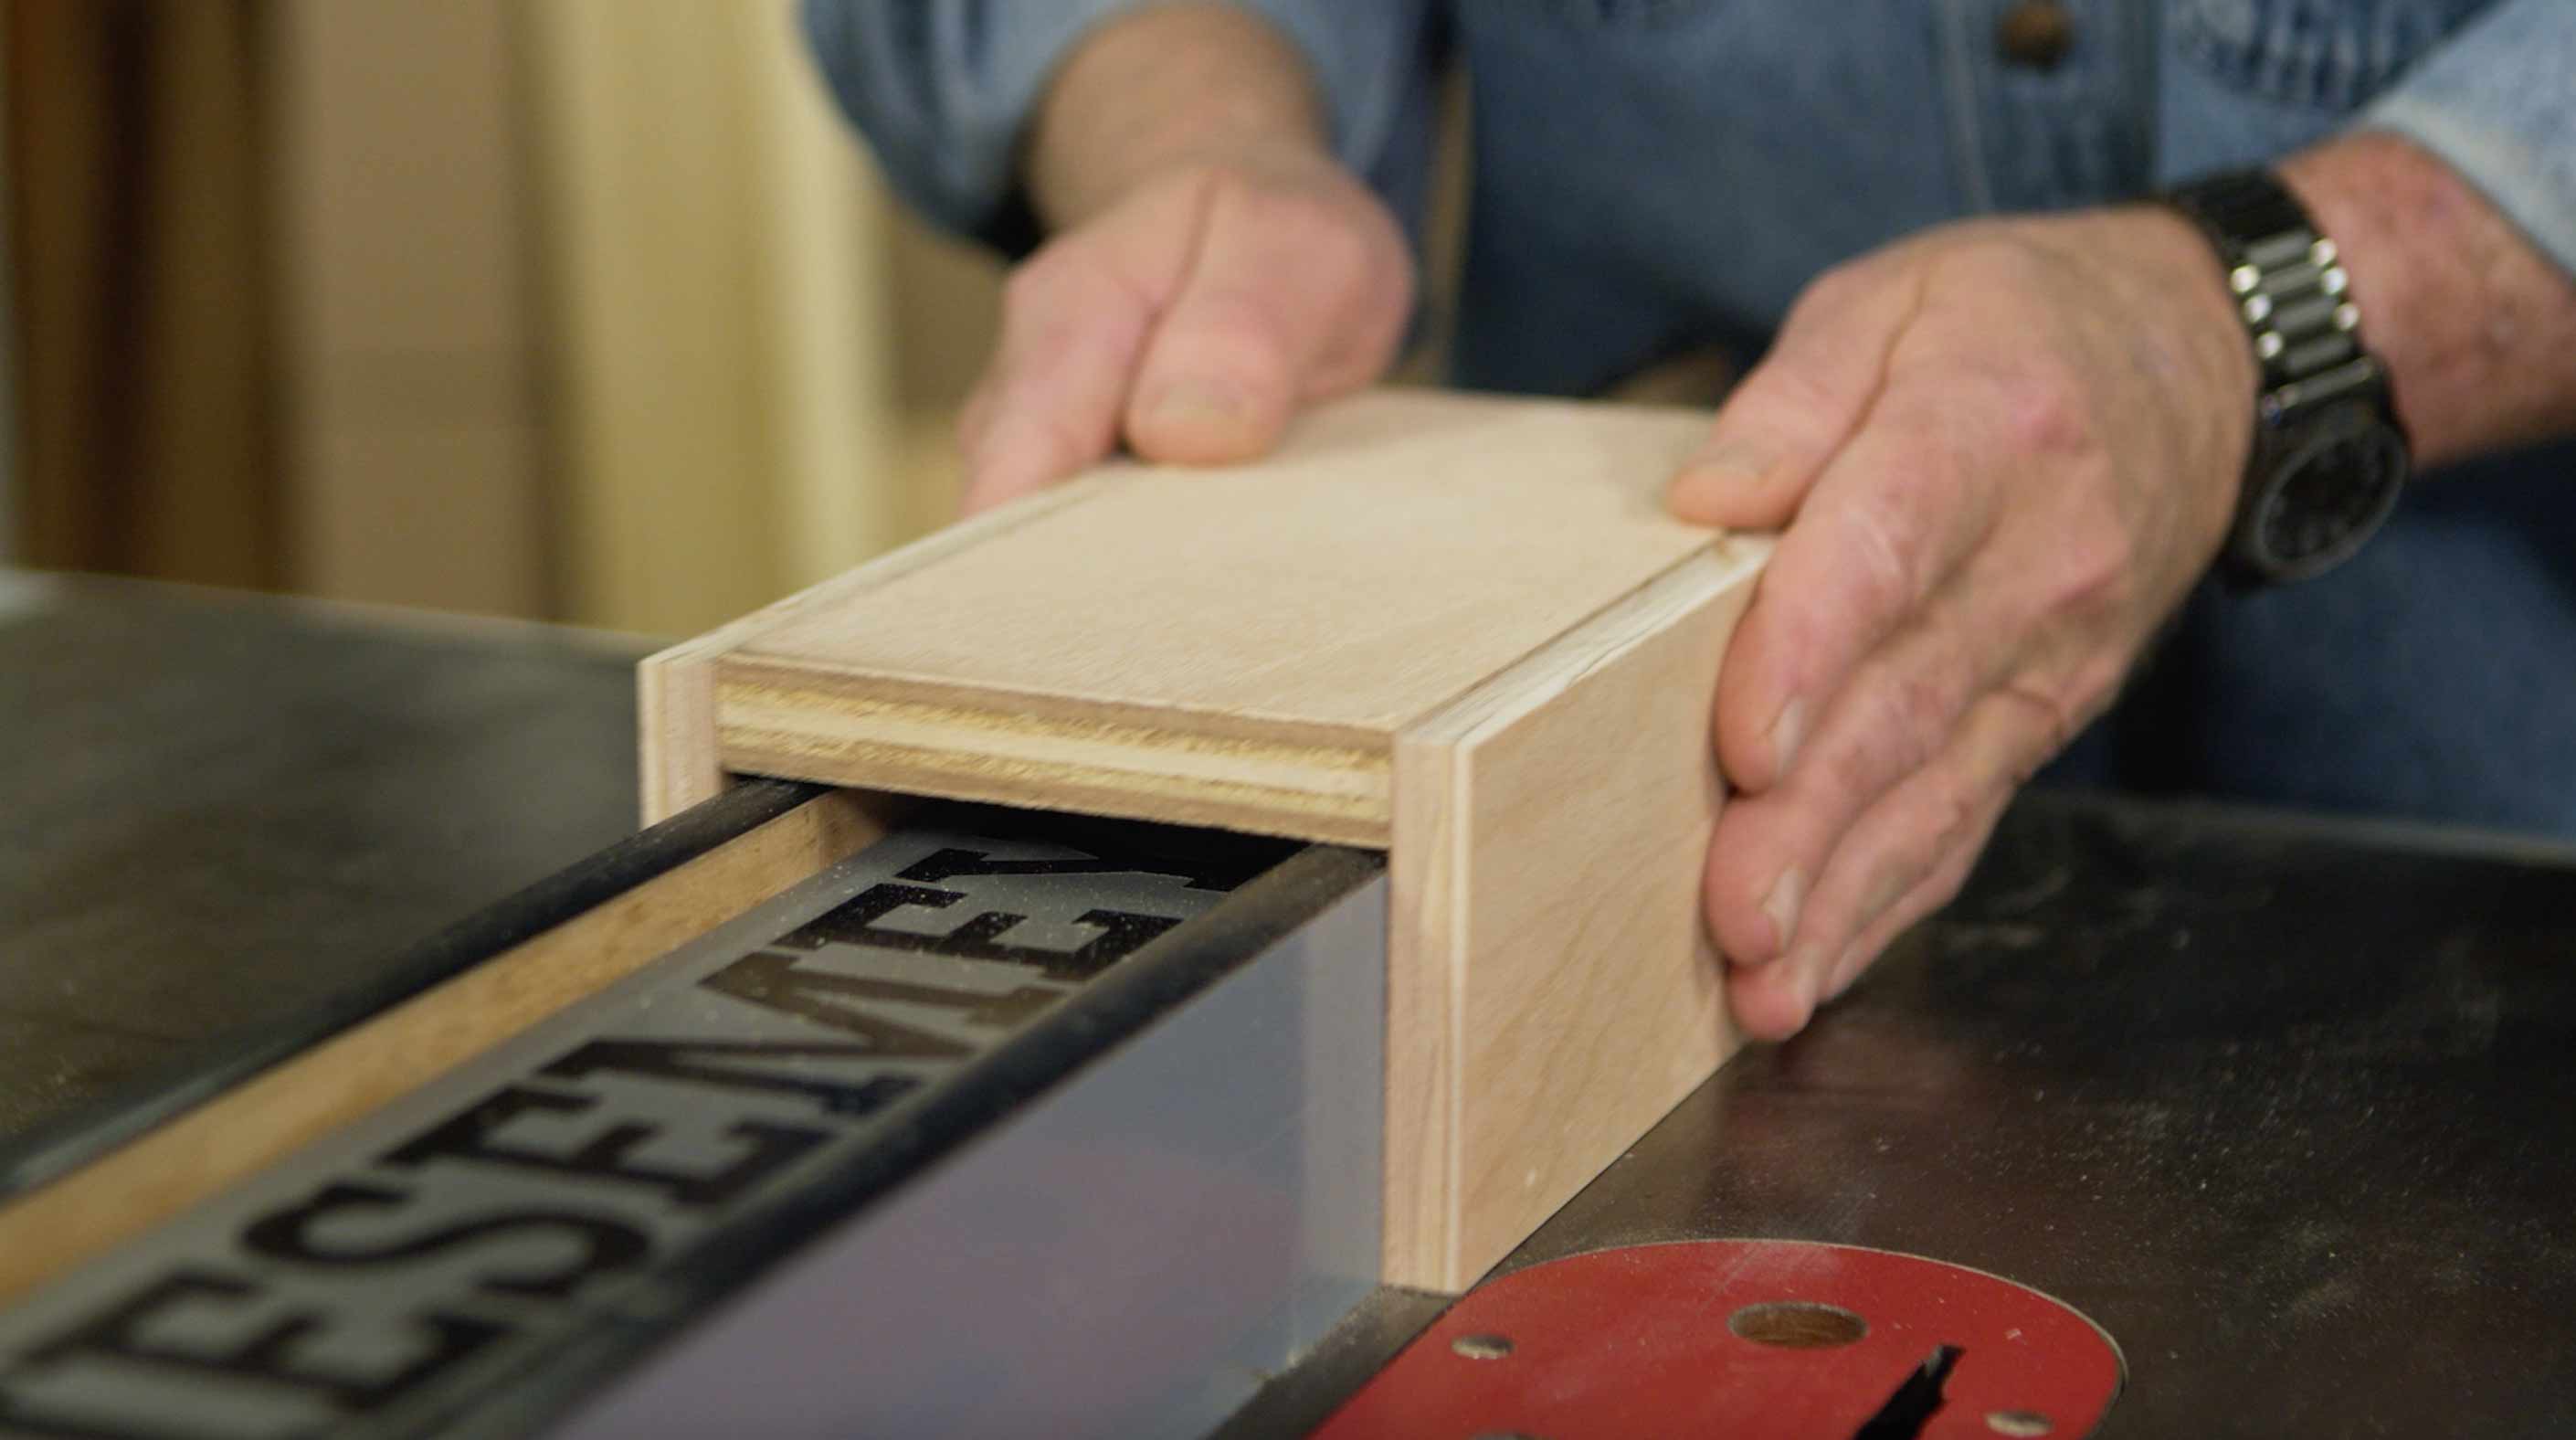
Measuring Tape
Tape Roll
Plywood (¾ and ½ inch)
Screws
Disc-Sander/Sanding Paper
Bandsaw or japanese saw
Miter Saw
Drill Press
Clamp
Cyanoacrylate glue and accelerator
MEASURING IS THE FIRST STEP
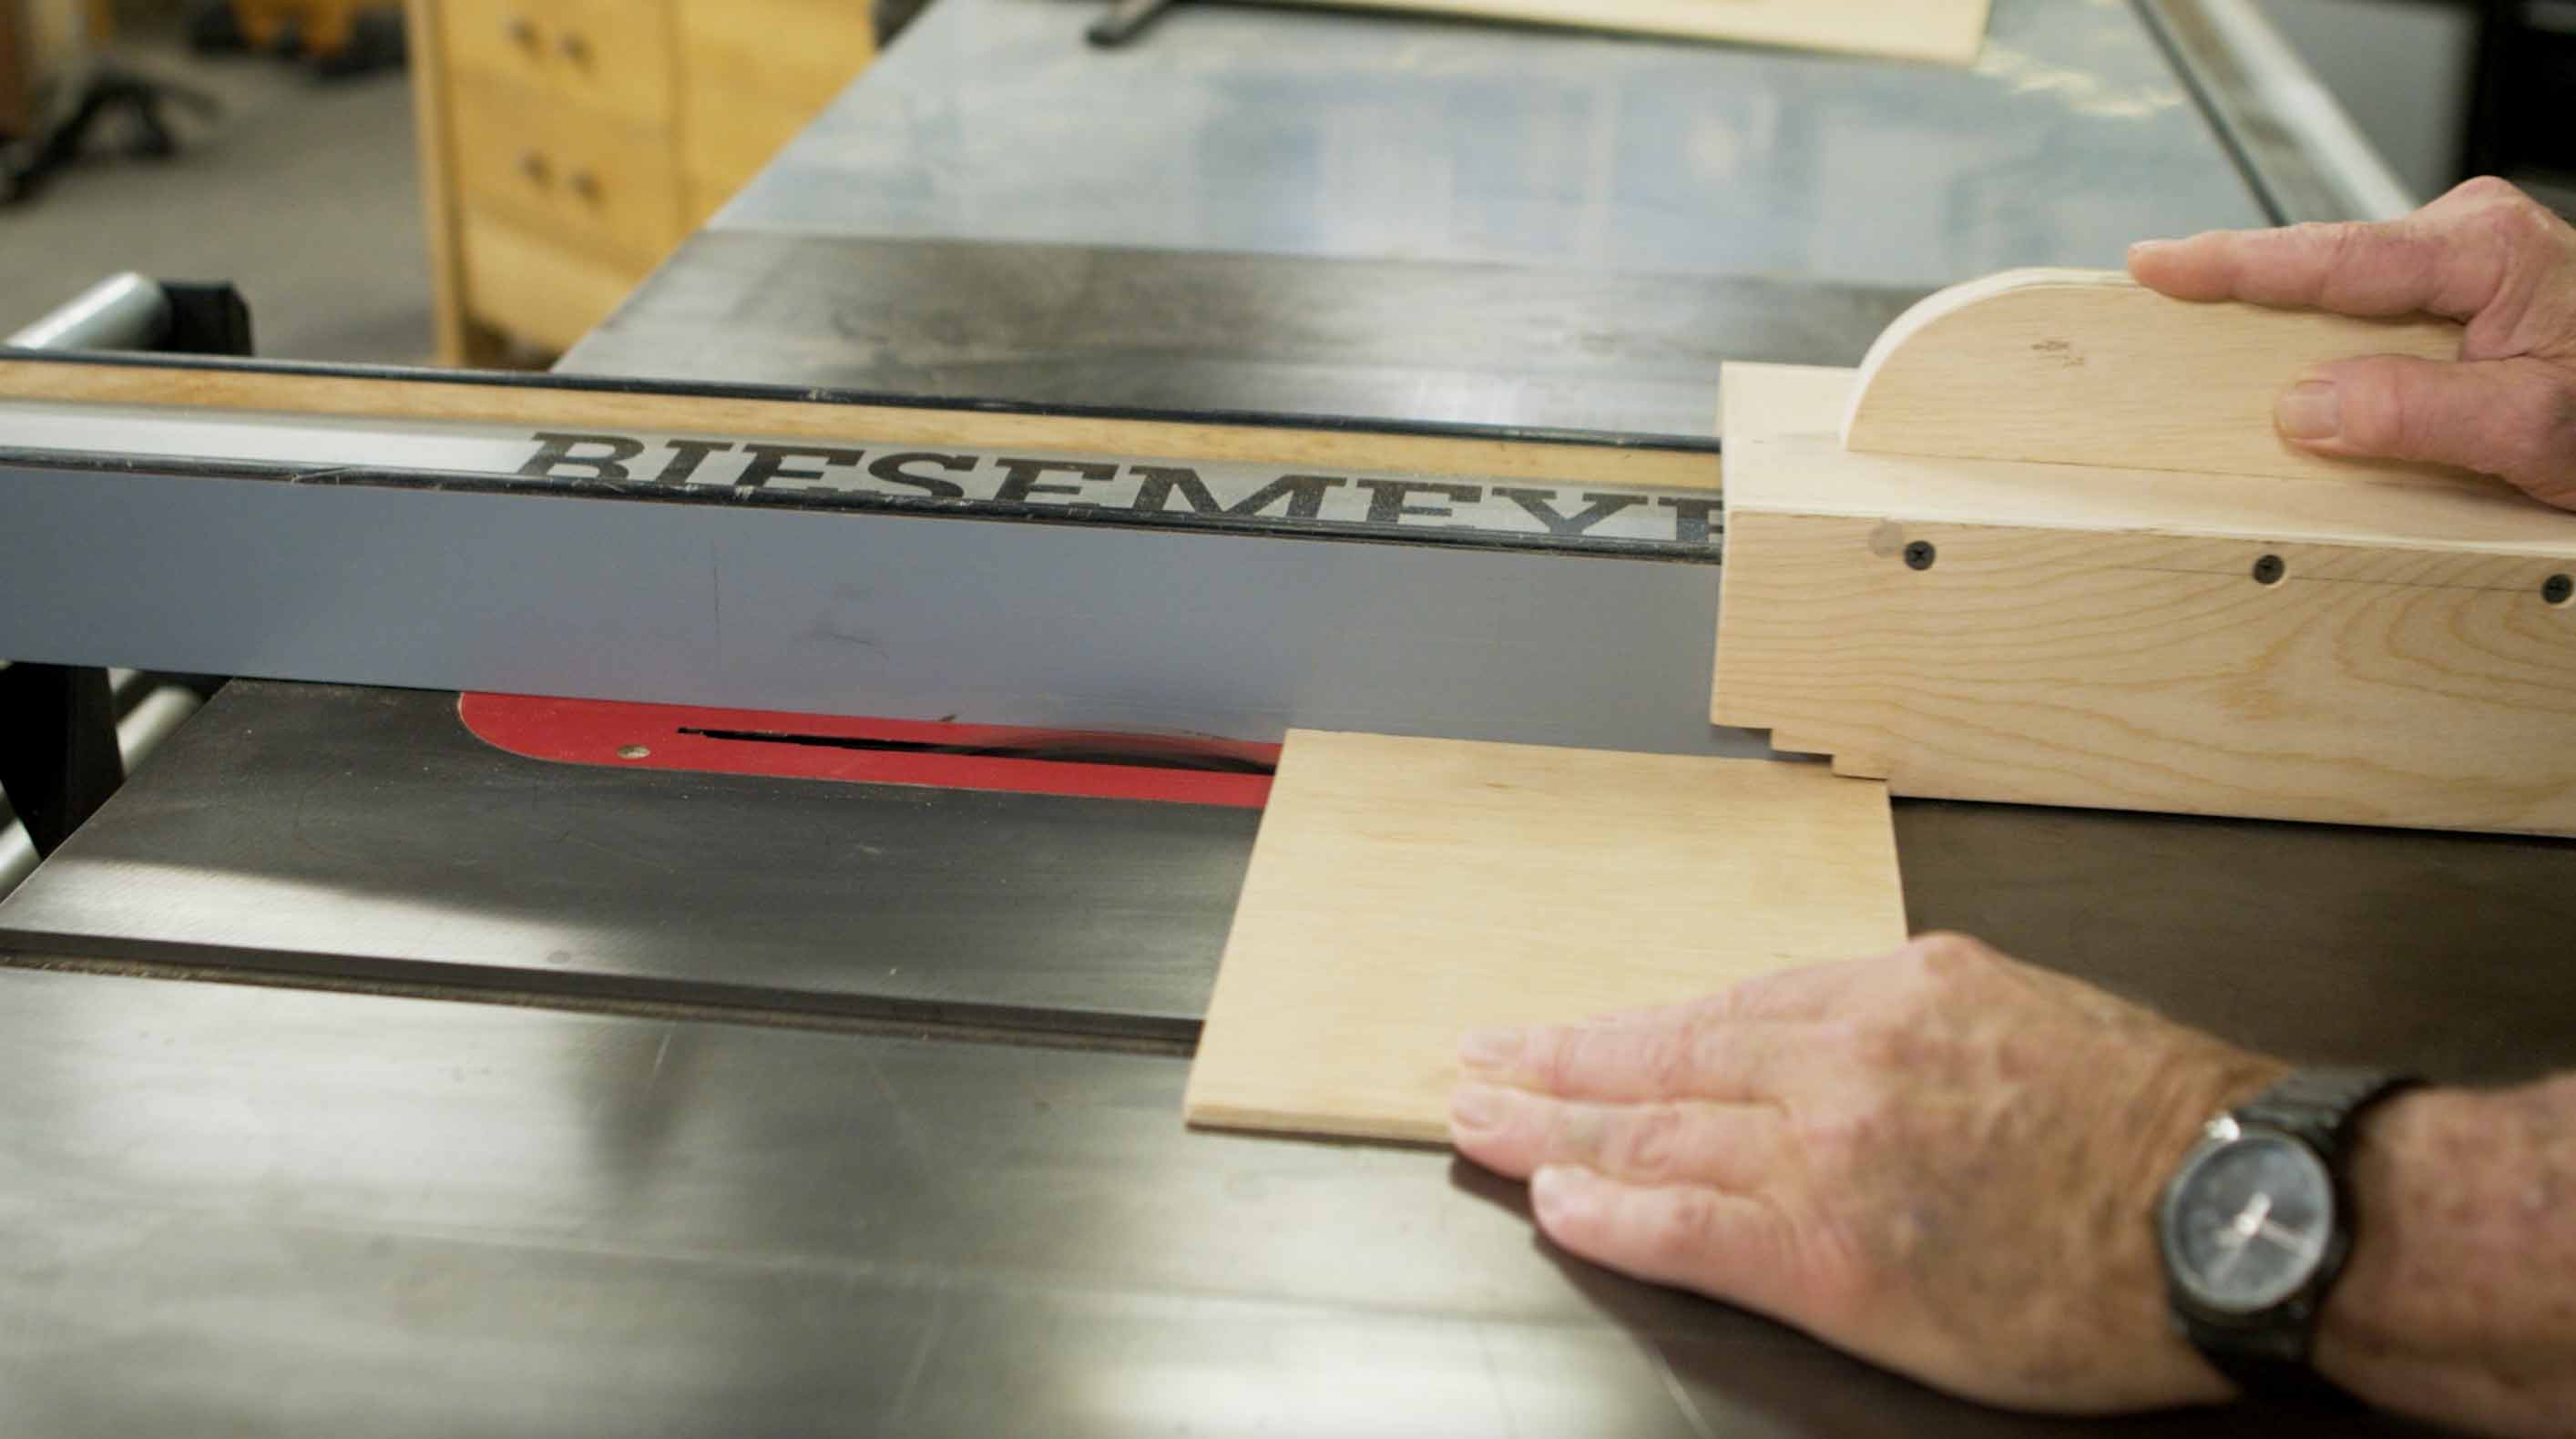
To start, I measured the width of my saw fence and added a sixteenth of an inch (which we will need for clearance). Then, I set the table saw guide to the measurement that I just made and cut a piece of ¾ inch plywood to that width. This will serve as the top of the push stick that will ride on top of the saw fence. Remember to make sure that it is just a tiny bit wider than the fence to provide adequate clearance.
Next, I make the sides, measuring again the distance between the surface of the saw table and the top of the plywood. Once you have cut all the pieces, check for fit by sliding the assembly to make sure it moves smoothly.
MAKING THE STAIR-STEP FEATURE
If you’ve used a push stick 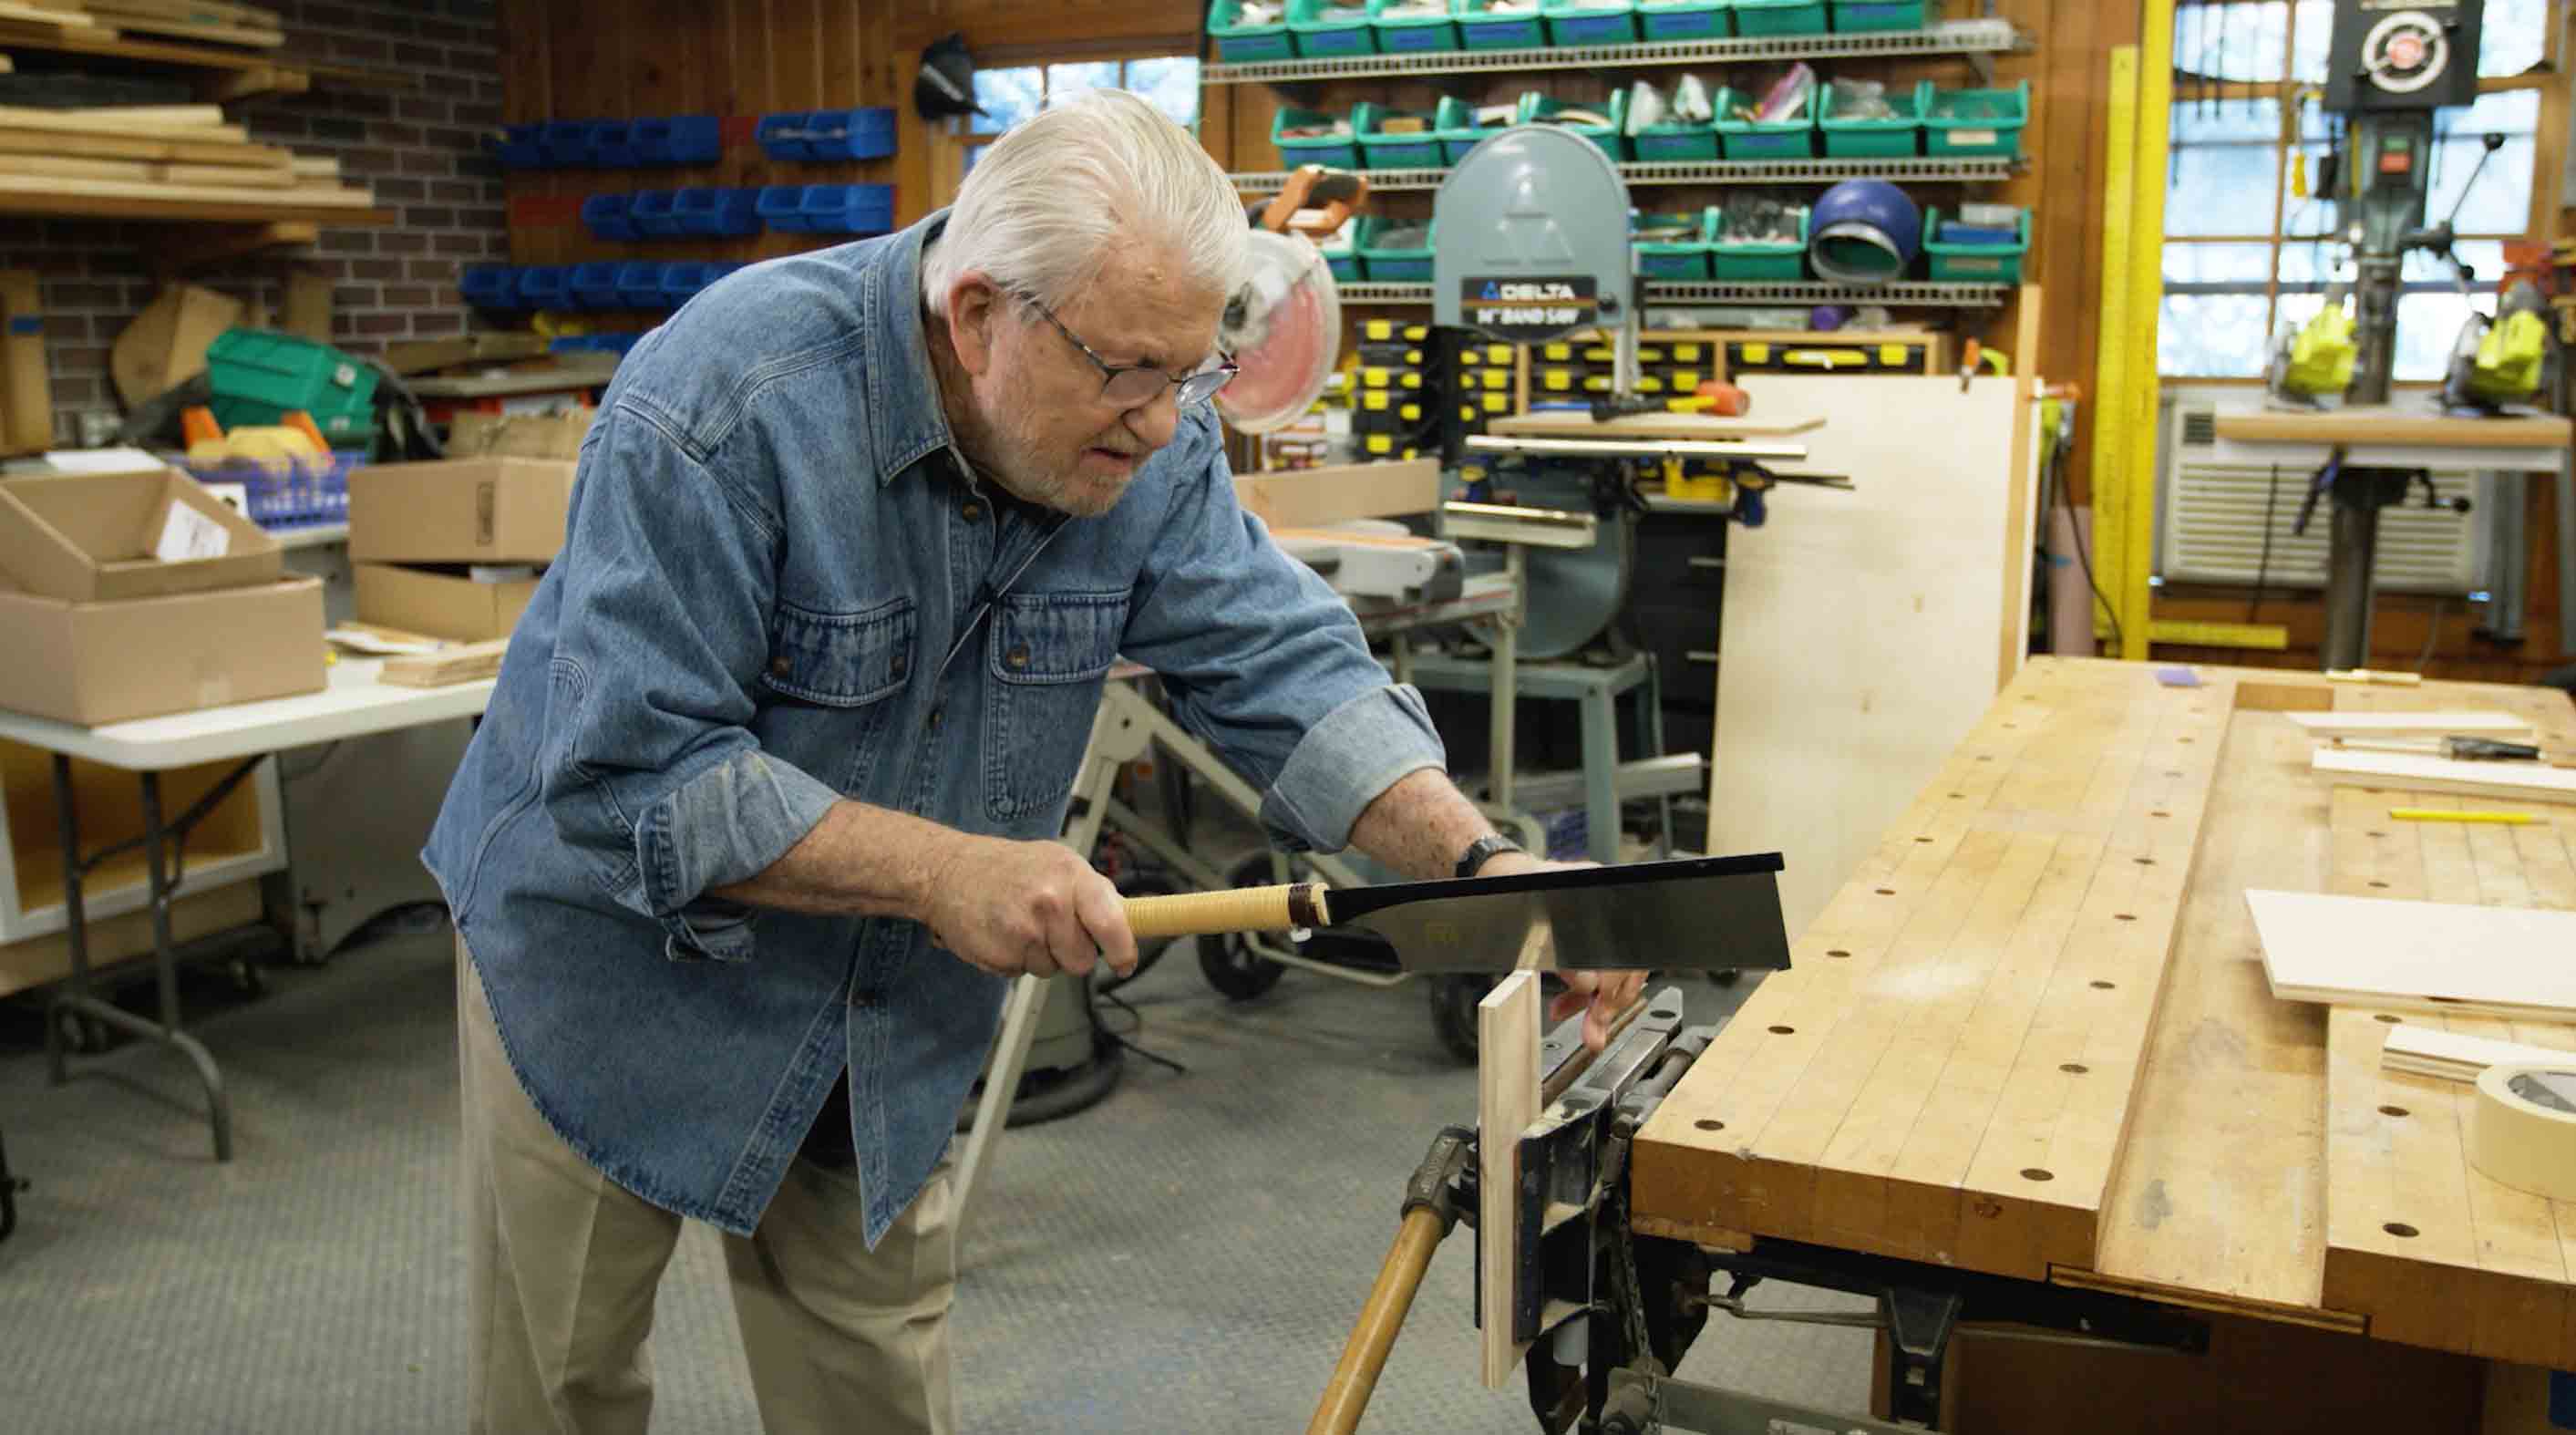 before, you are familiar with this unique stair-step feature. The notches on the leading edge of the push stick allows you to put downward pressure on the workpiece. Some push sticks have one larger step feature, however in my DIY push stick I created three because this allows you to use it more accurately with different thickness material.
In this project, I used three sizes of plywood - quarter inch, half inch and three-quarter inch. Using these three sizes, I created notches as seen @2:02 that I cut out with my japanese hand saw. While you can also do this with a band saw, I prefer the japanese saw for its many advantages.
This DIY push stick is intended to work equally well for ¼ inch, ½ inch or ¾ inch material.
CREATING THE HANDLE
For my handle, I cut out a blank and trimmed it to length on the miter saw. Then, using a tape roll as a guide, I traced a curve for the top edge of the handle. Nothing fancy here, just making a smooth edge for the handle. I used a bandsaw to cut out the shape, smoothed it on a disc sander, and sanded away any sharp edges.
What’s left is to find and mark the screw locations, usually about two inches in from each end. Over at the drill press, I first bore counter-sinks and then two clearance holes for the handle’s screws.
The last step is to simply center the handle, use Cyanoacrylate glue with an accelerator to keep it in position. Next, flip it over and clamp the handle in the vice. A couple of screws will then secure the handle to the top.
PUTTING IT TOGETHER
 While you are already at the vice, it’s time to attach the sides and finalize your DIY push stick.
I draw a line 3/8ths of an inch from the edge of the sides to indicate the center of the ¾ inch thick top, mark the screw locations along the line and bore clearance holes. Now, re-clamp the top in the vice, place the side in position, and then drive in screws through the clearance holes. The same process is followed for the opposite side.
And just like that you have your own DIY push stick that you can use with confidence. This design glides smoothly, won’t slip, and most importantly keeps your hand well away from the blade. As always, use all safety precautions when operating a table saw.
Now the next thing you want to think about is selecting the right circular saw blade for your project!
Recommended Articles
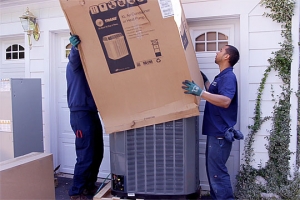
The How’s and Why’s of Upgrading a Central AC System
A step-by-step video demonstration showing removal and replacement of a central air conditioning system. Includes advantages of new, state-of the-art AC systems.
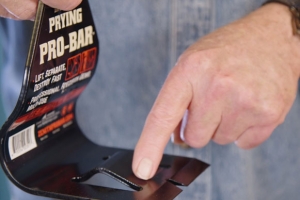
If You’ve Got a Project That Involves Demolition, You’ll Want to Know About This Tool.
I try out a new tool designed and engineered to do one task exceptionally well -- demolition.