How to Make a DIY House Number Sign
How to Make a House Number Sign
Recently, a friend asked me to make a house number sign because they had a long driveway that was also shared with another home. They wanted a house number sign so that visitors wouldn’t become confused - and to add curb appeal. While there is an abundance of standard home signs that you can buy at any hardware store, nothing adds a touch of elegance like a homemade number sign with your address on it. There are many options of numbered ceramic tile to choose from that will showcase your personality or complement your home’s style. From bright colors or designs with a little (or a lot) of flair, there is something for everybody. It’s a great way to add personality and make a first impression on all your visitors. Any tile you choose is guaranteed to add a classic touch to your home.
In this p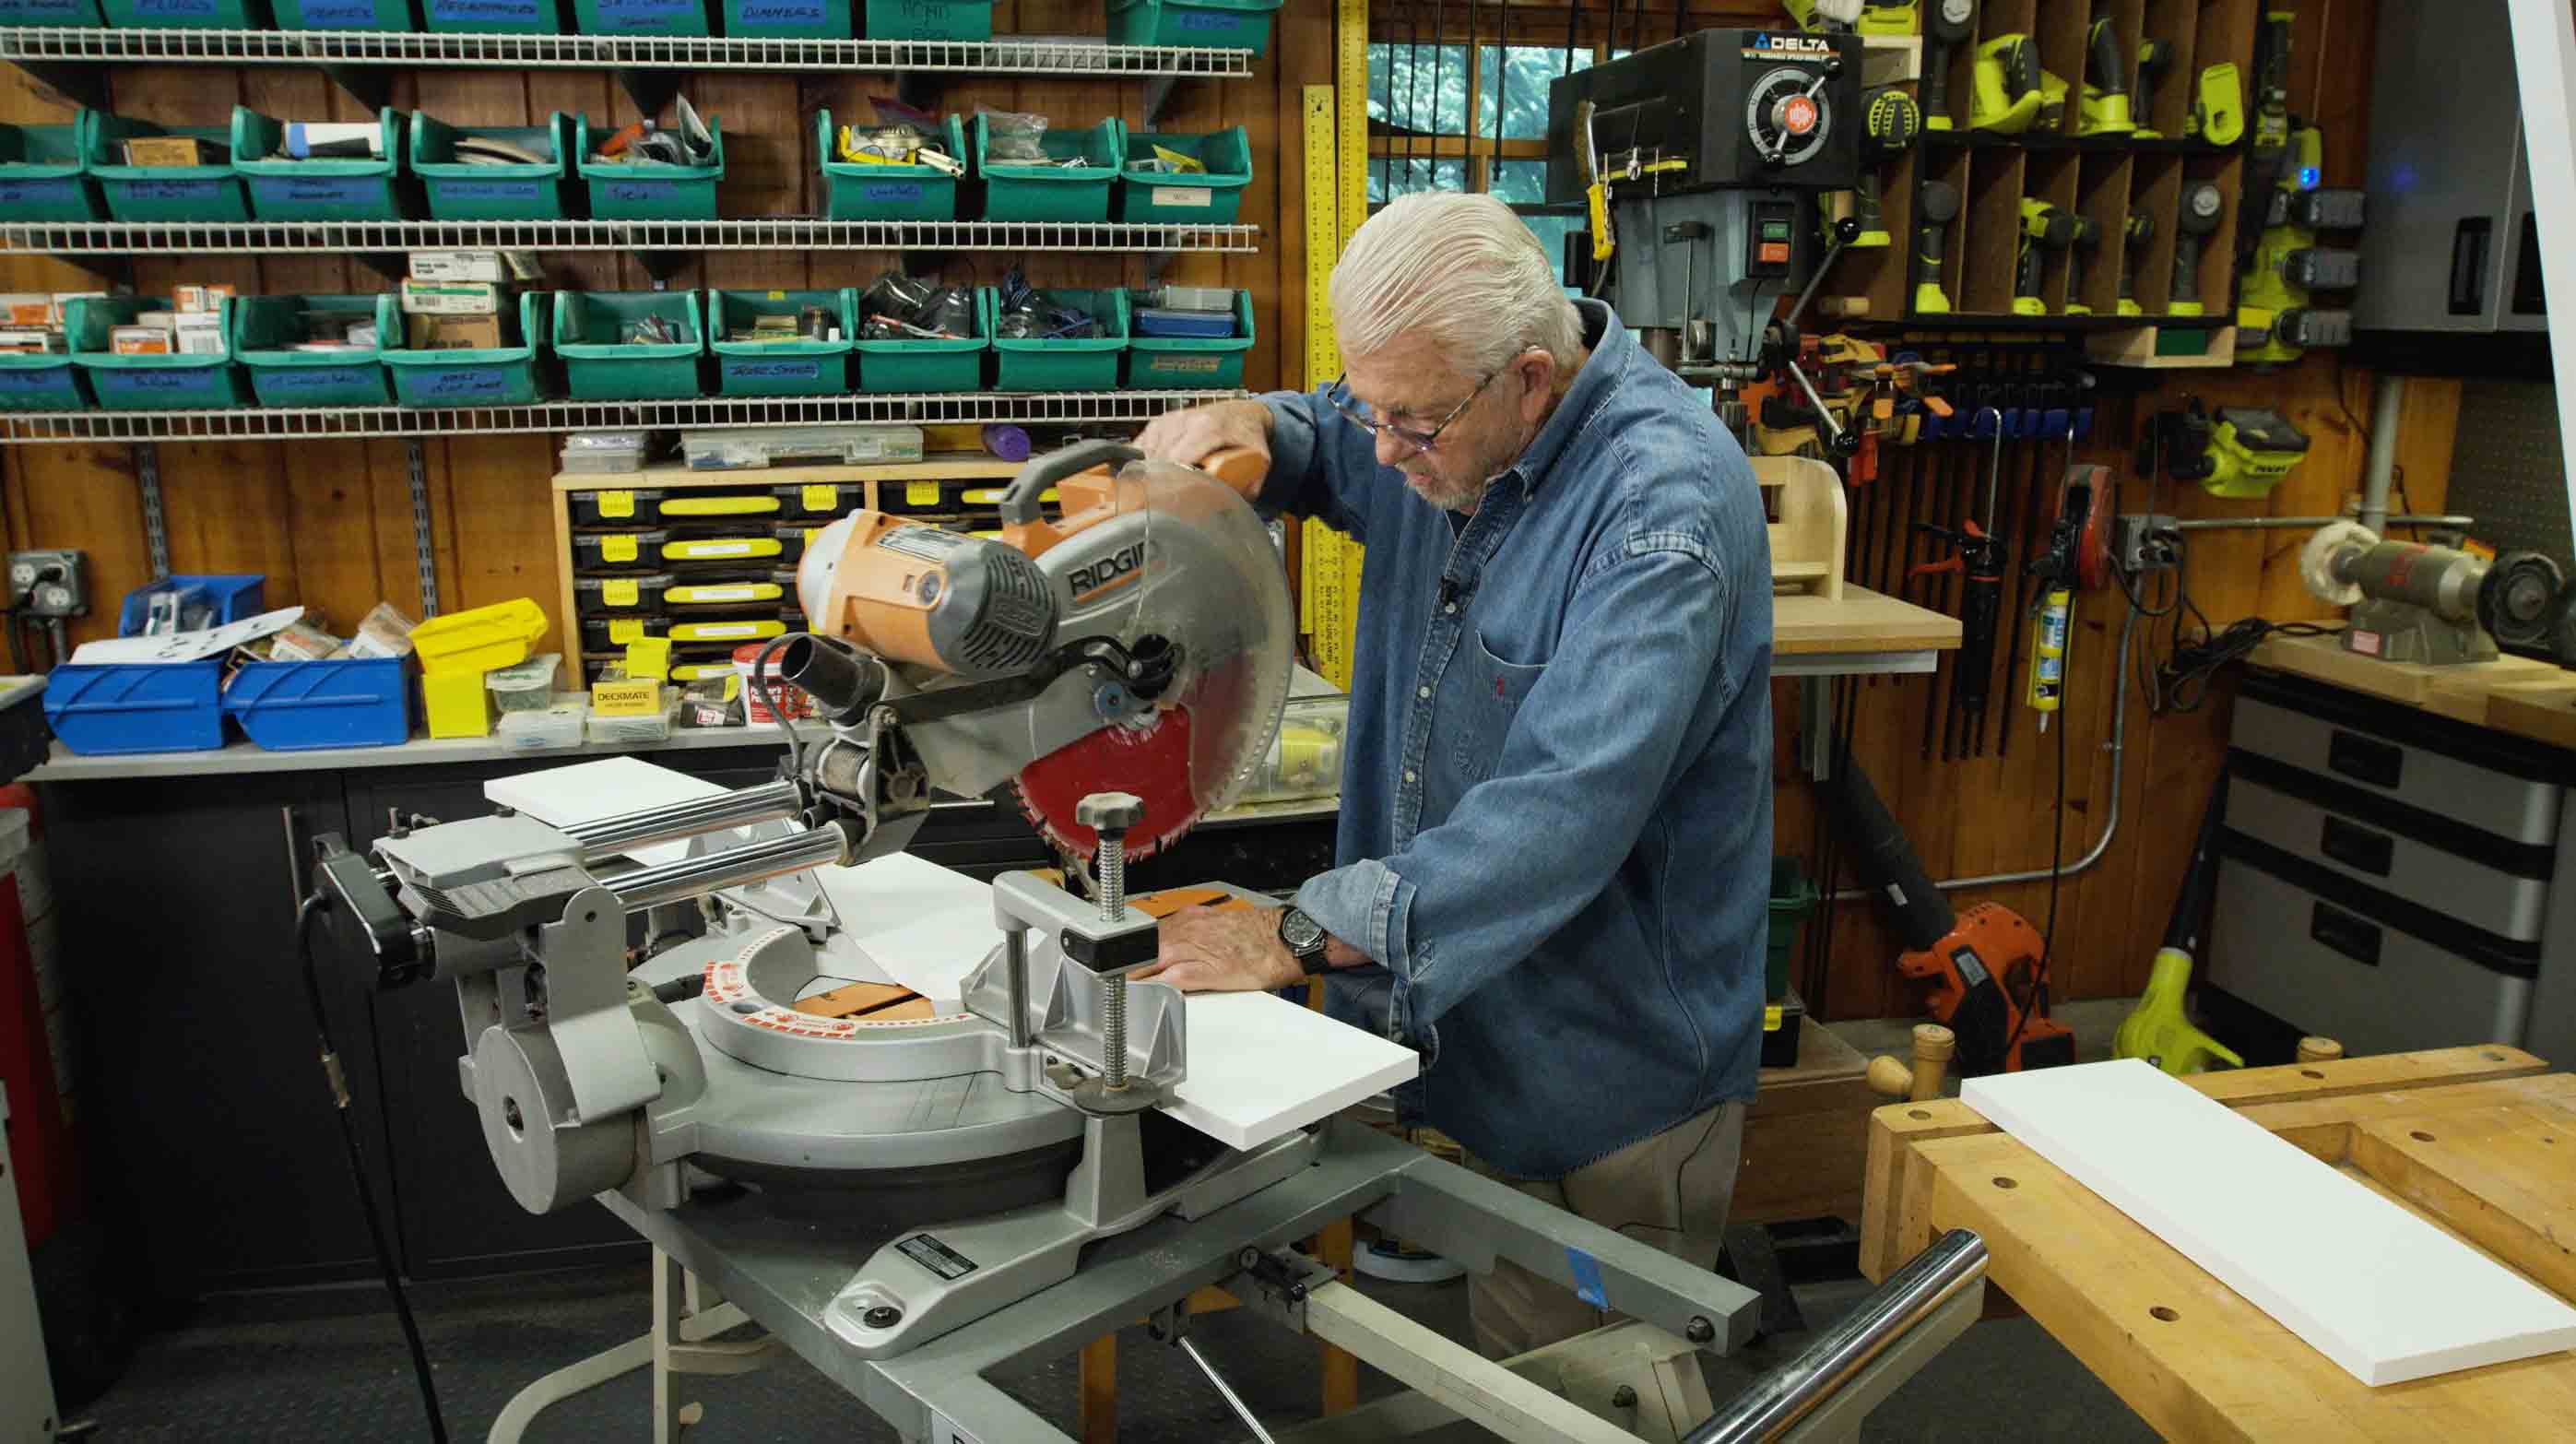 ost, I’ll show you step-by-step how I made my DIY house number sign - everything from considerations and decisions to make upfront through the whole process until completion.
BEFORE YOU START
So what do you need to consider about how to make a DIY house number sign? The first thing to think about is your materials. I chose PVC boards because I wanted a durable and waterproof material that requires little to no maintenance. You should also consider and plan for how you want to mount the board - whether you want to stake it into the ground or if you will be mounting it onto the side of your home.
In my project, I intentionally left the backboard oversized. And, you’ll see why that is important when we get to cutting the frame.
LAYING DOWN CERAMIC TILE
You’ll want to dry-fit and lay your ceramic tile on the backboard to measure and make sure that you have adequate space for your border. You will be adding trim molding, so you want to plan for that. Using the power miter saw, cut the backboard to length.
CREATING THE FRAME
I used a 1x2 version of the PVC material and cut it to size. Simply lay the piece along your backboard and make your marks. It will be approximately the same length and width as the PVC backboard.
I decided to bevel two edges because I felt it was a little heavy in relation to the tile that I chose. This also gives it a more classic look. To do this, I used a router table. Here’s a tip; If you don’t have a router table, you can use a hand-held router or even a plane to do it.
Before you start, it is important to set up the router table machine correctly. Here’s a tip; position the safety guide above the top of the workpiece. Then, use featherboards that will help keep the material firmly in contact with the router table surface. It’s as easy as passing the board through and now I have a nice edge for my design.
SETTING THE TILES
The next step is to affix the tiles to the backboard. I used epoxy mainly because of the PVC material that I am using. Usually, I would use a thin-set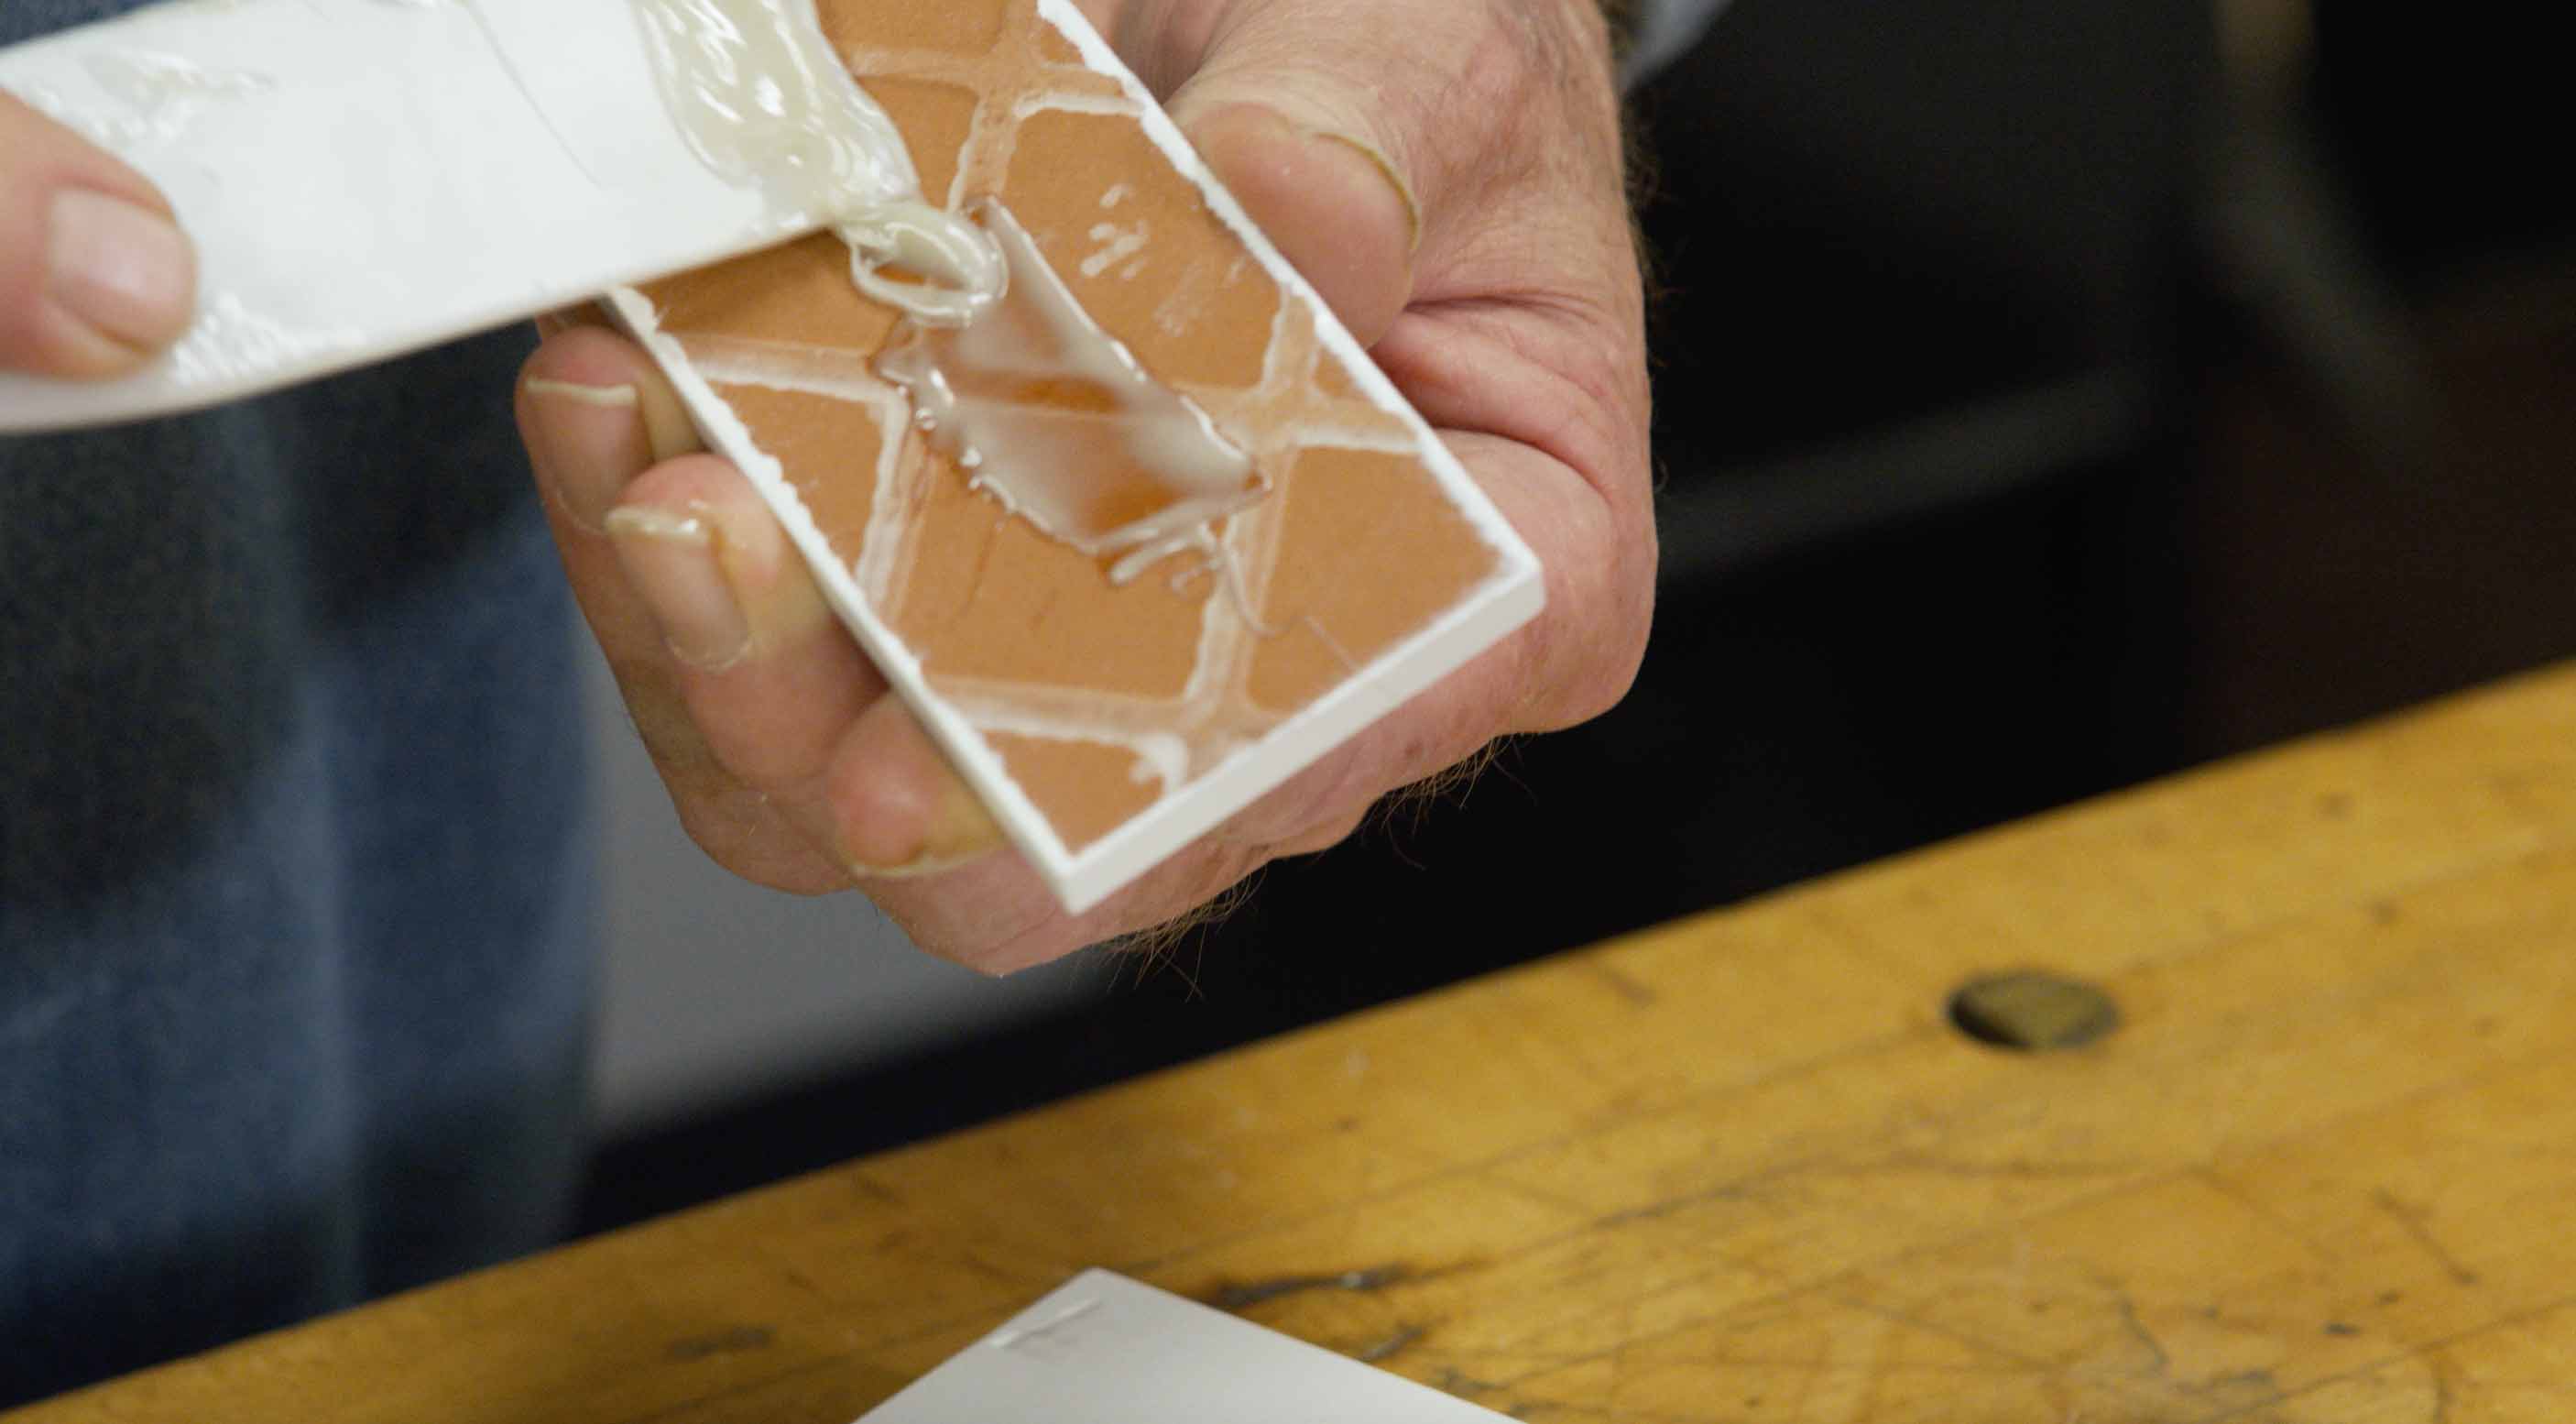 mortar with ceramic tile. But, since we are using PVC I want to make sure that it adheres well to the PVC.
How do you know if your tiles are straight? To do so, clamp the straight edge and push the tiles against it to align the piece perfectly.
I applied the epoxy to the back of the tile and allowed it to set for 30 minutes, according to the instructions on the epoxy I used. JB Weld Plastic Bonder
CUTTING THE FRAME
Once the tile is firmly bonded, I mark the interior corners of the frame sections. Using a miter saw, I cut 45-degree angles on both ends. Do a test fit to make sure that the corners are aligned. Once you’re satisfied, using the same epoxy, glue the frame to the backboard. You can use a pin needler to make sure that nothing moves while the epoxy is drying. It’s easy to cover those pinholes with exterior spackle.
Now, remember when I said that I intentionally left the backboard slightly oversized? At this step, you’ll see why that was important. Once the frame is fixed to the backboard, I cut the backboard flush with the frame for a seamless and classic look.
THE FINISHED PRODUCT
You can either mount the house number sign to the house using rust-resistant screws or can be mounted on a stake and driven into the ground.
The stake can be made from the same 1x2 PVC material that was used for the frame.
Simply choose the appropriate length based on where you will be using the stake. Mark one end and cut so that you have a pointed end. Then, drill countersinks and clearance holes so you can attach the stake to the sign.
My friend used the stake to put the house number sign at the top of his driveway, adding instant curb appeal. Like my friend, to get the most out of your curb appeal, you’ll want to make sure your driveway looks good as new and manicured. Check out my project about how to resurface your driveway, which can make the entrance of your home look meticulous for all your visitors.
Feel free to share your unique DIY house number sign with us on social media @ronhazelton
Recommended Articles

The How’s and Why’s of Upgrading a Central AC System
A step-by-step video demonstration showing removal and replacement of a central air conditioning system. Includes advantages of new, state-of the-art AC systems.
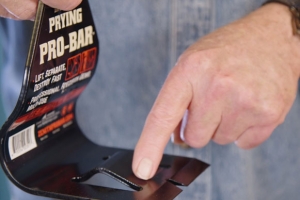
If You’ve Got a Project That Involves Demolition, You’ll Want to Know About This Tool.
I try out a new tool designed and engineered to do one task exceptionally well -- demolition.