Shower Surround is an Alternative to Traditional Ceramic Tile
This post is in partnership with Decorative Ceiling Tile. The opinions and recommendations are my own.
For more information on the Shower Surround Kit featured in this video CLICK HERE.
How A Shower Surround Can Be an Attractive and Affordable Upgrade to Your Bathroom
What’s an alternative to traditional ceramic tile that's durable, non-porous, grout-free, easy to clean, and that you can do yourself? If you want the look of tile without the expense, the answer may be a shower surround just like this one.
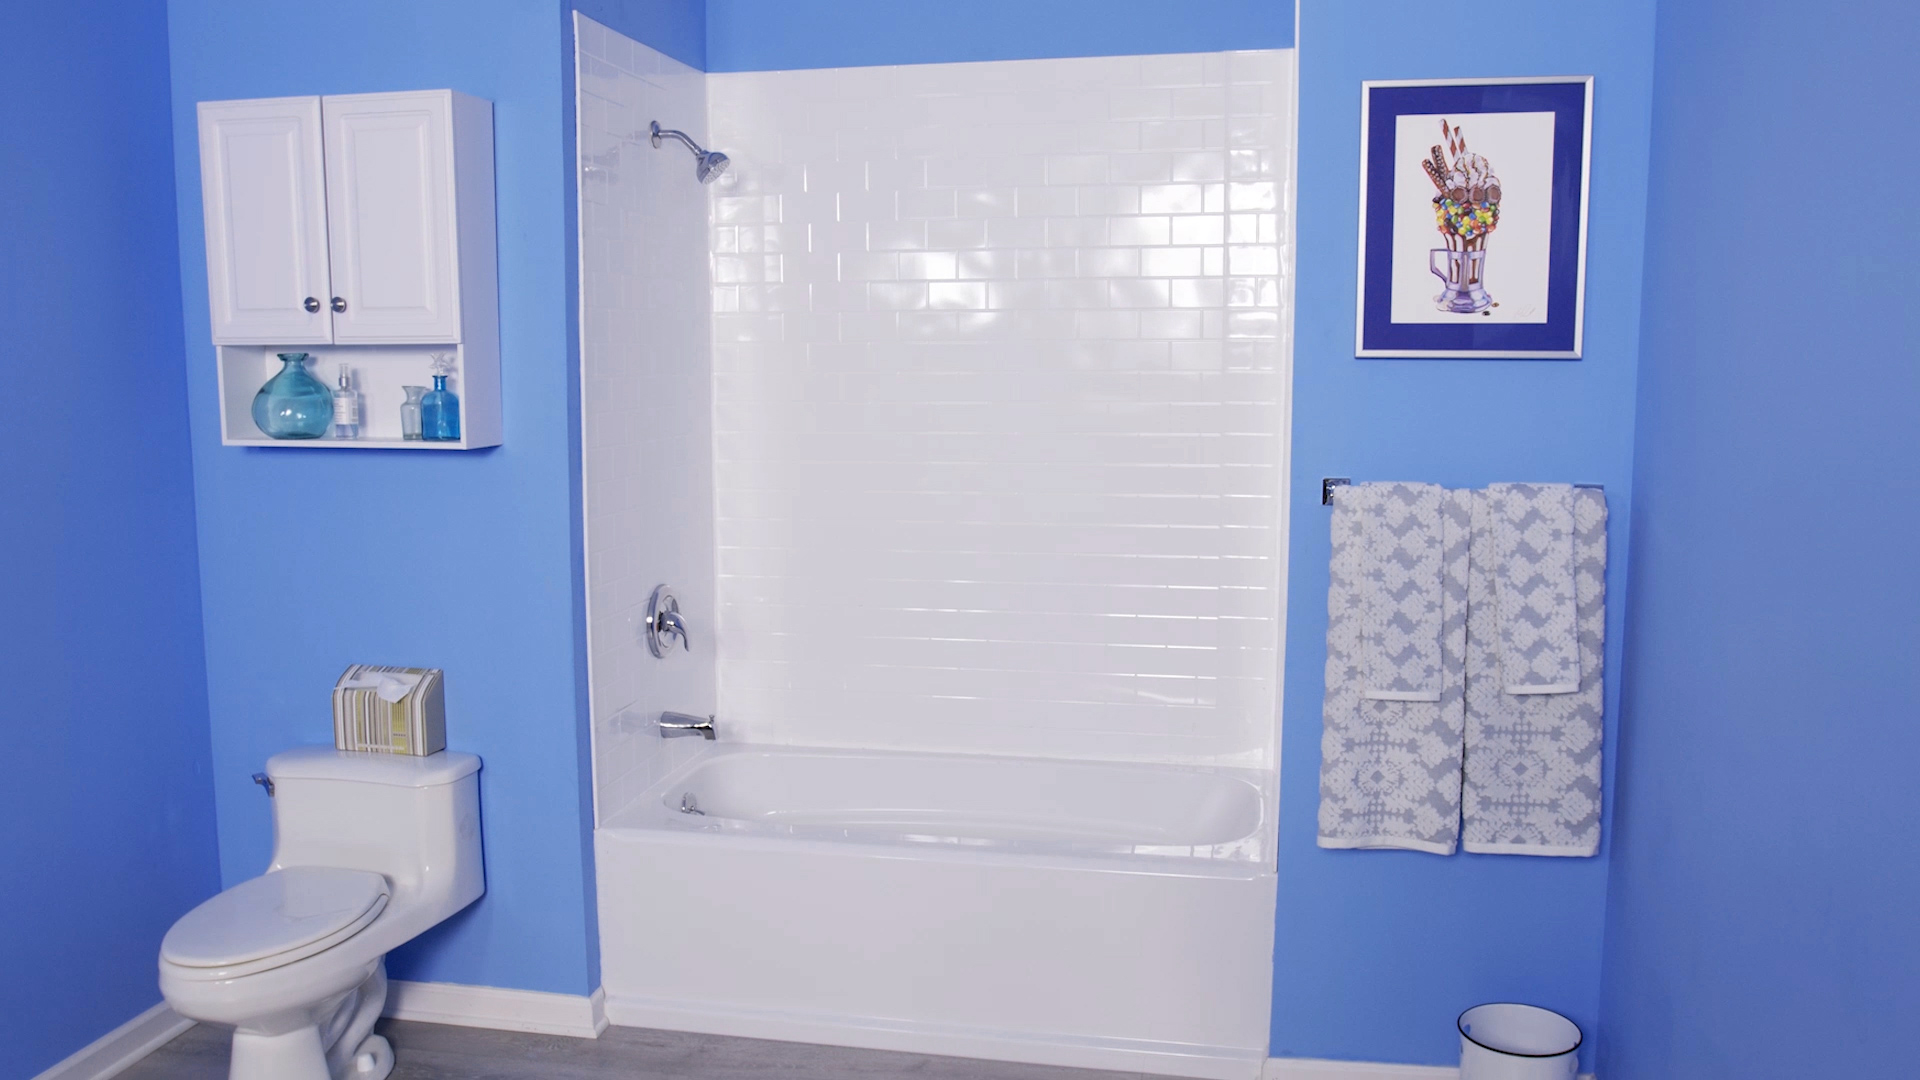 These shower surround panels are a great solution if you want to refresh and brighten up your bathroom. Plus, they can hide stained, old, and dingy walls.
Nowadays, the shower surround panels are constructed with both durability and style in mind. There are many designs, colors, and patterns to choose from. I chose a shower surround kit with a white subway tile pattern for this project.
The shower surround comes in large panels which are easy to clean and maintain. You won’t need to worry about cleaning grout lines or hard-to-reach corners. The panels can be easily wiped down with a sponge or cloth.
Installing the shower surround is much easier than tiling and is a very cost-effective way to remodel your bathroom. Watch my video to see how I did it and I hope you find some helpful tips along the way. Simply put, it’s an easy, affordable, and attractive alternative to traditional ceramic tiles.
What comes in the shower surround kit?
The kit comes with three panels; one for the back, one for each end, and two trim strips.
Before you begin
Before you start your project, bring the kit into the same room where you’re going to install it at least 24 hours in advance so that the material can acclimate to the temperature and humidity.
To prepare the area, you’ll want to remove the plumbing fixtures and wipe down the walls with a clean, dry cloth to remove any dust or residue.
When removing the bath spout, I find that the strap-wrench works best and avoids damage to the finish. The shower valve is removed by loosening the set screws on the underside of the handle then backing out the screws that hold the adjusting ring in place and pulling it free. Finally, you’ll need to remove the two screws holding the escutcheon or trim plate and lift it off. The showerhead and arm can then be unscrewed.
How do you cut the panels?
When it comes to cut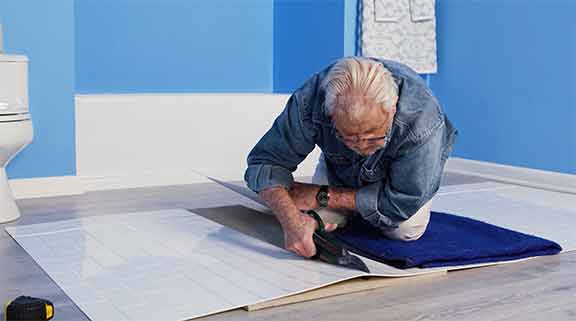 ting the panels, there are several choices: a pair of scissors, a sharp utility knife (several shallow passes work best here), or a pair of snips. Personally, I find that the snips give me more leverage than the scissors.
Before you bore holes for the fittings, it's crucial to get precise measurements from the back wall and top edge of the tub to the center of the fixtures. Then, transfer those measurements to the side panel and mark the fixture locations. Before boring holes, put the panel on a piece of rigid foam insulation (or heavy cardboard) to protect the floor or other surface beneath. Use a hole saw to create the openings for the fixtures.
Dry fitting is important
To create water-tight corners you’ll want to bend the side panels along the crease and create a flap that will extend into and around to the corner as shown @3:22.
Now it’s time to test fit the panels, I use masking tape to hold them in place temporarily. Then, draw a line along the top edge of the panels to help with alignment later on and to mark the boundary of the adhesive.
Once e the test fit is complete, clean the walls again with a dry cloth to remove any dust that may interfere with the adhesive working properly.
I use FRP Adhesive, or Fiberglass Reinforced Plastic Panel Adhesive to adhere the panels to the wall. This material has a work time of 30 to 45 minutes, so you don’t need to rush. 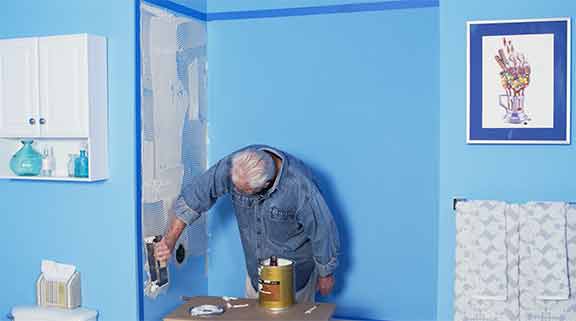
For the flap, I use a quick-grab adhesive in a zig-zag pattern, starting in the corner and coming out about six to eight inches.
I apply the adhesive using a notched trowel tipped up on the edge, about 30 degrees, to create uniform furrows or ridges in the adhesive. When the panel is put up, these ridges will flatten ensuring that the adhesive makes uniform contact with the back of the panel and compensating for any undulations or unevenness in the walls.
The panels are positioned and then pressed into contact with the adhesive. To ensure a good bond, a
“J” roller (or a heavy rag) is used to press out any air bubbles. When doing this, I always move from the center of the panel to the outer edges.
The end panels are installed first, then the back panel. Once the back panel is in place, I peel back the edges where they overlap the end panel flap, apply a bead of silicone sealant and press the back panel into the silicone bead. This ensures a water-tight seal between the back and end panels.
Even though the adhesive grabs quickly, I like to make certain the panels don’t move while the adhesive dries. I apply strips of masking tape around the edges to keep everything in place. When the adhesive has set, I take the tape off.
The shower surround kit comes with trim pieces that are applied to the exposed edges of the side panels. I apply silicone sealant to the inside of the channel, slip the trim onto the panel edge, apply silicone to the back of the trim, then set the panel in place with the trim already attached. The trim can be cut to length using either a sharp utility knife or a pair of scissors.
 The last step of the installation is to apply a bead of white silicone sealant where the bottom of the panels meet the top of the tub. I cut the nozzle closer to the tip to create a rather small opening. Not only does the sealant give the project a finished look, but it also ensures a water-tight seal.
If you’re looking for an easy, affordable, and attractive alternative to traditional ceramic tiles, a shower surround could be the answer. Want more bathroom ideas? Check out my DIY projects and upgrade ideas for even more inspiration.
Recommended Articles
The How’s and Why’s of Upgrading a Central AC System
A step-by-step video demonstration showing removal and replacement of a central air conditioning system. Includes advantages of new, state-of the-art AC systems.
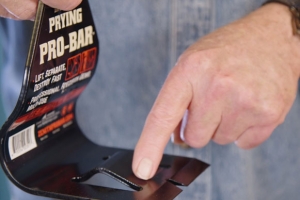
If You’ve Got a Project That Involves Demolition, You’ll Want to Know About This Tool.
I try out a new tool designed and engineered to do one task exceptionally well -- demolition.