Build a Wood Baby Cradle A Few Easy Steps
Build a Beautiful Wooden Cradle for Your Baby
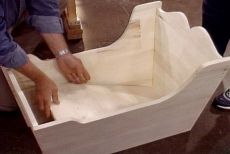
Follow these simple woodworking plans to construct a rocking wooden cradle that can be painted or stained. Seven main pieces are cut from solid 1-inch wood panels and then assembled with glue and countersunk screws hidden under wooden plugs. The cradle bottom is secured on narrow rails and provides additional structural support to the baby bed.
Read More
Plan the Design and Dimensions of the Baby Cradle
Draw the plans for the wooden cradle on paper and mark the dimensions of each component. The project requires cutting a headboard, footboard, two sides, a bottom, two rockers, and narrow wooden strips to support the bottom.
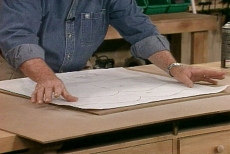
Prepare a Full-Scale Drawing of the Curved Cradle Components
Make full-sized paper drawings of the curved headboard, footboard, and rockers. Spray adhesive on the back, turn them over, and glue the drawings onto 1/4-inch hardboard, smoothing them from the center outward to avoid wrinkles.

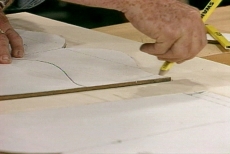
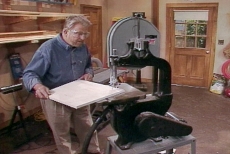
Cut out the Shapes to Make Hardboard Templates
Cut along the lines of the drawing. Use a band saw and cut through the paper and hardboard to make light-weight but stiff templates.
Trace the Templates onto Solid Wood Panels
Trace the shape of each template with a pencil to mark cut lines on the solid wood panels. Be sure to keep the templates aligned with the grain of the wood.
Cut All the Curved and Rectilinear Cradle Parts
Cut each cradle component, cutting along the trace lines for the curved parts and carefully measuring and marking for the rectilinear pieces.

Install One-by-one Wooden Strips to Support the Bottom
Cut one-by-one wooden strips to attach at the bottom of the headboard, footboard, and both sides to support the cradle bottom. Glue and secure the strips with screws.
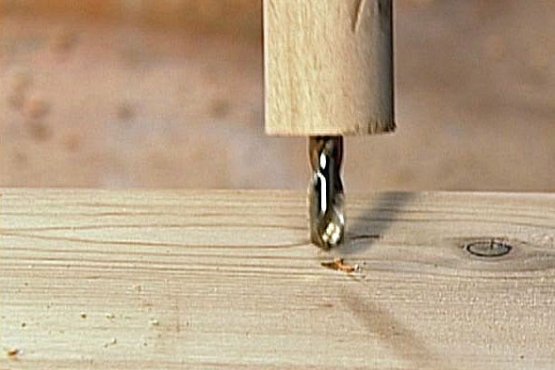
Attach the Sides to the Headboard and Footboard
Apply glue to one edge of the headboard and butt it against the inside edge of one side panel. Insert screws through pre-drilled countersunk holes to secure the pieces. Repeat to attach the footboard and second side.
Attach the Cradle Bottom to the Support Strips
Drop the bottom into the cradle from the top after pre-drilling countersunk screw holes around the perimeter. Insert screws to attach the bottom to the support rails.
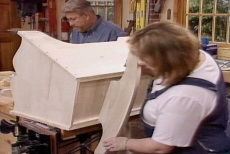
Secure the Rockers to the Underside of the Cradle
Apply glue to the tops of the rockers and position them against the underside of the cradle under predrilled and countersunk screw holes. Insert screws to secure them.
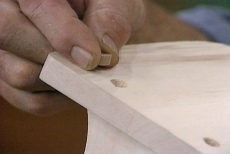
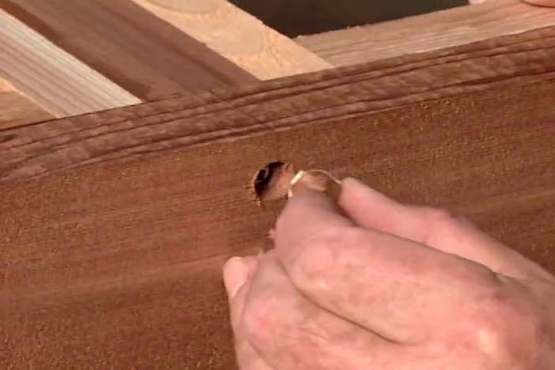
Glue Wooden Plugs in Each Countersunk Screw Hole
Dab a little glue in each screw hole and position a wooden-plug in each. Tap each plug gently with a hammer to seat it in the hole.
Related Tips


Blog Articles

Creating a Glossy Bar Top Finish: A DIY Guide
Have you ever wanted to elevate the look of your home bar that looks like liquid glass? A glossy bar top can add a touch of sophistication and style to your space. In this DIY guide, we will walk you through the steps to create a stunning glossy bar top that will impress your guests and elevate your home entertainment experience.

Techniques for using Heavy-Weight and Light-Weight Spackle
A ding, small hole, or big scratch is bound to be in almost any home. Whether caused by moving heavy furniture or daily wear and tear, it’s something that is easily repaired. Did you know that there are two types of patching compounds used for repairing holes, dents, and cracks in walls?

Shiplap: The Wood That Says “Welcome Home”
Imagine a cozy cabin nestled in a snowy forest. What's one of the first things you notice? The warm, inviting shiplap walls, of course. Shiplap is synonymous with comfort, wrapping you in its rustic charm and timeless appeal. It's the wood that says, "Come on in, you belong here."


