A DIY Saw Guide Without Clamping
How to make a saw guide that requires no clamps to hold it in place
A rip-cut is a type of cut that refers to making long, lengthwise, and straight cuts on a piece of wood. You would use this type of cut for large sheets or boards in order to cut it down to workable sizes.
To make this cut accurately with a circular saw, can use a guide to make your cuts straight. The most typical way to do this is to clamp a straightedge on the workpiece and then run the soleplate of the saw along that straight edge using it as a guide. Is it possible to make a saw guide that does not require clamping? Yes, it is, and in this blog and video, I’ll detail how to do just that!
Materials:
- Rigid Insulation
- Strip of wood (roughly sized wider than the base of your saw)
- Wood strip (3/8th inch)
- Wood glue
- Brad nailer
- Nail file
- Few sheets of 120 grit sandpaper
 Wood that’s being ripped needs to be well supported on both sides of the cut. Also, since the saw blade must pass completely through the material being cut, there should be space beneath the workpiece or some kind of sacrificial material that can be cut into. I like to place a piece of rigid insulation on my workbench to both protect your surface and also act as a support on both sides of the saw kerf.
Step One: Measure & Cut
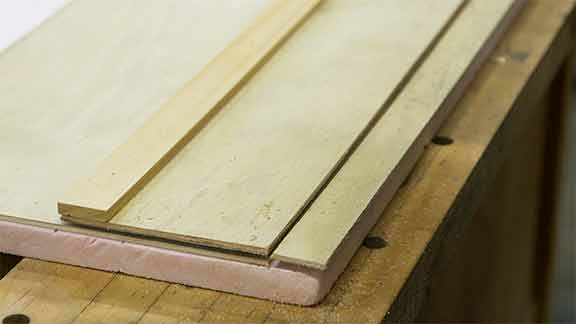
To make the clamp-free straightedge, start off by measuring a strip of wood that’s two inches wider than the base of your saw. This will be the bottom piece of the guide. Then, adjust the depth of the circular saw blade to be about a quarter of an inch deeper than the thickness of the material you are about to cut. Place the edge of the base plate up against the straight edge and go ahead and make your cut.
Step Two: Glue & Nail
 Now it’s time to fix a strip of wood to the base which will become the edge guide against which the saw base plate will glide. To do this, apply wood glue to a strip of three-eights inch wood and place the strip along one edge of the material you just cut. Then using a nailer, secure the strip with small brads to hold it in place until the glue dries.
Step Three: Final Touches
These last few steps finish up the saw guide and add a non-slip surface.
Turn the guide over, clip off the nails where they protruded through and file off any metal that sticks out above the surface of the wood.
To finish making your guide, place the saw base up against the attached strip of wood and cut off the excess material from the base. Notice that the distance from the wood strip to the edge of the guide is exactly the same as the distance from the edge of the saw base to the inside of the blade. Now you have a custom-made saw guide to work with your particular circular saw.
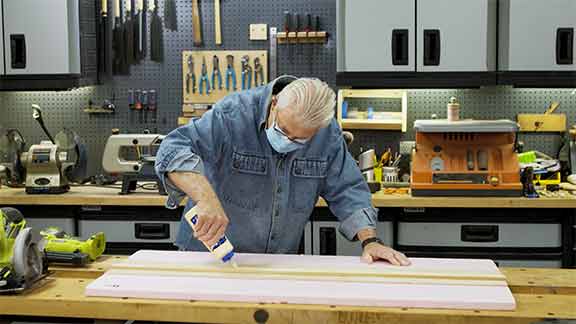
To provide a non-slip surface on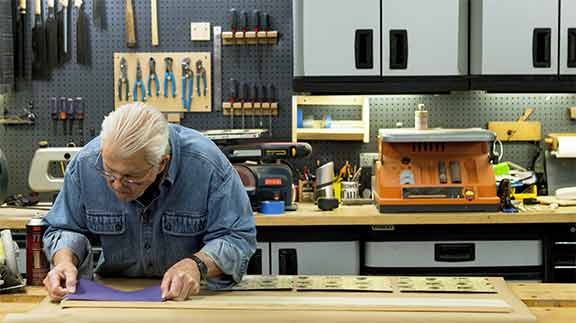 the back, I use several pieces of 120 grit sandpaper. I apply spray adhesive to the back of the sandpaper, then press the sandpaper bottom side of the saw guide.
Trim off any sandpaper that extends beyond the edge of the guide using a sharp utility knife.
Throughout this entire project, I recommend working on top of the rigid insulation board to avoid cutting or nailing into the work surface or workbench underneath.
This saw guide can be used and reused without the need for clamps. Simply set the edge of the guide on the cut line and you’re ready to go.
If you enjoyed making this saw guide, you may also like how to make your own push stick for the table saw.
Recommended Articles
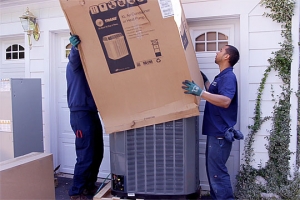
The How’s and Why’s of Upgrading a Central AC System
A step-by-step video demonstration showing removal and replacement of a central air conditioning system. Includes advantages of new, state-of the-art AC systems.
If You’ve Got a Project That Involves Demolition, You’ll Want to Know About This Tool.
I try out a new tool designed and engineered to do one task exceptionally well -- demolition.
