How to Easily Install a Drop Ceiling
This project was done in collaboration with Armstrong Ceilings. While I received compensation for the production of the video and article, the opinions, observations, and experience are my own. For more information about the Armstrong® QUICKHANG system installed in this project, visit Armstrong Ceilings' website.
New Hanging System Makes it Easy To Install a Drop Ceiling Yourself
Basements are one of those spaces where a change can become very dramatic. When I installed a drop ceiling in our unfinished basement, the transformation was remarkable.
A dropped ceiling (also known as a suspended ceiling) is hung by wire from the joists. It conceals plumbing and electrical in a way that also allows easy access for maintenance. In addition, it brightens up the space and gives it a more finished look - perfect for basements!
In this video, you’ll see how I used Armstrong®'s QUICKHANG kit to easily install a drop ceiling. I’ll explain each step of the process, tips I learned along the way, and show you how this system makes it truly easy to do this yourself.
SETTING UP THE FRAMEWORK
A suspended ceiling has three components; (1) A molding or rail that goes around the walls of the room, (2) a grid that is suspended by wire and drops into the rail - this is comprised of main beams and cross Ts that carry the weight of the ceiling, and (3) panels that drop into the grid.
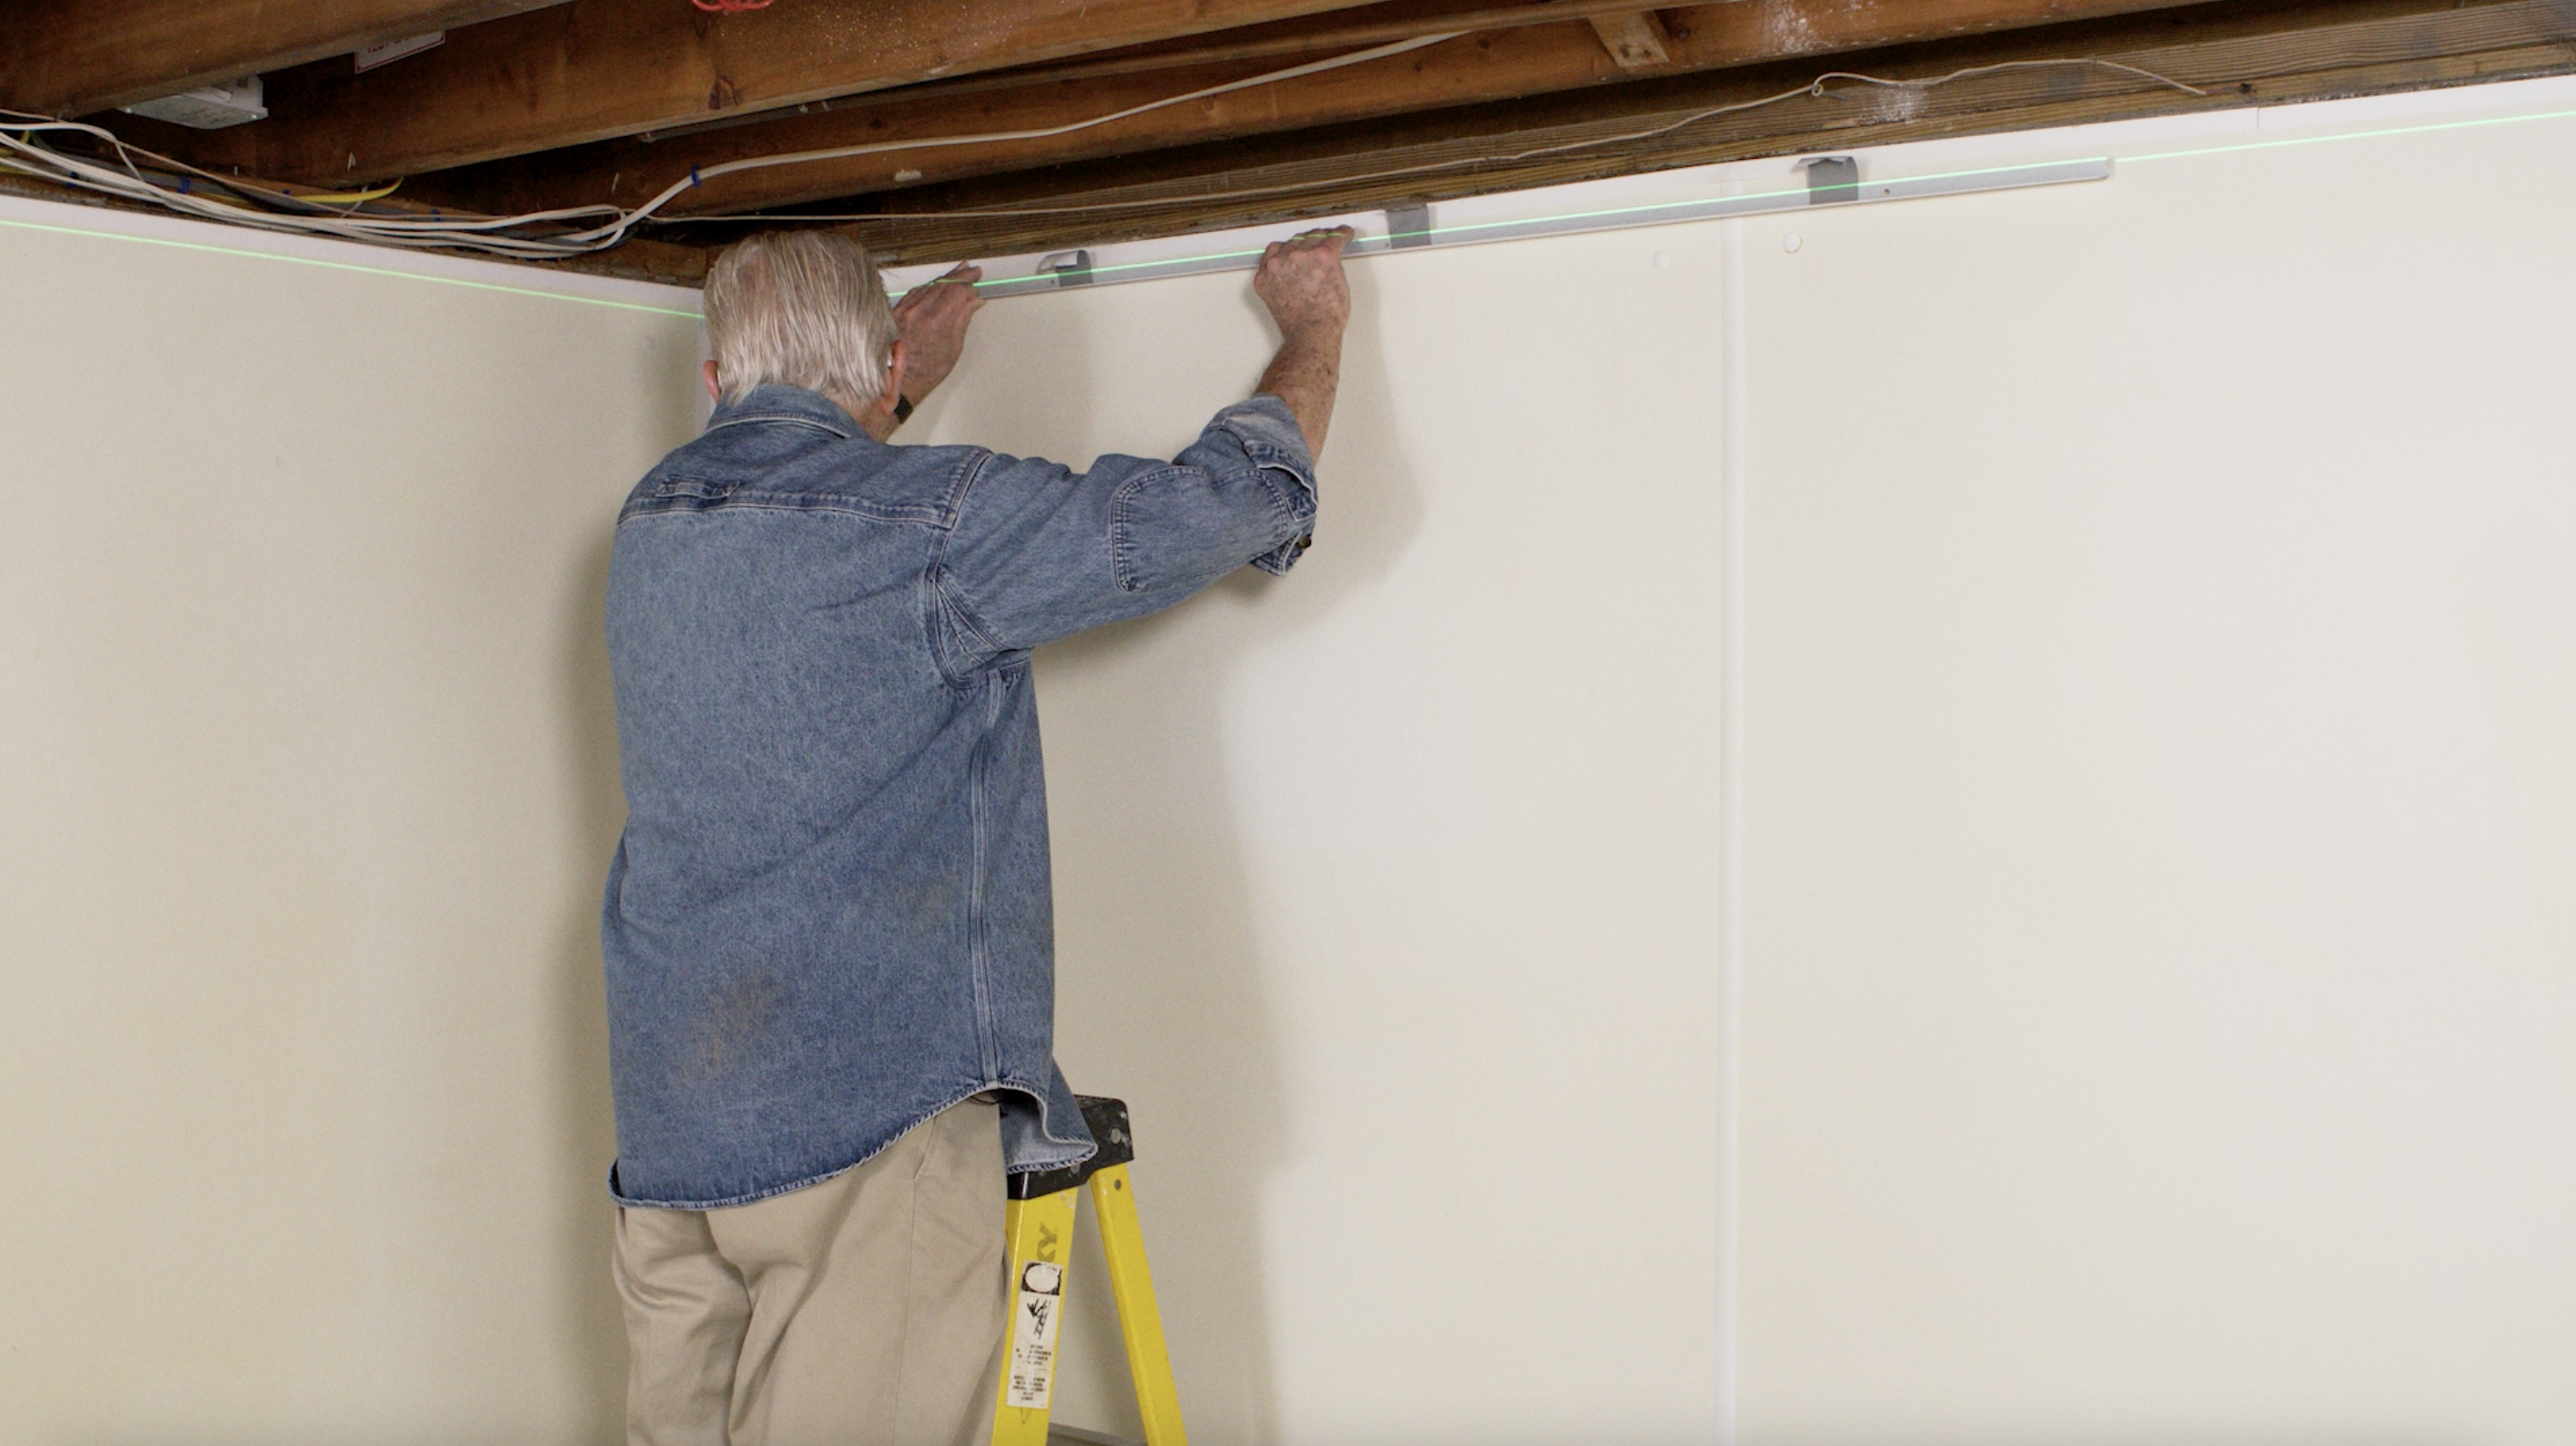
The first step, before you even begin installing the framework, is to make sure that the wall rail is the proper height because this determines the height of the ceiling. Measure down from the bottom of the floor joist and make a mark to indicate where you want to top of the wall rail. Know that it is important for the ceiling to be low enough to clear any obstructions, yet high enough to provide adequate ceiling height.
The wall rail also needs to be level all the way around the room. How do you ensure that it is level? Well, there are several ways to do that. You can extend a level line by using a 4-foot level or by measuring down at 2 points on a wall, driving a nail, and striking a chalk line. However, the fastest way to get a level line around the room is with a laser level. These can be rented or purchased for under $50.
A FEW TIPS FOR INSTALLING THE WALL RAIL
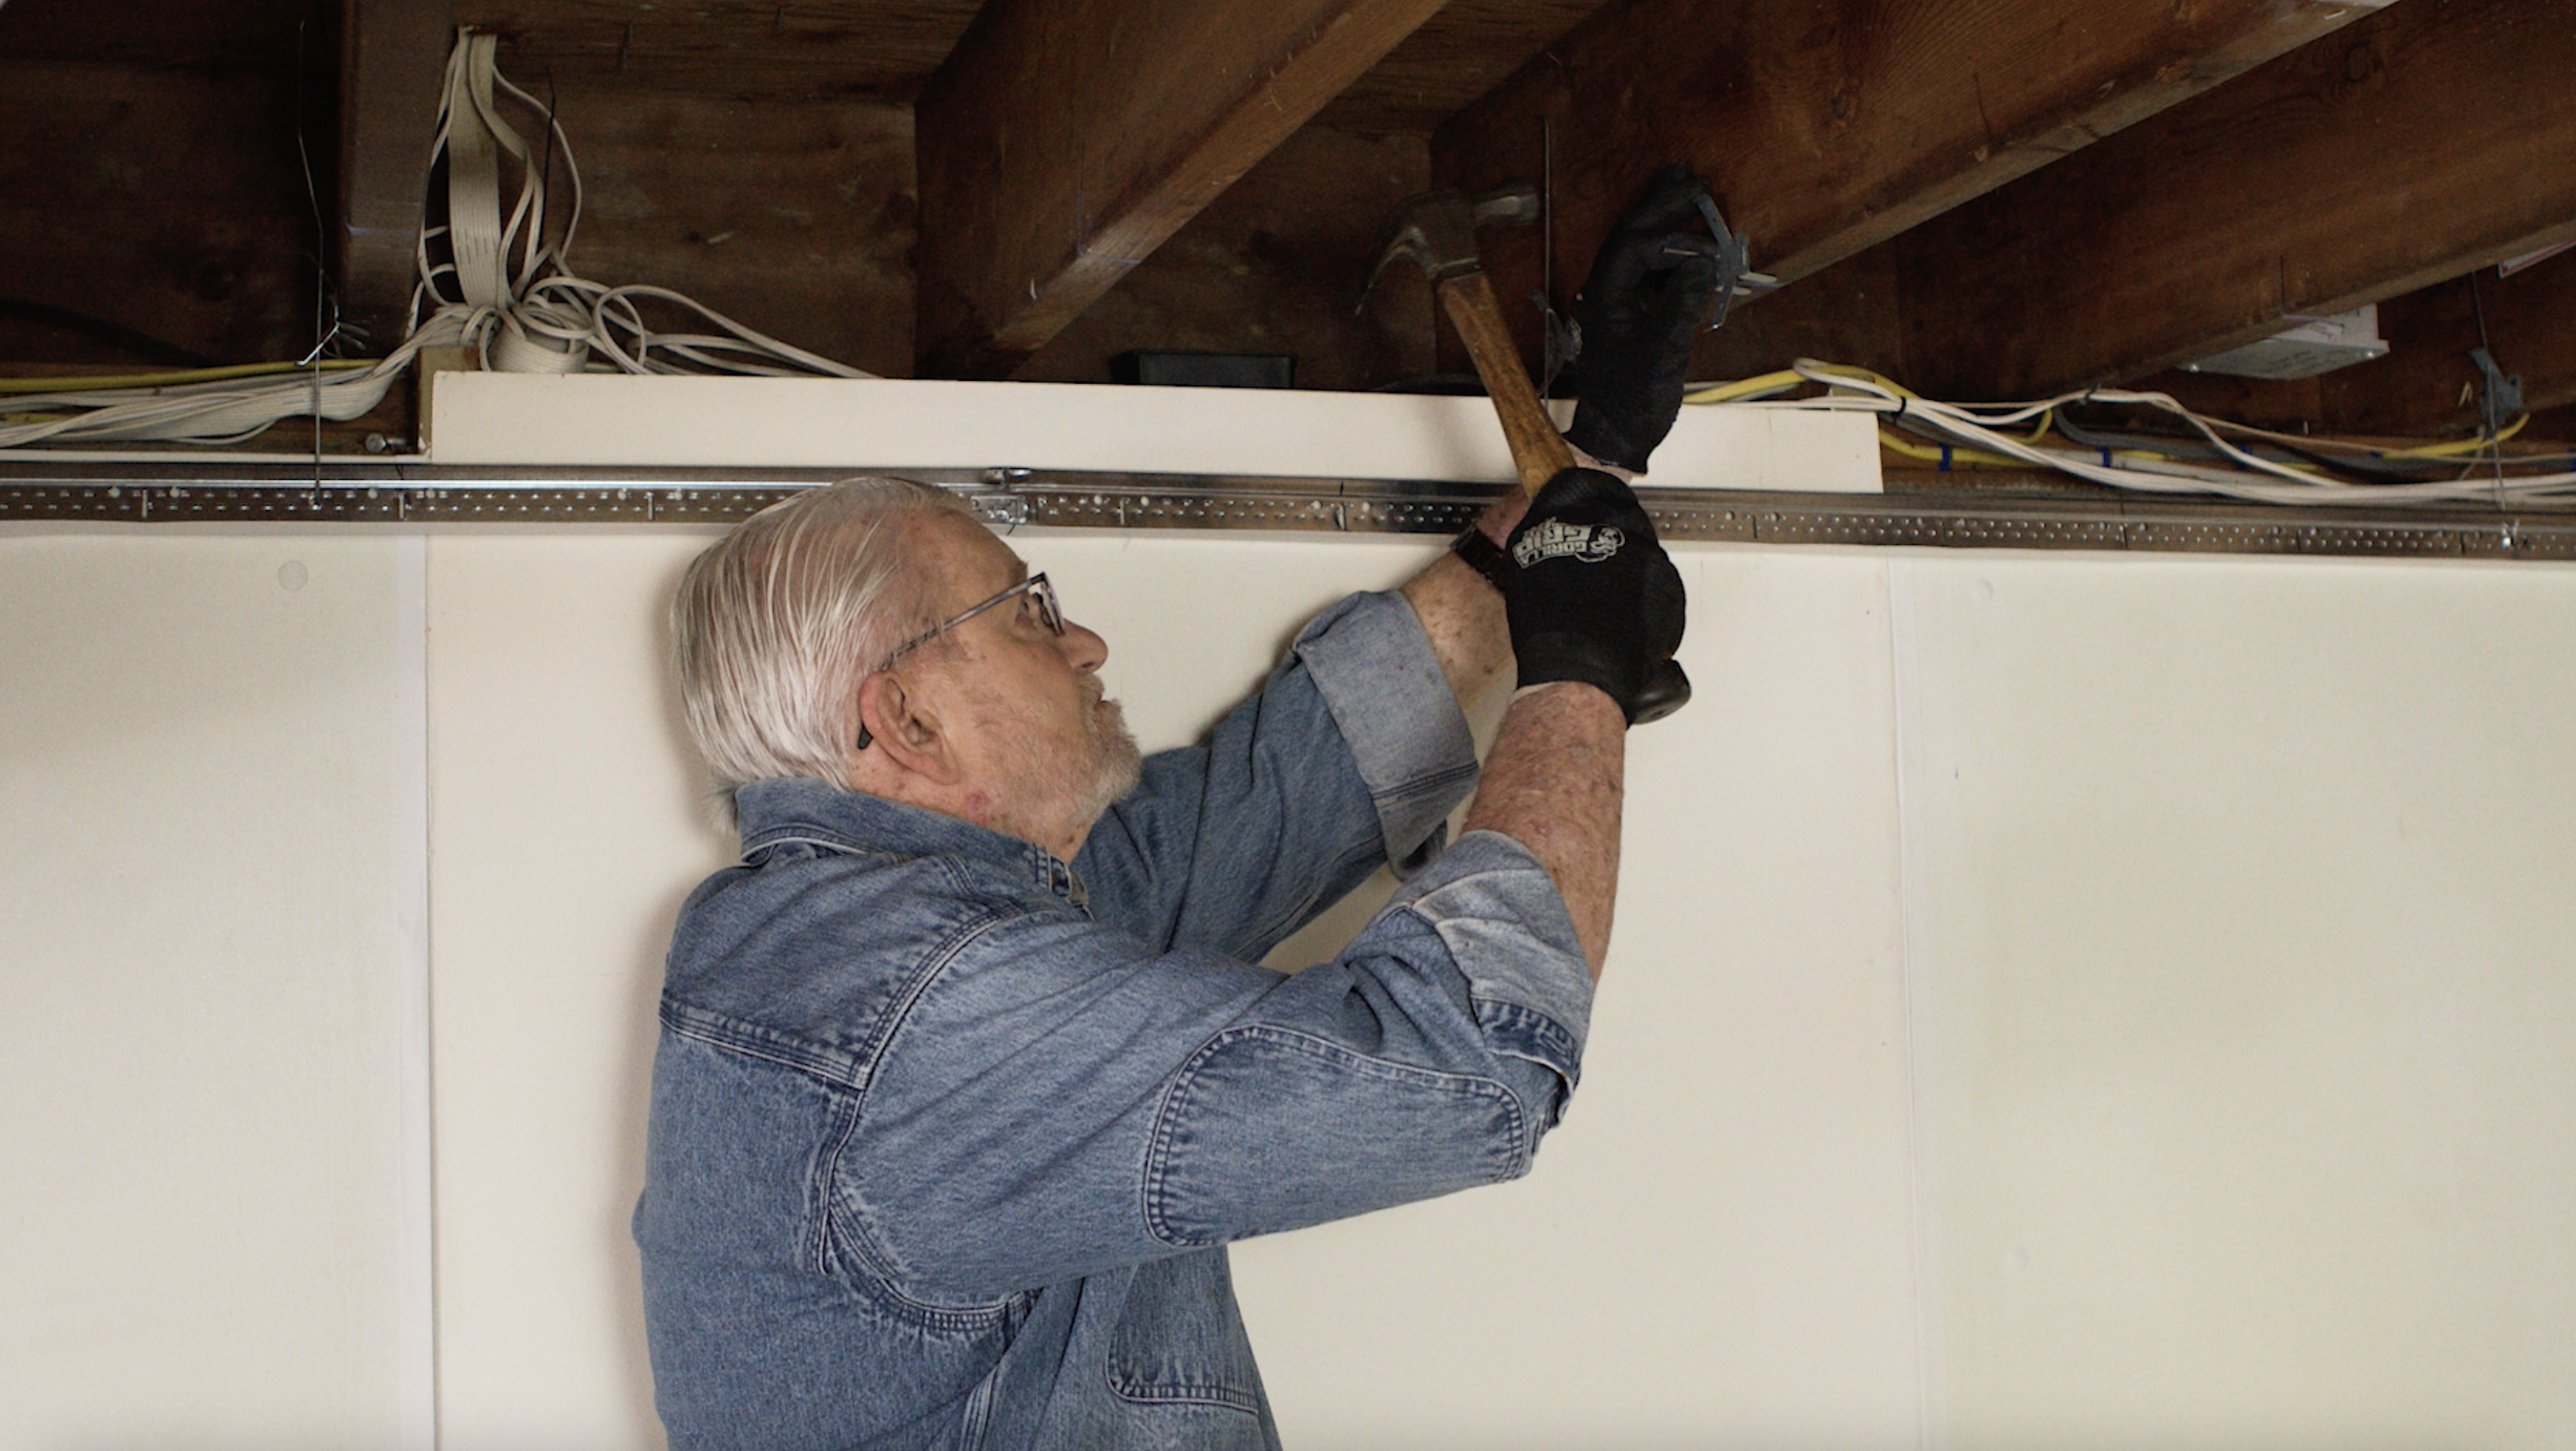
Most unfinished basement walls are concrete. The most common way to attach the rails is with concrete screws like Tapcon fasteners. These require that a hole be drilled and while you can use a regular drill to bore these, a hammer drill with a carbide-tipped masonry bit will do the job much faster and easier. A hammer drill delivers more power because it pounds as it rotates.
For drywall, the rails can be attached to the framing. Using an electronic stud finder, locate and mark the wall stud locations. Then, pre-drill a clearance hole and attach the rail to the studs using wallboard screws.
Safety first! Use work gloves to protect your hands from sharp metal.
PLANNING THE LAYOUT
Full tiles are generally centered in the room, leaving a border around the edges that will require partial or cut tiles.
ATTACHING ADJUSTABLE BRACKETS
 Armstrong’s® QUICKHANG kit features adjustable brackets that eliminate the need to cut and twist the hanging wire.
The beams are installed four feet apart and suspended by wire hooks which are attached to the joists using the QUICKHANG adjustable brackets. They can be temporarily held in place by driving in the pointed tabs then permanently secured with nails or a screw.
The grid hook slides into the bracket and can be adjusted up or down by squeezing the tabs on the bracket. This eliminates the need to bend and twist the wires, saving time and making it quite easy to level the beams.
Here is a tip: If you find that the hook is too long, you can simply bend over the end.
INSTALLING THE BEAMS AND CROSS Ts
The Armstrong® QUICKHANG kit system comes with 6-foot beams that snap together to create beams long enough to cross the entire room.
Where necessary, use aviation snips, cut ends of the beams to length. The cut end of the beam is placed on the wall channel while the remaining portion is supported by the hooks as demonstrated @ 6:50 in the video.
To ensure the beams are level, I recommend clipping a string line to each end and then adjusting the beam up or down by squeezing the spring clamps on the bracket and sliding the hook until the beam is aligned with the string.
Once the beams are up, the cross Ts simply snap into place.
To make sure the framework is square, measure the two diagonals in one of the rectangular grids. The two measurements should be the same.
FRAMING THE BORDER TILES
Once the gridwork is complete for the main tiles, it’s time to put up the framework for the smaller border tiles.
Cross-T’s are cut to the same length as the width of the border. The cut end rests on the wall rail while the uncut end snaps into a slot on the framework.
 INSTALLING THE CEILING TILES
When installing a full-size ceiling tile, tip it at an angle, push it up into the grid opening, then allow it to come to rest on the framework.
The border tiles will have to be cut to size. This is best done with a sharp utility knife. I recommend placing the tiles on a softer surface like fiberboard (Homasote) to help keep the blade from dulling so quickly. Make several shallow passes to ensure a clean cutline.
A FINAL RESULT
Installing or upgrading a ceiling can make a huge impact, particularly on a basement space, giving it a clean, finished look. Now, Armstrong®’s QUICKHANG system makes it a true DIY project.
Check out these other decorative ceiling treatments that can also have a visual impact, whether it’s elegant, embossed ceiling tiles or charming wood-look plank ceilings.
Recommended Articles

The How’s and Why’s of Upgrading a Central AC System
A step-by-step video demonstration showing removal and replacement of a central air conditioning system. Includes advantages of new, state-of the-art AC systems.

If You’ve Got a Project That Involves Demolition, You’ll Want to Know About This Tool.
I try out a new tool designed and engineered to do one task exceptionally well -- demolition.