How to Build a Window Seat with Storage
This Window Seat Offers a Good View and Plenty of Out-of-Sight Storage
Maximize the function and appearance of your nook by building a custom window seat. This project will leave you with a new look that makes a great space to relax, as well as giving you precious storage space that is hidden away and out of sight.
Read More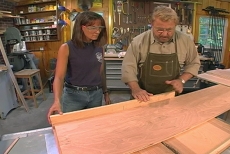
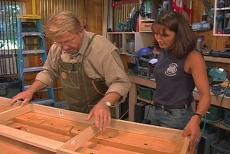
Cut the Sides, Bottom and Top
After you have determined the best design for the space that you have available, begin by cutting out the large pieces that you will need to construct the seat. These are best cut out of plywood on a table saw. Use a cradle with a work stop to ensure that all of the pieces are the proper size. Once you measure and cut the first piece, the remaining cuts can be made against the stop, thus eliminating the need to measure each time and minimizing the chances that you'll make mistakes.
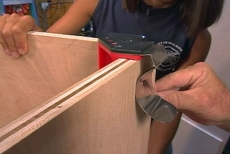
Assemble the Bottom and Sides
Begin the assemble process by attaching the end pieces to the bottom. You may find it helpful to use joining clamps to hold the corners in place after you've glued them. These clamps allow you to have both hands free for the nail gun.
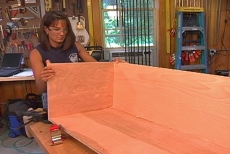
Finish the Box Assembly
After the end pieces are secured to the bottom, use the same nail and glue techniques to attach the sides. The joiner clamp will come in handy again with this step. Take care not to blow any nails through the sidewalls of the box when using the nail gun.
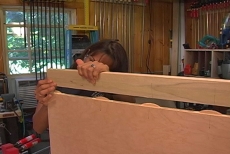
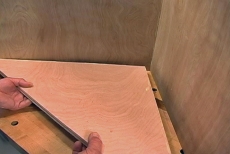
Finish the Top
In order to finish the top, you will need to attach a strip of solid wood to the piece of plywood that you cut out for the seat. The best way to do this is using a plate joiner and wooden biscuits. Once you have the biscuits glued in and lined up, use a rubber mallet to firmly set the wooden strip into place. This joint should be clamped with a fair amount of pressure and left to dry.
Finishing Touches for the Box Seat
The box seat will sit on a recessed base frame, made of 1x4 stock. This base can be attached with glue, but take care not to nail through the bottom of the box, leaving points exposed. Additional strips of plywood also need to be nailed around the perimeter of the box top. These strips will act as a frame for the lid once it is installed with piano hinges.
Construct the End Tables
The end tables will be constructed using the same techniques that were used to build the seat box. The only difference is that these must be triangular in order to fit in the nook's opening. Be creative with how you choose to incorporate shelves into these units. This is a great opportunity for you to customize the furniture based on your own unique storage needs.
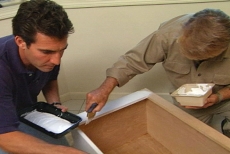
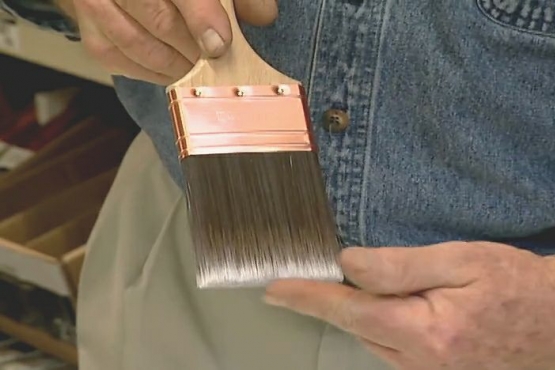
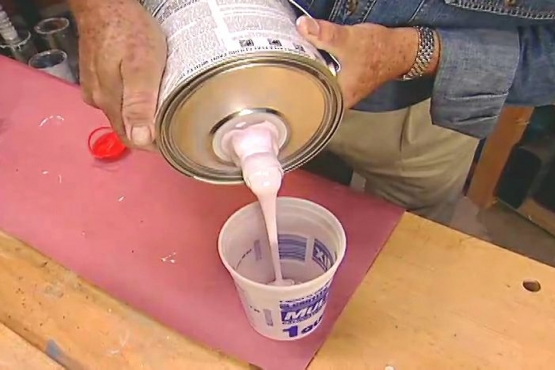
Prime and Paint
You will need to prime and paint the raw wood in order to protect it, as well as give it a finished appearance. When painting raw wood for the first time, make sure you use a primer with stain resistance. This will help prevent the natural resins in the wood from bleeding through and discoloring your top coat of paint. If you use a high quality primer, then one topcoat should suffice. If you aren't happy with the way that looks, a second coat won't hurt.
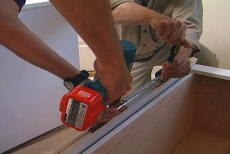
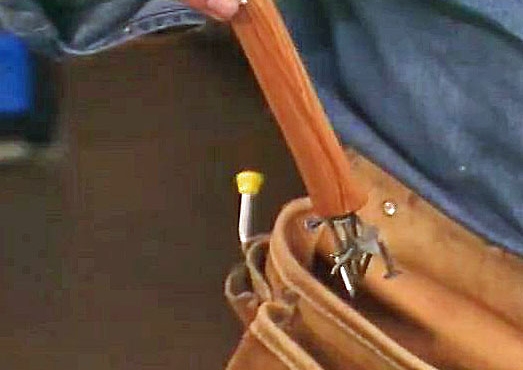
Add Hardware
The final step before setting the new window seat into place is to add the hardware. In this case, the hardware is piano hinges that will be durable enough to withstand the weight of the lids that also act as seats. Begin by securing the hinges to the lids with screws, and then complete the process by screwing hinges into the boxes.
Related Tips


Blog Articles

Creating a Glossy Bar Top Finish: A DIY Guide
Have you ever wanted to elevate the look of your home bar that looks like liquid glass? A glossy bar top can add a touch of sophistication and style to your space. In this DIY guide, we will walk you through the steps to create a stunning glossy bar top that will impress your guests and elevate your home entertainment experience.

Techniques for using Heavy-Weight and Light-Weight Spackle
A ding, small hole, or big scratch is bound to be in almost any home. Whether caused by moving heavy furniture or daily wear and tear, it’s something that is easily repaired. Did you know that there are two types of patching compounds used for repairing holes, dents, and cracks in walls?

Shiplap: The Wood That Says “Welcome Home”
Imagine a cozy cabin nestled in a snowy forest. What's one of the first things you notice? The warm, inviting shiplap walls, of course. Shiplap is synonymous with comfort, wrapping you in its rustic charm and timeless appeal. It's the wood that says, "Come on in, you belong here."


