How to Put in a Sliding Glass Door
Replace a Single-paned Sliding Glass Door and the Surrounding Dry-rotted Wood and Install an Updated Triple-paned Insulating Door
Replace a sliding glass door and repair the accompanying dry rot that age and weather have fostered on the threshold. After we stop the dry rot, our DIY installation stops the heat loss with a good quality sliding glass door that is triple-paned, energy-efficient, and attractive. Slightly smaller than the original, the door requires resizing the opening with treated lumber.
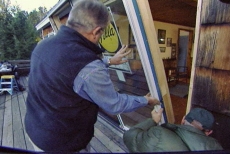
Remove the Fixed Portion of the Old Sliding Glass Door
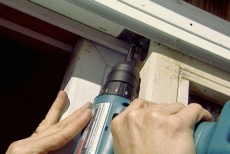
Loosen the screws in the brackets at the top and bottom of the fixed sliding glass door. Move the door to the center of the track and lift it out.
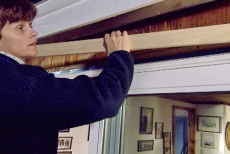
Pry off the Retaining Strip and Door Casings
Pry off the wooden retaining strip from the top of the door opening. Remove the interior door casing/molding. A putty knife and small pry bar can help to remove these components without damage so they can be reused.
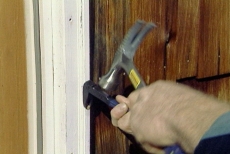
Extract Nails from the Exterior Trim and Remove the Threshold
Use a nail puller and hammer to extract nails holding the exterior door trim to the house. Remove the threshold and pull the entire door frame away from the opening. Ensure no nails protrude and dispose of the trim properly.
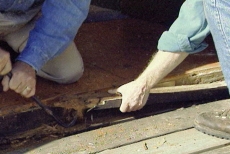
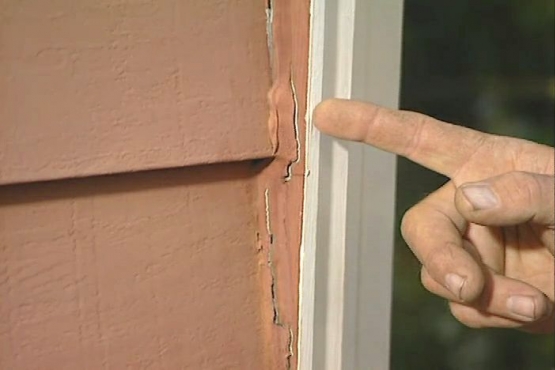
Remove All Dry-rotted Material from the Doorway and Threshold
Remove all the crumbling dry-rotted wood around the doorway opening, particularly under the old threshold. Use a crowbar to pry up the disintegrating material until solid wood is revealed as a foundation for repairs.
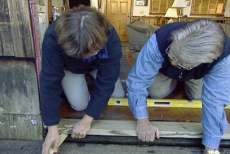
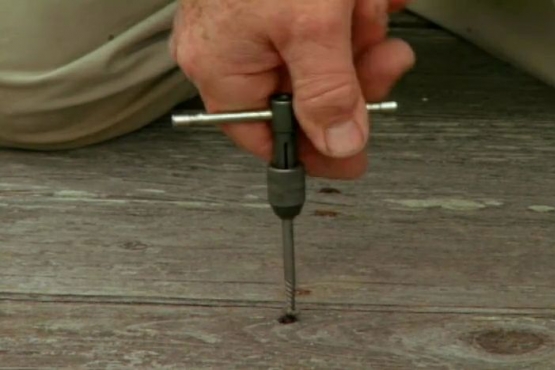
Rebuild Threshold Framing with Treated Lumber and Level with Shims
Rebuild the threshold framing with two pressure-treated two-by-six planks secured with a pneumatic nail gun after coating both cut ends (and any untreated lumber) with wood preservative. Use a bar level and shim the planks as necessary to level.
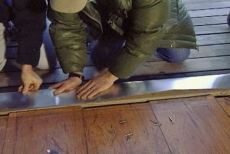
Cover the New Threshold Framing with Sheet-metal Flashing
Cover the front and top of the new threshold framing with sheet-metal flashing. Cover the vertical exterior face of the framing first and then fold the flashing back over the top or horizontal face. Secure flashing with galvanized roofing nails.
Secure Treated-lumber Spacers to Accommodate the Smaller Sliding Glass Door
Secure treated lumber planks along the top and both sides of the doorway as spacers, if necessary, to fit the new door. Modern sliding glass doors are usually slightly smaller than the older models and may require fitting of the doorway.
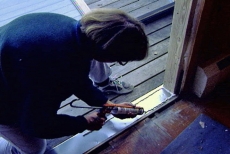
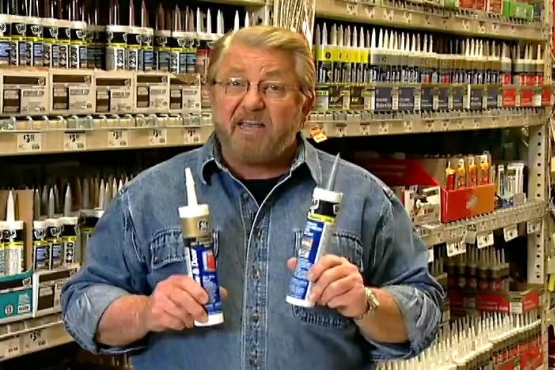
Caulk the Door's Nailing Flange and the Sheet-metal Threshold Flashing
Bend out the door's nailing flange along its top and sides. Run a 3/8-inch bead of caulk down the center of the nailing flange on the interior side and another bead tracing the perimeter of the rectangular flashing strip.
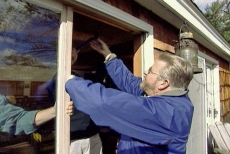
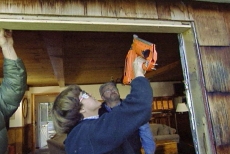
Position the New Door and Ensure It Is Plumb
Center the bottom of the new sliding glass door in the opening and tip it up into place. Hammer a single nail through the flange to hold it temporarily ensure the door is plumb. Hammer in the rest of the nails.
Reattach the Exterior and Interior Door Casings
Reattach the original door casings to complete the seal/appearance of the replacement sliding glass door. If you had to resize the doorway opening, you may need to cut new casings for the exterior and/or interior perimeters.
Related Tips


Blog Articles

Maximize Your Yield with DIY Netting for Strawberry Beds
Keep your strawberries safe from pests with our DIY strawberry cage netting solution. Learn how to create sturdy frames and find the best netting for your strawberry plants.

Change It Up: Swapping Out Your Light Switch Plates
Tired of boring light switch covers? Upgrade your home decor with this simple guide on replacing light switch plates and make a statement in every room.

Revamp Your Outdoor Space: How To Stencil A Concrete Patio
Learn how to create a stunning patterned concrete patio with our easy-to-follow instructions for stenciling. Upgrade your outdoor space in no time.


