How to Put up or Mount Kitchen Cabinets on a Wall
Assembling Kit Cabinets Makes Kitchen Remodeling Easier and Cheaper with the Same Clean Updated Look as Custom Cabinetry
Install do-it-yourself kit cabinets for kitchen remodeling on a budget. The white melamine finish of this cabinetry is clean and versatile and its knock-down fastening construction eliminates most drilling and cutting. The home improvement center even provided a scale drawing showing the cabinets in place. Just assemble the units and floor- or wall-mount each. New cabinets don't get much easier!
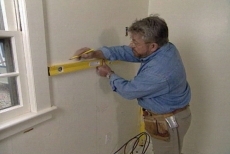
Measure for a Temporary Ledger to Hold the Wall-mounted Cabinets
Measure the distance from the floor to the bottom of the wall-mounted kitchen cabinet units, allowing for the height of the base cabinet, the countertop, and 18 inches of clearance. Level and secure a ledger at the mark.
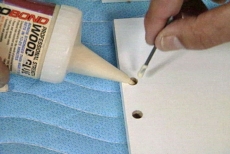
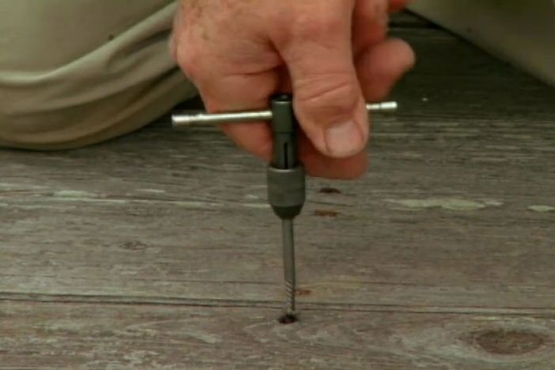
Glue Wooden Dowels in Pre-Drilled Holes for Cabinet Assembly
Read instructions to identify holes for wooden dowels and spread glue thoroughly in each hole with a nail head. Insert dowels and gently tap them into place with a hammer.
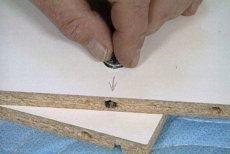
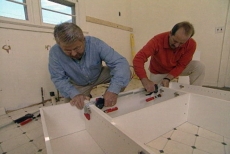
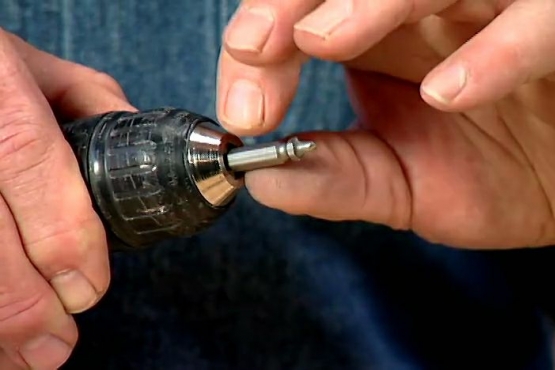
Assemble Cabinet Units with the Knock-down Fastening System
Tap posts into holes beside the dowels and insert cams so their openings align with the pre-drilled holes on panel edges. Fit cams directly over the posts and turn gently to lock them together. Slip backs and tops into place.
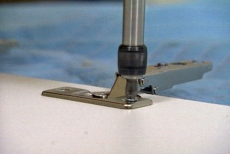
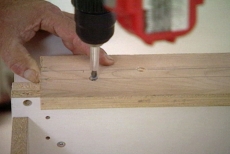
Attach Hinges in Pre-Drilled Holes in Cabinet Doors
Position and attach hinges in pre-drilled holes in each cabinet door. Insert screws and secure with a power driver.
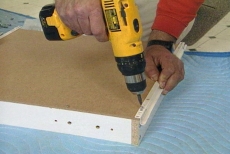
Sub-assemble Adjacent Cabinet Units into Modules and Install
Attach adjacent cabinet units into single modules. Ensure the cabinet faces are flush with each other and clamp them together prior to securing them permanently with wood screws.
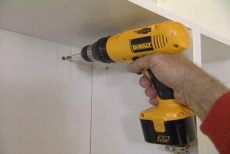
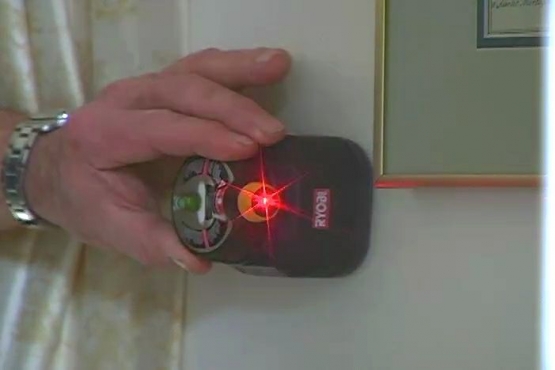
Mount the Module through the Hanging Strip and Studs
Position the module on the upper edge of the ledger to bear its weight and drive screws through the hanging strip and into the wall studs behind. On completion, remove the ledge for use with the next wall-mounted module.
Mount Drawer Glides before Completing Base Cabinet Assembly
Use the same method to assemble the base cabinet modules but mount the drawer glides first, per kit instructions. Mount the second drawer glide component on the bottom of the drawer.
Position Base Cabinet Modules against the Wall
Pre-drill cabinet deck for water supply and drain and position the sink cabinet centered under the window. Level the module with shims if necessary and attach to the wall and each other with wood screws.
Position Cleats and Install the Countertop/Sink Assembly
Attach wooden cleats to provide a strong surface to attach the countertop to the base kitchen cabinets. From beneath, drive screws through the cleats and into the countertop.
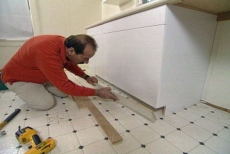
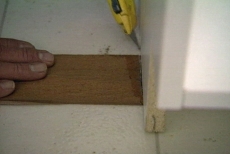
Attach Cabinet Doors, Nail Toe-kick, and Replace Baseboard
Complete the installation by installing the cabinet doors, nailing up a toe-kick, and replacing any baseboard removed for the cabinet installation. Slide in the appliances, being careful not to scratch the new floor.
Related Tips


Blog Articles

Maximize Your Yield with DIY Netting for Strawberry Beds
Keep your strawberries safe from pests with our DIY strawberry cage netting solution. Learn how to create sturdy frames and find the best netting for your strawberry plants.

Change It Up: Swapping Out Your Light Switch Plates
Tired of boring light switch covers? Upgrade your home decor with this simple guide on replacing light switch plates and make a statement in every room.

Revamp Your Outdoor Space: How To Stencil A Concrete Patio
Learn how to create a stunning patterned concrete patio with our easy-to-follow instructions for stenciling. Upgrade your outdoor space in no time.


