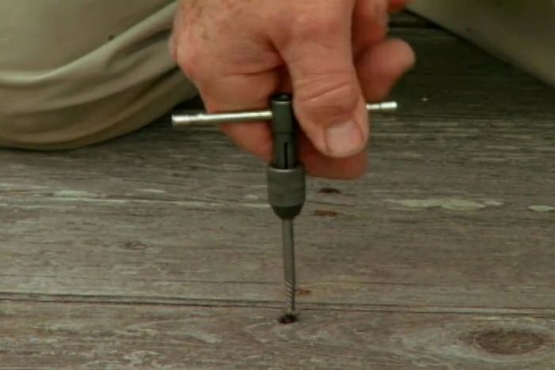
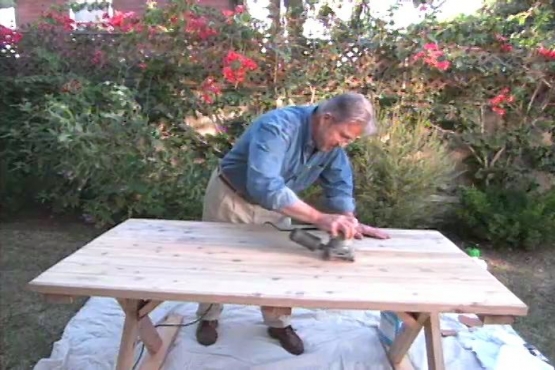
How to Clean, Renew and Seal a Wood Deck in One Day
Complete a One Day Deck Restoration with Water-based Products to Wash, Brighten, and Seal the Wood without Requiring Drying Time
Spray, wait, brush, and rinse. No, it's not tooth brushing--it's one-day deck restoration using three water-based products to wash, brighten and seal without drying time between these steps. Apply each product in a separate pass: spray in consistent sweeps to wet the surface, let stand, scrub with a synthetic-bristle brush, rinse, and apply the next product.
For more information on the deck maintenance materals used in this segment click here.
Read More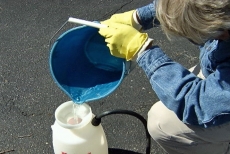
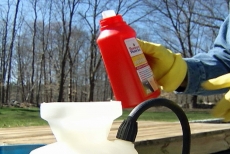
Begin by Mixing the Deck Cleaner Concentrate with Water
Pour two quarts of warm water into the deck sprayer and add the cleaner concentrate. Stir thoroughly with a piece of wood before assembling and pumping up the sprayer. Be sure to wear protective covering on your eyes and hands.
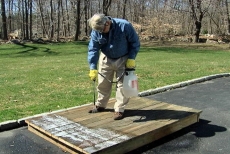
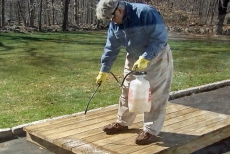
Spray Deck Cleaner over a Small Area of Deck Restoration
Spray cleaner in consistent strokes with the nozzle a foot from the surface. Thoroughly wet a 20 to 30 square foot area without pooling the liquid. Let the cleaner soak on the deck for about 10 minutes.
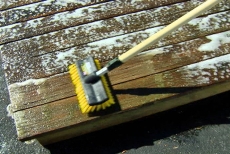
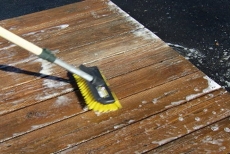
Work Cleaner into the Wood with a Synthetic-bristle Brush
Work with the wood grain and scrub the treated area with a synthetic-bristled brush. Apply gentle pressure to agitate the solution and work it into the deck surface and lift embedded grime.
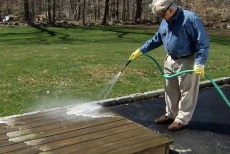
Hose the Area with Water and a High-pressure Hose Nozzle
Equip your hose with a high-pressure nozzle and hose the cleaning solution from the deck. If you are working on grass or near plants, wet them to help dilute the solution before it touches them.
Mix Brightener Solution to Lighten and Even Color Tones
Mix the brightener the same way as the cleaner, adding water and solution and then stirring. Brightener blends the color tones. Using brightener is somewhat optional, but wearing protective covering over eyes and hands is not.
Apply Brightener to the Cleaned Deck Surface
Spray brightener on the damp cleaned deck with consistent overlapping strokes. No drying time is required on the deck restoration before applying the brightener.
Wait 10 Minutes, Mist Deck with Water and Scrub
Let the brightener stand on the cleaned deck surface for about 10 minutes. Set the hose nozzle to mist and dampen with water. Lightly scrub with the synthetic-bristle brush and then rinse with the hose nozzle set to high pressure.
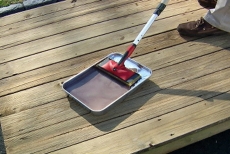
Apply Water-based Sealer with a Large Paint Pad
Use a large paint applicator pad on a long handle to weather-proof the cleaned and brightened deck boards with the sealer/stain product. Run the pad with the wood grain to fill crevices and coat the planks evenly.
Related Tips
Blog Articles

Expert Tips: How to Mount a TV on the Wall
Get step-by-step instructions on how to mount a TV on the wall, especially for big screen TVs. Master the art of wall mounting with our tips.

Frustrated by Stripped Screws? Here’s How to Get Them Out Fast
We've all been there. You're in the middle of a project, and suddenly your screwdriver spins uselessly in the screw head. The screw is stripped, and frustration sets in. With a little know-how and this simple trick, you can tackle a stripped screw and get your project back on track.

The Secret to Finishing Plywood Edges
Plywood projects are fantastic, but exposed edges can be an eyesore. This blog post unveils the magic of edge banding - a simple technique to create flawless, finished edges on your plywood projects, making them look professional and ready for paint or stain. Watch the video to learn how to apply edge banding like a pro!


