How to Build a Bench with Planters
Learn how to build an outdoor planter bench; includes step-by-step instructions along with tips, materials, and tools lists.
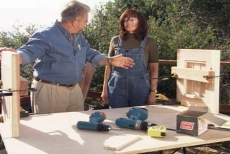
For this project I visit the charming California coastal town of Carmel where Donna Enneking is fortunate enough to have a back yard deck that looks out over the breathtaking Carmel Valley. Donna has asked me to help her build a piece of deck furniture that will be both functional and an attractive addition to her outdoor setting. I came up with a design for a slatted bench, flanked by two planters. It's really quite simple to build using commonly sized lumber. While, in this case, the bench was intended for the deck, it could work equally well in a garden or a backyard.
Read More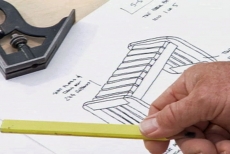
Sketch Your Planter Bench Plan and Make a Cut List
Plan the design and dimensions of your planter bench. Sketch it from a side and top elevation to facilitate making a cut list of the components, particularly those which require multiple pieces of the same dimension.
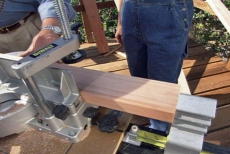
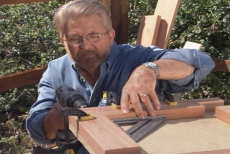
Cut the Planter Bench Components with a Power Miter Saw
Set up a work table with a power miter saw. Add an adjustable stop block to the saw to ensure you make consistently accurate cuts when cutting multiples of the same components. Cut the planter bench components to length.
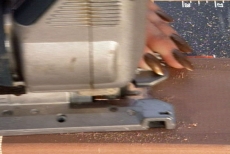
Make Notches for the Planter Bench End Frames
Make a template to mark the notched joints for the planter bench end frames. Cut the notches with a jigsaw. The notched joints offer more glue surface, assemble more easily, and enable use of a more common screw/nail size.
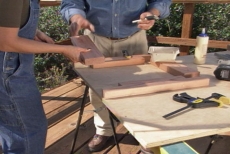
Assemble the Planter Bench End Frames with Glue
Use waterproof glue intended for outdoor projects to assemble the planter bench end frames. First coat the notches and end pieces with glue. Check to ensure they are square and then clamp the joints together while the glue dries.
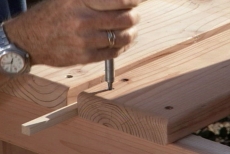
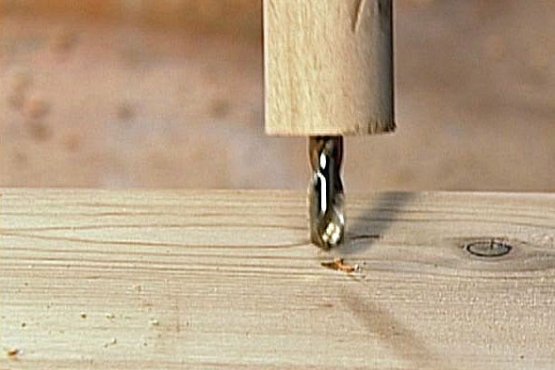
Reinforce the Planter Bench End Frames with Screws
Countersink screw holes in the planter bench end frames to allow screw heads to sit flush on the surface of the wood. Secure the end frames with screws to reinforce them.
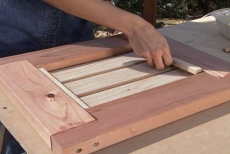
Add Slats and Keepers to the Planter Bench End frames
Lay wooden slats temporarily in the planter bench end frames. Glue and nail keepers at both ends of the slats. Flip the frames, apply glue to the slat ends, and position them with spacers. Secure them with brads.
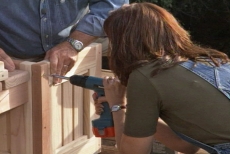
Use Temporary Ledgers to Hold the Planter Bench Stringers
Stand the two end frames up and position a temporary ledger on each to hold the planter bench seat stringers in position. Countersink screw holes in planter bench end frames and drive screws into each stringer.
Secure Planter Bench Slats with Countersunk Screws
Round the upper edges of the planter bench seat slats for comfort and space them evenly across the length of the stringers. Countersink holes in the slats and secure them to the stringers with screws.
Secure Three Additional Sides to Make the Planter Bench Box
Pre-drill holes to assemble the boxes after constructing the three sides of each in the same way as the planter bench end frames. The existing end frame will make the fourth side of the planter box.
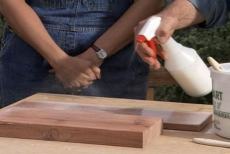
Coat the Redwood Planter Bench with Sealer
Apply sealer to the planter bench with a garden sprayer to prolong the redwood's life and appearance despite exposure to light and weather. Let the sealer stand for 15 minutes and then redistribute the excess with a clean lint-free cloth.
Related Tips


Blog Articles

Expert Tips: How to Mount a TV on the Wall
Get step-by-step instructions on how to mount a TV on the wall, especially for big screen TVs. Master the art of wall mounting with our tips.

Frustrated by Stripped Screws? Here’s How to Get Them Out Fast
We've all been there. You're in the middle of a project, and suddenly your screwdriver spins uselessly in the screw head. The screw is stripped, and frustration sets in. With a little know-how and this simple trick, you can tackle a stripped screw and get your project back on track.

The Secret to Finishing Plywood Edges
Plywood projects are fantastic, but exposed edges can be an eyesore. This blog post unveils the magic of edge banding - a simple technique to create flawless, finished edges on your plywood projects, making them look professional and ready for paint or stain. Watch the video to learn how to apply edge banding like a pro!


