How to Cut Compound Miters and Miter Joints Using a Combination Protractor
Step-by-step demonstration of how to set up a miter saw to cut accurate compound angles for crown molding
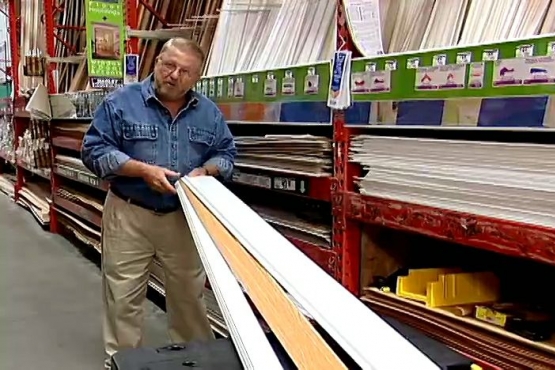
Figuring out the miter saw settings for cutting compound angles on crown molding has typically been a multi-step process and required a fair amount of math. A combination protractor like the one demonstrated here makes the job faster and simpler and eliminates any need for arithmetic. The tool displays the miter saw angle setting directly without the need to calculate. The cutting method used in this video calls for the crown molding to be set on an angle in the saw bed. The demonstration shows in detail how to place the material in the saw and what the position of the workpiece should be relative to the blade.
The combination protractor used in this video article is available from Amazon. Click here for more information.
Read More
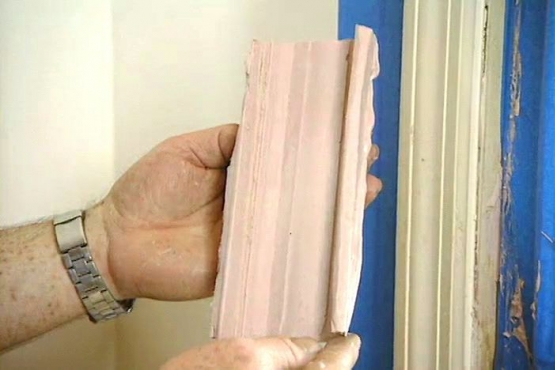
Crown molding corners require a miter angle and a bevel angle.
Each crown molding corner requires two angles — a miter angle which is cut across the face of the molding and a bevel angle that's formed across the end or edge. When working with crown molding, both of these angles have to be made at the same time and that's why they're called compound angles. Accuracy is critical. The tool to make this cut is the power miter saw.
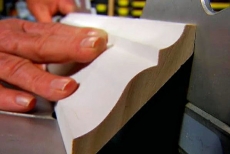
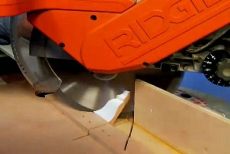
Making a combination miter cut by holding the molding on an angle.
One way to make a combination miter is by cutting the molding while it's held at an angle. When using this technique, make sure the back surfaces of the molding are fully in contact with the fence and saw bed. Some saws have an adjustable crown molding stop accessory.

Making a Wooden Jig
You can make a jig by attaching together two pieces of half-inch plywood using glue and making certain that they form an accurate right angle. After the glue is dry, the jig is set in place on the miter saw bed and attached with screws inserted through pre-drilled holes in the metal fence.
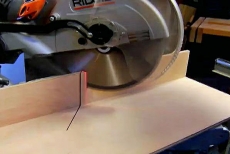
Make a cut at 45 degrees — and zero degrees.
Make a cut at 45 degrees — and zero degrees.
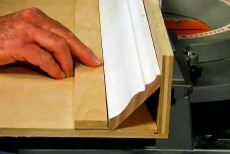
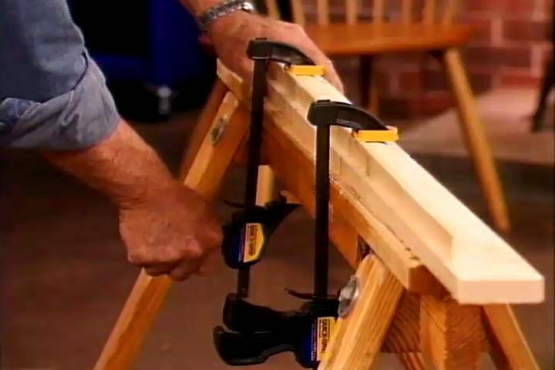
Stapling a Wooden Stop
Place a sample piece of molding into the jig and place a wooden stop next to the edge and staple it in place. Do not use glue as the stop needs to be relocated if a different sized molding is to be cut. The jig holds the crown securely in just the right position each time a cut is made.
Adjusting the Miter Saw
Each corner needs to be measured individually and that measurement must be accurate to get a tight-fitting miter.
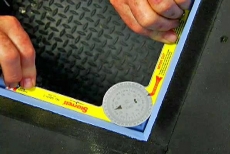
Using a Bevel Gauge or Protractor to get the Correct Miter Saw Setting
Using a bevel gauge, adjust it to fit the corner and then lay the bevel gauge on top of a protractor. Read the angle on the protractor and then divide that reading by two. That provides your miter saw setting. Using the 505P protractor from Starrett Tools, place it in the corner and open the wings until they come into contact with the wall. Now read the miter saw setting directly from the tool.

Inside and Outside Corners
In most cases, the crown molding bottom is the edge that has the most detail. Both inside and outside corner moldings must be placed into the saw with the bottom edge up. The bottom edge will always be against the miter saw fence.
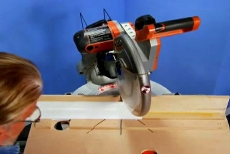
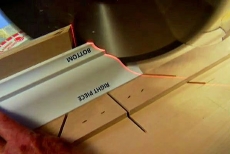
Cutting Left and Right Hand Pieces of an Inside Corner
When cutting the left-hand piece of an inside corner, swing the miter arm to the right and place the workpiece on the right side of the blade. To cut the right-hand section of an inside corner, swing the miter arm to the left and place the workpiece to the left of the blade.
Cutting Left and Right Hand Pieces of an Outside Corner
Measure the corner angle using the Starrett 505P protractor. Read the saw setting and set the miter saw arm. When cutting the left-hand piece of an outside corner, the miter saw arm should be swung to the left, and place the workpiece on the right side of the blade. When cutting the right-hand section of an outside corner, swing the miter arm to the right and place the workpiece to the left of the blade. Whenever possible, nail the crown molding into wall studs and ceiling joists and use a pneumatic nail gun to save time and avoid the possibility of damage resulting from missed hammer blows.
Related Tips

Blog Articles

Expert Tips: How to Mount a TV on the Wall
Get step-by-step instructions on how to mount a TV on the wall, especially for big screen TVs. Master the art of wall mounting with our tips.

Frustrated by Stripped Screws? Here’s How to Get Them Out Fast
We've all been there. You're in the middle of a project, and suddenly your screwdriver spins uselessly in the screw head. The screw is stripped, and frustration sets in. With a little know-how and this simple trick, you can tackle a stripped screw and get your project back on track.

The Secret to Finishing Plywood Edges
Plywood projects are fantastic, but exposed edges can be an eyesore. This blog post unveils the magic of edge banding - a simple technique to create flawless, finished edges on your plywood projects, making them look professional and ready for paint or stain. Watch the video to learn how to apply edge banding like a pro!


