How to Make a Hand Rail or Railing for Steps and Stairways
Install a Matching Wood Handrail on the Wall Side of Your Stairs for Eye-Appeal and Stair Safety
Secure a second decorative wood handrail to the wall on the opposite side of your staircase. The second stair railing adds interest and eye-appeal to the bare wall and, more importantly, provides additional safety for people as they go up or down the stairs. Orienting the handrail on its side can add finger-hold and save space on narrow stairs.
Read More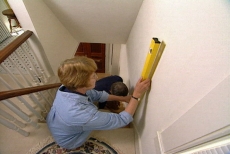
Measure and Mark the Correct Height for the Wooden Handrail
Measure the banister height and mark that distance above the stair treads at the top and bottom stair. Use a level to draw a vertical line at each mark and connect them with a chalk line for the stair railing.
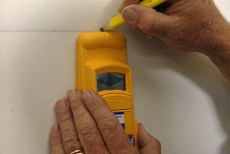
Use an Electronic Stud Finder to Locate Wall Studs
Locate all the wall studs along the length of the stair rail with an electronic stud finder. Mark each for use in securing a mounting strip directly to the studs for extra strength.
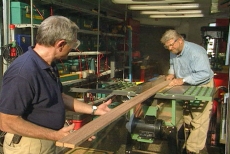
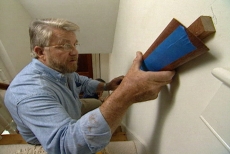
Fit a Mounting Strip to the Handrail's Bottom Channel
Cut a mounting strip to fit the width and length of the bottom channel of the decorative handrail, mitering/angling the ends to fit the cap at the top of the railing and the horizontal section along the bottom.

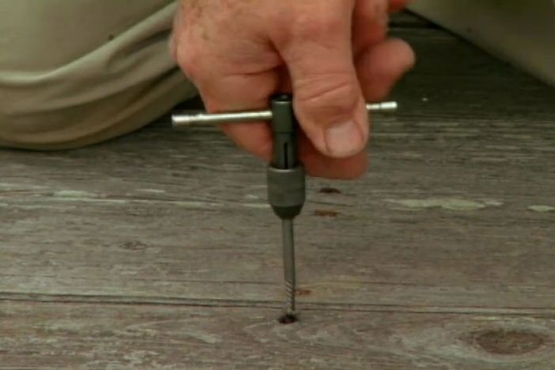
Position the Mounting Strip and Countersink Screw Holes
Align the mounting strip below the chalk line. Drill pilot holes and then countersink holes for the screws on top of each stud
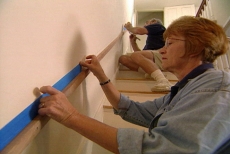
Mask off the Wall and Stain the Mounting Strip
Use low-tack painter's tape to mask off the wall around the pre-stained mounting strip. Add some stain to the polyurethane and apply a second coat to match the existing stair railing. Remove the painter's tape.
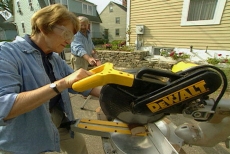
Cut the Decorative Handrail to Fit with Mitered Ends
Double-check measurements before cutting the expensive decorative handrail and the cut it to fit each section with appropriately mitered ends.
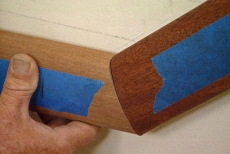
Slip the Handrail Channel over the Mounting Strip
Slip the handrail channel over the mounting strip. Mark evenly-spaced screw positions on painter's tape along the railing that do not coincide with screws in the mounting strip. Countersink screw holes and drive in wood screws to secure the handrail.
Cut a Horizontal Rail for the Bottom of the Stairs
Cut a short horizontal handrail for the bottom of the stairs, mitering one end to fit the angled main handrail and square-cutting the other end square to fit the wall. Secure it the same way as the main rail.
Miter a Cap for the Upper End of the Handrail
Cut a mitered cap of the same material to fit the upper end of the main handrail. Apply glue to the mitered surface and position the cap prior to driving in countersunk screws for extra strength.
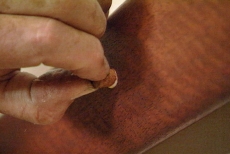
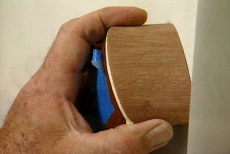
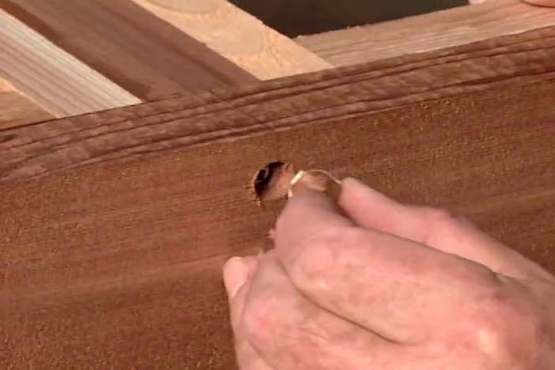
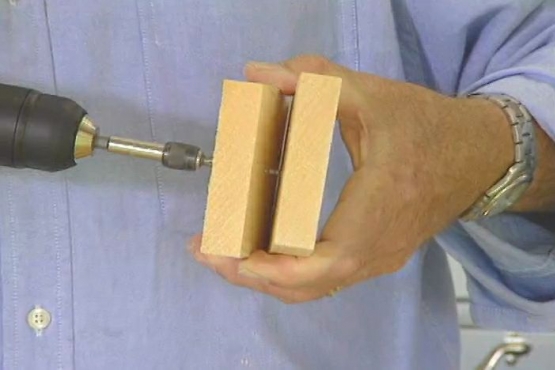
Insert Pre-cut Wooden Pegs into Each Screw Hole
Glue ready-made pegs of matching wood into the holes to cover the countersunk screws. Ensure the grain on the peg aligns with that on the handrail and gently tap them flush with the handrail using a hammer.
Related Tips


Blog Articles

Expert Tips: How to Mount a TV on the Wall
Get step-by-step instructions on how to mount a TV on the wall, especially for big screen TVs. Master the art of wall mounting with our tips.

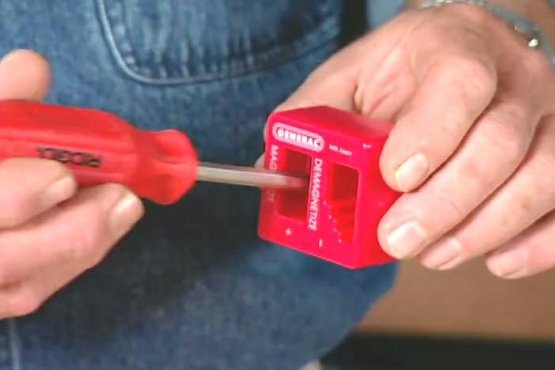
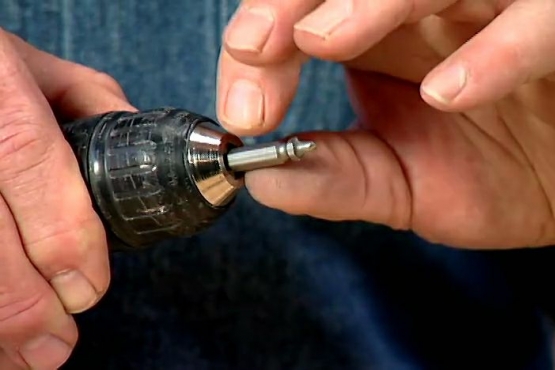
Frustrated by Stripped Screws? Here’s How to Get Them Out Fast
We've all been there. You're in the middle of a project, and suddenly your screwdriver spins uselessly in the screw head. The screw is stripped, and frustration sets in. With a little know-how and this simple trick, you can tackle a stripped screw and get your project back on track.

The Secret to Finishing Plywood Edges
Plywood projects are fantastic, but exposed edges can be an eyesore. This blog post unveils the magic of edge banding - a simple technique to create flawless, finished edges on your plywood projects, making them look professional and ready for paint or stain. Watch the video to learn how to apply edge banding like a pro!


