How to Build a Tree House or Tree Fort
Build a tree house with two-by-eights and four-by-four posts that will last a lifetime
Construct this kid's tree house or fort and children will play there for hours. A perfect do‑it‑yourself project with neighbors, the tree house design uses the tree as one support post and straddles a wall to offer access to both families. Build by this plan and the tree house will be safe, won't damage the tree, and will last for years.
Read More
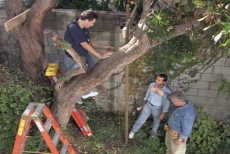
Position the First Frame Board for the Tree House Platform
Place the first two-by-eight pressure-treated frame board in the crotch of the tree to position the tree house platform and use the tree as the first support post
Position the Second Frame Board and Chalk-mark the Post Hole
Position the second frame board and brace it. Drop a plum bob from the board to the ground, marking the site for the first post hole. Chalk mark the perimeter and excavate with a post-hole digger to two feet.
Add a Gravel Base and Level the First Four-by-four Post
Pour in a 3-inch gravel base and drop in a four-by-four post. Use a post level to insure that the post is vertical. Clamp the post to the frame board to keep it from moving.
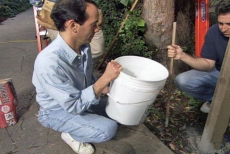
Set the Three Posts in Quick-Dry Concrete
Add dry-mix concrete within three inches from the top of the post hole. Add water and tap the wet mortar to help the water penetrate the dry mix and eliminate air pockets. Set the other two posts the same way.
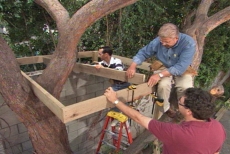
Complete the Tree House Frame and Square the Corners
Add the remaining two frame boards to complete the 4-sided platform with "square" corners. Drive rust-proof screws through the corners to secure them.
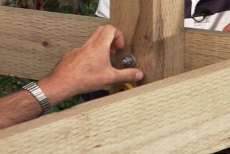
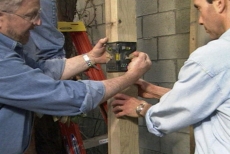
Attach the Posts Permanently to the Tree House Frame
Pre-drill through each post and the frame and hammer in carriage bolts. Add a washer and nut and tighten the nut with a socket wrench. Trim the post tops flush with the top of the frame using a Japanese handsaw.

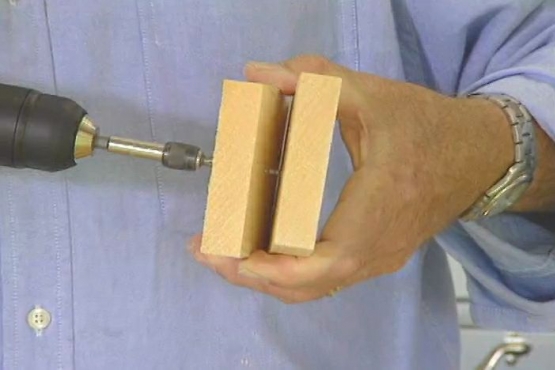
Construct Two Matching Tree House Ladders
Clamp together two pairs of two-by-fours as ladder rails and identically pre-drill each for rungs with a portable drill press. Pinch the ends of heavy dowels and insert through matching holes in each set of rails. Nail them in place.
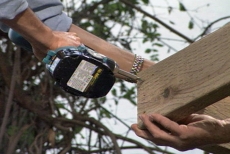
Attach Joists and Secure the Deck Planks
Use rust-proof screws to secure two two-by-eight joists across the platform's base flush with its top. Lay deck planks perpendicular to the joists, allowing half-inch gaps where water and debris may fall through. Screw them to the joists and platform.

Frame the Tree House Walls
Construct four wall frames with four-by-four end posts and two-by-four studs and top/bottom rails. One at a time, position each wall frame at each side of the platform and screw it to the deck.
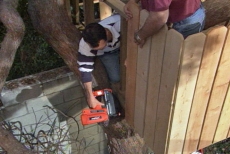
Sheath the Wall Frames and Enclose the Tree House
Cut 6-inch pickets from exterior sheathing to enclose the wall frames. Work around the perimeter to position and tack them with a nail gun. Reinforce them permanently with screws.
Related Tips


Blog Articles

Expert Tips: How to Mount a TV on the Wall
Get step-by-step instructions on how to mount a TV on the wall, especially for big screen TVs. Master the art of wall mounting with our tips.

Frustrated by Stripped Screws? Here’s How to Get Them Out Fast
We've all been there. You're in the middle of a project, and suddenly your screwdriver spins uselessly in the screw head. The screw is stripped, and frustration sets in. With a little know-how and this simple trick, you can tackle a stripped screw and get your project back on track.

The Secret to Finishing Plywood Edges
Plywood projects are fantastic, but exposed edges can be an eyesore. This blog post unveils the magic of edge banding - a simple technique to create flawless, finished edges on your plywood projects, making them look professional and ready for paint or stain. Watch the video to learn how to apply edge banding like a pro!


