How to Make a Pickled or White Wash Finish
Using Minwax Whitewash Pickling Stain
In this project, Ron is finishing a brand new pine cabinet with a Minwax product called a pickling stain. The final product is a flash back to the styles of the Mark Twain era, and creates a clean, country look that fits will in the decor of many homes.
Read More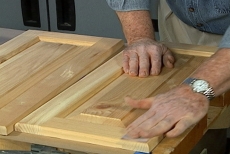
Prepare the Cabinet
Begin by removing the doors of the cabinet. Sand all of the surfaces using a quarter of a sheet of 120 grit sandpaper that has been folded into thirds. The result is a sanding pad that is the perfect size to fit in the palm of your hand. Make sure that you always move in the direction of the wood grain. You may also find it helpful to wrap the sandpaper around a block of wood. This will give you a sharper edge to work into bevels and corners that may be harder to reach with your hand. For large flat surfaces, an orbital or palm sander can also be a big time saver.
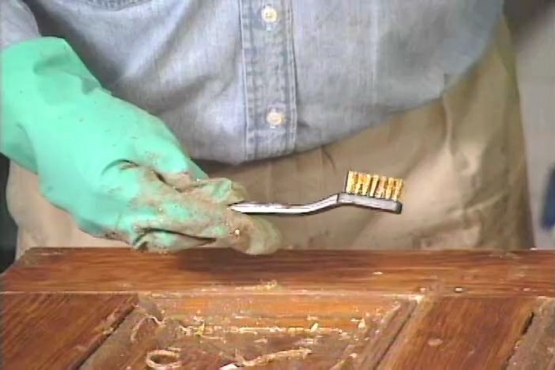
Condition the Wood
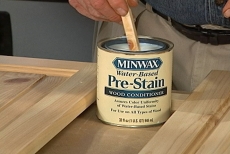
Soft woods, such as the pine in this cabinet, can sometimes appear blotchy when stained. To prevent this, the wood needs to be conditioned. Ron is using a pre-stain conditioner from Minwax on this cabinet. Apply the conditioner with a clean brush designed for latex paints and then let it sit for 30 minutes. Follow up with a light sanding pass using the 120 grit paper again. The conditioner will raise the grain of the wood, and the sand paper will ensure that you have a smooth surface to apply the stain to.
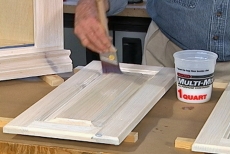
Apply the Whitewash Pickling Stain
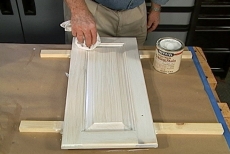
Apply the stain with the same clean brush designed for latex products that you used to apply the conditioner, making sure that it is well cleaned before you begin. The stain should be applied with long, smooth strokes in the same direction. Once the stain is applied, wipe it away with a soft cotton cloth that you've folded into a pad. Always move with the wood grain. The more pressure you apply to the pad, the more the wood grain will show through the stain on the final product.
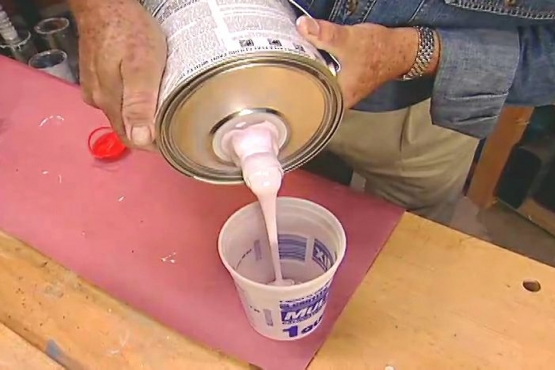
Choose the Right Products for the Top Coat
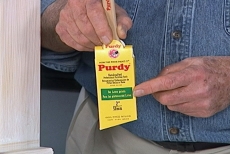
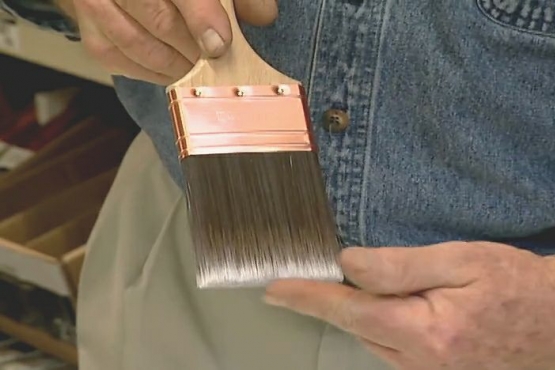
Use a clear, water based polycrylic top coat. Ron is using Minwax for this project. Make sure you use a high quality brush, such as a Purdy, that is designed for latex or water based products, so that stray bristles don't get left behind in your top coat.
Apply the Top Coat
In the same way that you applied the stain and the conditioner, apply the water based top coat using long smooth strokes. Finish each surface with overlapping continuous strokes in a process called "striking off." When finishing around the bottom of the cabinet, put it up on small block or shims so that the polycrylic doesn't stick the furniture to the surface of the bench or floor where you are working.
Final Top Coat
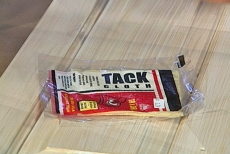
After allowing the first coat to dry for about 4 hours, lightly sand the cabinet one last time with 220 grit sand paper. Use a tack cloth to wipe away any excess reside left behind by the sand paper, and then apply the second and final coat to the cabinet.
Related Tips

Blog Articles

Creating a Glossy Bar Top Finish: A DIY Guide
Have you ever wanted to elevate the look of your home bar that looks like liquid glass? A glossy bar top can add a touch of sophistication and style to your space. In this DIY guide, we will walk you through the steps to create a stunning glossy bar top that will impress your guests and elevate your home entertainment experience.

Techniques for using Heavy-Weight and Light-Weight Spackle
A ding, small hole, or big scratch is bound to be in almost any home. Whether caused by moving heavy furniture or daily wear and tear, it’s something that is easily repaired. Did you know that there are two types of patching compounds used for repairing holes, dents, and cracks in walls?

Shiplap: The Wood That Says “Welcome Home”
Imagine a cozy cabin nestled in a snowy forest. What's one of the first things you notice? The warm, inviting shiplap walls, of course. Shiplap is synonymous with comfort, wrapping you in its rustic charm and timeless appeal. It's the wood that says, "Come on in, you belong here."


