RON HAZELTON:
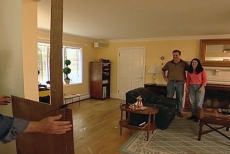
Now it seems to me that many home improvement projects start with a vision. That would appear to be true for Ben and Catherine Morehead. Now they've taken care of their share of projects since they bought their house a while back and have their sights set on the next challenge. Catherine in particular has a very clear idea of what she wants.
CATHERINE:
Well we're trying to add a little separation and a little bit of interest in the living room-den area. Right now it's just a huge gap. In a lot of the new homes that are going up, you see these beautiful columns separating two rooms.
And I thought why can't we do that here?
RON HAZELTON:
Now I don't see any reason at all why Ben and Catherine can't have exactly what they want. I figure they just need a little bit of a jump start. So I head over to Ridgefield to see about creating a bit of separation for my friends.
Hey guys.
BEN:
Hi Ron.
[BOTH SPEAK AT ONCE]
RON HAZELTON:
Oh thank you very much. I love the rocks. I guess that's where the ridge comes from.
[BOTH SPEAK AT ONCE]
RON HAZELTON:
Up on a ridge here.
CATHERINE:
That's right.
RON HAZELTON:
So these are the two rooms that you kind of want to separate a little bit.
CATHERINE:
Yes.
RON HAZELTON:
You don't want a wall up here.
CATHERINE:
No, we decided against a wall.
BEN:
We like open space but the problem is this, this window, this room was added -
RON HAZELTON:
This room over here was added.
BEN:
Yeah and it looks like it was just bolted onto the house. There's really no transition.
RON HAZELTON:
Okay. So you think by making it appear like there's more of a division between these two rooms.
CATHERINE:
Exactly and give it a little interest, a little detail.
RON HAZELTON:
So what are the actual dimensions you're thinking of?
CATHERINE:
I was thinking about 40 inches high and perhaps 17 inches wide.
RON HAZELTON:
17.
CATHERINE:
Yeah.
RON HAZELTON:
That's very precise.
CATHERINE:
It is, it is.
RON HAZELTON:
17 inches.
CATHERINE:
It is.
RON HAZELTON:
Not 20, not 15, 17.
[BOTH SPEAK AT ONCE]
BEN:
My marching orders are always very precise.
RON HAZELTON:
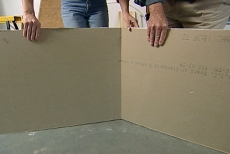
Now I'm not doubting Catherine's judgment. But just to make sure, I construct a simple plywood mockup to help us visualize the dimensions.
CATHERINE:
Maybe a little too close -
[BOTH SPEAK AT ONCE]
BEN:
A little too much.
RON HAZELTON:
Okay, let me come in to about here. How's that look. Further in?
CATHERINE:
A couple more inches in.
BEN:
Yeah.
RON HAZELTON:
How about somewhere in this range.
CATHERINE:
Well maybe one more inch. What do you think?
BEN:
I, you know honey, you're the decision maker here so -
RON HAZELTON:
Okay.
CATHERINE:
I like it.
RON HAZELTON:
Well Catherine's happy. So Ben checks things out from his point of view.
BEN:
I like - this is fine.
[MUSIC]
[SAWING SOUNDS]
RON HAZELTON:
You see. Look at that.
CATHERINE:
Is that it? Wow.
RON HAZELTON:
You did that, huh. First time, perfect cut.
CATHERINE:
Great.
RON HAZELTON:
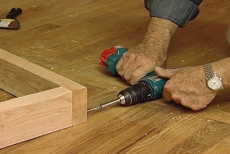
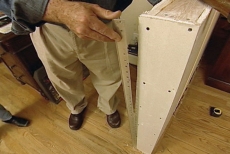
4 pieces of 2 by 4 will be assembled to make the frame for what is called a knee wall.
[MUSIC]
I used the 2 by 4s you cut outside. And we're going to use these to make up a wall frame. Will you just kind of hang onto that for me. I'm going to patch these together with some 3 inch screws. Stick this up - if you grab that piece of 2 by 4 right there -
CATHERINE:
Okay.
RON HAZELTON:
And set it right up on the top. I'm going to have you put these in. Perfect. Excellent. Lay this right on here. That will give us the extra thickness we need.
The wall that we're connecting to is a little thicker than typical. So we're adding strips of one by two to our frame go give us the added depth we'll need. Excellent. Okay, so there's our wall frame. It's just going to sit right in here like that, okay.
We attach the wall frame first to the existing wall and then to the floor. When it's secure, we head out to the garage and start cutting the drywall that will cover it. First we score the paper on the face of the wallboard. Then stand the panel on edge, break it along the score line and finally cut the paper on the back. Excellent. Now we're just going to snap it back the other way like this. Okay, there's your cut.
Think so. This is half inch wallboard here.
You want to grab your, there's a screw gun right there. Just go ahead and start putting this in.
CATHERINE:
All right. Start here.
RON HAZELTON:
[Affirmative].
[MUSIC]
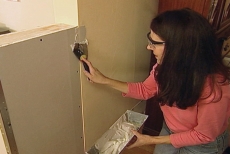
Right, now we make it a real wall, closed on both sides. Okay Catherine. Our next step is to attach this metal bead to protect the otherwise fragile edges and give us sharp, clean lines. Guys, what you’ve got to remember here is to try not to hit the corner. Because if you do, we end up with a dent. And it's not too pretty. So just take your time.
CATHERINE:
Okay.
RON HAZELTON:
Enjoy.
CATHERINE:
Okay.
RON HAZELTON:
And we'll now have dual hammers. Or is it dueling hammers?
[SOUNDS OF HAMMERING]
Time for a little taping.
CATHERINE:
Okay.
RON HAZELTON:
Done this before?
CATHERINE:
Yes.
RON HAZELTON:
You have.
CATHERINE:
I have.
RON HAZELTON:
So you're a taping -
[BOTH SPEAK AT ONCE]
CATHERINE:
I'm the taper of the family.
RON HAZELTON:
Oh. Well let's just dive right in then.
CATHERINE:
All right.
RON HAZELTON:
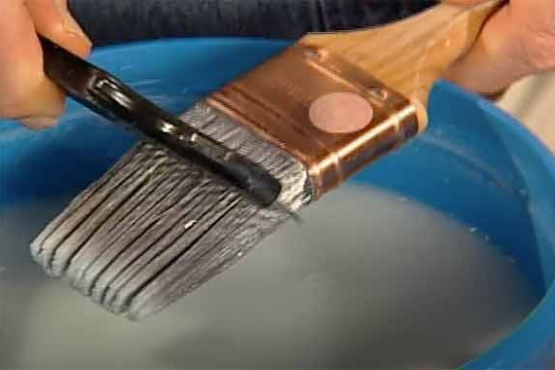
Very nice Catherine. Catherine is putting down what I call a bedding coat of joint compound. We'll cover the joint with paper tape which I first dip in water, then pull between my fingers to remove the excess moisture. From my experience, I found damp tape like this adheres better.
You want to place that so the center of the tape is right on the seam. And keep it nice and flat - you're pressing it in. Ben, you're up. Ben uses joint compound to conceal the flanges on the metal corner beam and blend it into the wall. The compound we're using today will set in about 45 minutes. Then we'll apply a second coat.
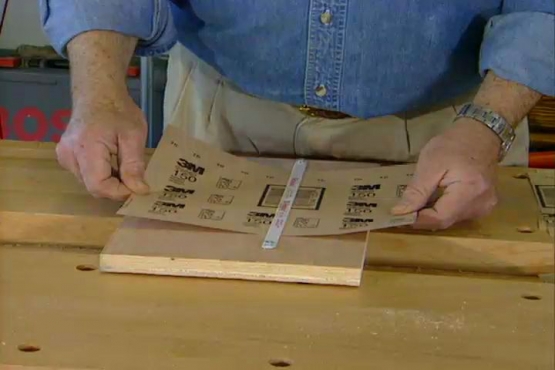
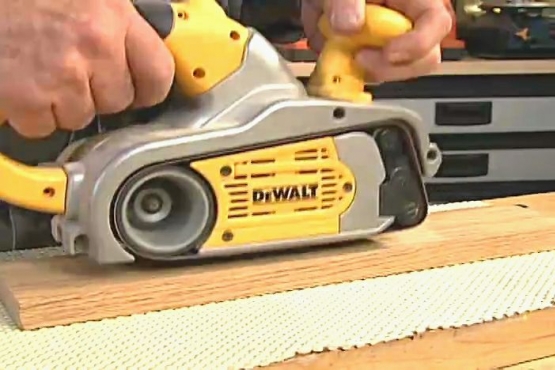
And when it's dry, sand it smooth.
[MUSIC]
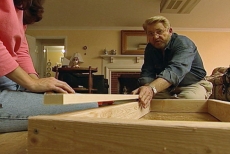
Well we've got both of our knee walls in. Just finishing up the sanding on this one over here. How's it going?
CATHERINE:
Great.
BEN:
It's going well, looking good.
RON HAZELTON:
Well that's nice, really nice.
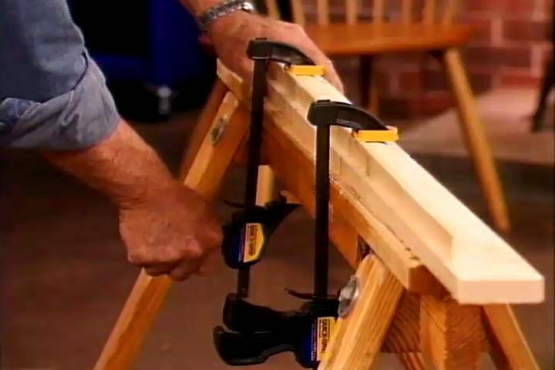
Okay. While you've been busy doing that, I've been out cutting this ledge or shelf, whatever you want to call it it’s going to go on top here. This is a piece of poplar and all I've done is sort of cut a notch out of it, put a little bit of a round over on the edges here. And this will just slip right in here like that.
CATHERINE:
That looks great.
[BOTH SPEAK AT ONCE]
BEN:
Very nice touch.
RON HAZELTON:
That's not going to go anywhere.
CATHERINE:
No.
RON HAZELTON:
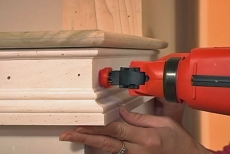
Now we're going to start trimming out the insides of your openings here with I guess you'd call it jamb material right. So let's start with the top piece right up here. This kind of woodwork or millwork as it's often called, adds interest and detail to just about any room. It can turn a wall from ordinary into elegant.
[MUSIC]
Hey, hey, look what I've got.
[BOTH SPEAK AT ONCE]
CATHERINE:
Oh wow.
BEN:
Well, look at that.
RON HAZELTON:
Think I made a little mistake. Think I'm a little too big for the opening right here.
CATHERINE:
Just a little
BEN:
A wee bit.
RON HAZELTON:
Seriously though, you do have to decide what portion of this you want. Top, bottom, middle, what do you think?
CATHERINE:
I think the top because of all of the detail up there.
BEN:
What do I think honey?
CATHERINE:
You think the top.
BEN:
The top looks great to me.
RON HAZELTON:
I love the way you two just agree on pretty much everything, don't you. It’s great.
[LAUGHTER]
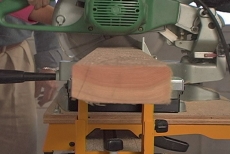
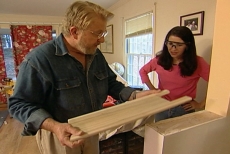
RON HAZELTON:
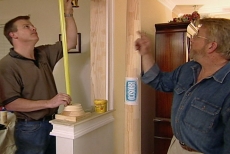
So the column comes with a capital and a base. I'm going to stack the capital and the base on top of each other. Ben I'm going to give you the tape measure. Now if you'd measure from the top right here - to the jamb, I'll know how long to cut this column.
BEN:
It's 34 and 7/16ths.
RON HAZELTON:
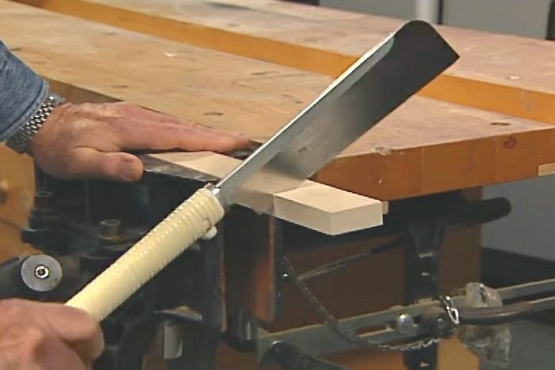
You got it. Okay, let's cut. Now getting a straight cut on a tapered column like this can be a bit tricky. For me the best way to do it is to draw a line all the way around and make the cut with my Japanese handsaw.
BEN:
All right. Wow.
CATHERINE:
Beautiful.
RON HAZELTON:
The shortened column is attached to the base by applying glue and then toe-nailing it. Glue is also applied to the top of the column. And the two sections of the capital are set in place and nailed.
[MUSIC]
BEN:
Perfect honey, let's give it a try.
CATHERINE:
Alright.
BEN:
Well, shall we give it a go?
RON HAZELTON:
Hey, you did it. That looks nice. Good job Ben.
CATHERINE:
It came out great.
BEN:
Well let's see how we do it.
RON HAZELTON:
Yeah, you have to do it really on the flat. Oh look at that, it's already -
[BOTH SPEAK AT ONCE]
BEN:
Oh man.
RON HAZELTON:
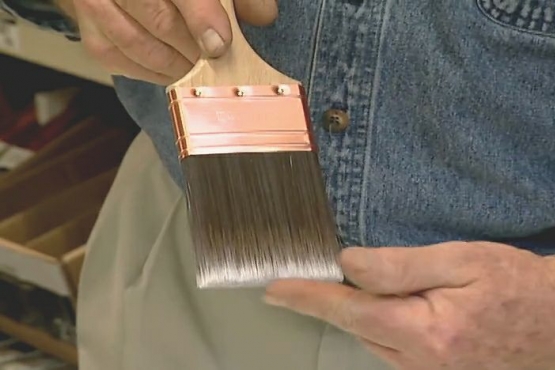
Well you know when you see a paintbrush in hand on a project like this, we're nearing the end. Well I'm going to go, you guys. You can finish this up. You’ve got it well in hand.
BEN:
Well, you got us there Ron. Appreciate it.
RON HAZELTON:
Oh, you’re very welcome.
CATHERINE:
Thank you.
RON HAZELTON:
Don’t stay up too late now.
CATHERINE:
We won't.
RON HAZELTON:
Okay, enjoy the room.
CATHERINE:
Bye bye.
BEN:
Well sweetie, between your design and his skillfull implementation, we've really added on a value here, don't you think.
CATHERINE:
Absolutely.
BEN:
Are you happy?
CATHERINE:
I, I love it.
RON HAZELTON:
Well now that's quite sweet. Who would have thought that separating a couple of rooms could bring a couple even closer together. You know I'm not one to shatter misconceptions. But bigger is not necessarily always better.