How to Lay Ceramic Tile on a Laminate Countertop
Use this innovative tiling system to put ceramic tile directly on top of plastic laminate, metal or wood countertops
This method, developed by Armen Tavy, uses a mastic and fiberglass-reinforced paper mat to turn any surface into one that can be tiled using standard thin-set mortar. It requires no concrete backer board and adds very little thickness to the surface. For more information about Tavy products and where they can be purchased visit the Tavy Tools website.

Prepare the Existing Counter Top
Begin the process by applying a specially formulated adhesive that is made for just this process. Spread the glue liberally, using a 1/8" V-notch trowel. This seems to be the perfect size for this application, allowing you to get enough adhesive down to be effective, without making a big mess. Once the adhesive is spread, apply the fiberglass reinforced paper with a flat-bladed putty knife. Make sure you work out any air bubbles and that you have a smooth surface.
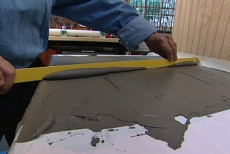
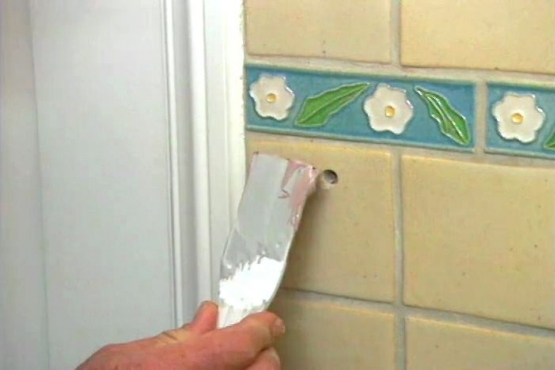
Apply a Base Layer of Mortar
Use a putty knife to apply a skim coat layer of mortar to the paper surface. This prepares the paper for the thin-set in the same way that primer prepares wallboard for paint. You should also use this step to fill any dips or rolls that may be in the pre-formed countertop. Simply apply more mortar in those spots, and then screed off the excess with a straight edge.
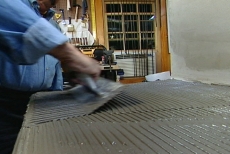
Spread the Thinset
Once the skim coat layer of mortar has dried, you can begin to apply and rake the thinset with a trowel, just as you would with any other tile installation.
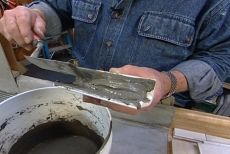
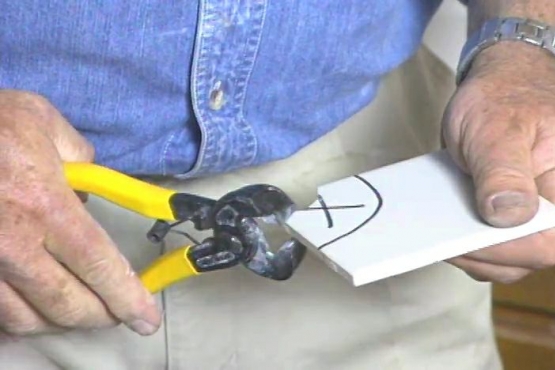
Preparing the Bullnose
The bull-nosed tile is applied first. These are the pieces that go on the front edge and round over the corner. These pieces need to have extra mortar applied directly to the tile. This process is called buttering. Buttering the bullnose will give it added strength, ensuring that it won't crack or break under the wear and tear that it may get in your kitchen.
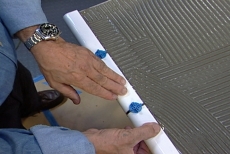
Tile the Field
Install spacers in the bullnose, and then begin laying tile in the field behind it. Make sure that you work in small enough areas to ensure that you can get the tile down before the mortar starts to set up. If you don't then you may find that you have loose tiles later on down the road.
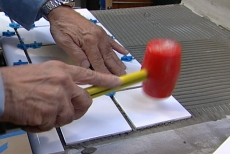
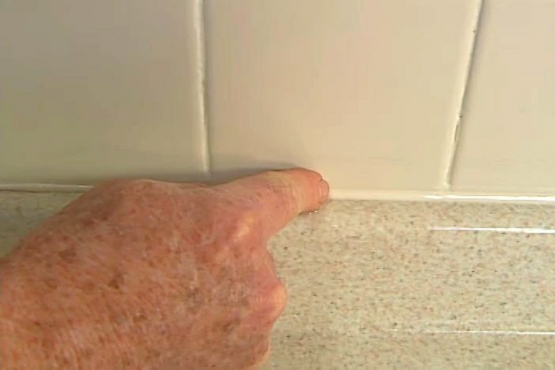
Space and Set the Tiles
Continue installing spacers as you lay the field of tile. As you are working, you also need to use a plastic or a rubber mallet to lightly tap the tiles that are placed. This will help them bond with the mortar and ensure that they are set firmly, without large gaps of air underneath that may later cause cracking. Once the tiles are all in place, the spacers can be removed.
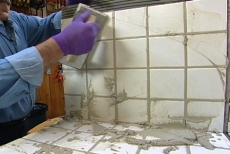
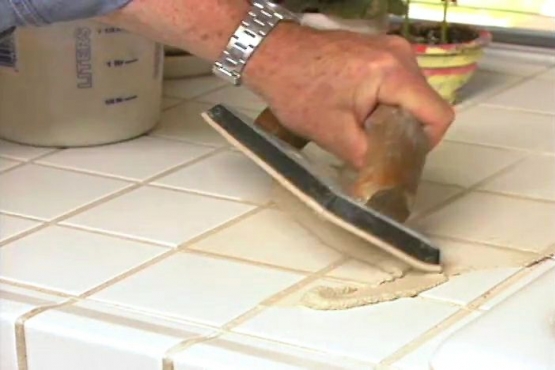
Apply Grout
Use a float to force grout to the bottom of the joints. Next, turn the float on edge and remove the excess grout from the face of the tile. A damp sponge or rag can be used to complete the cleanup. The step with the sponge or rag may need to be repeated several times to completely remove the haze left behind by the grout.
Related Tips

Blog Articles

Maximize Your Yield with DIY Netting for Strawberry Beds
Keep your strawberries safe from pests with our DIY strawberry cage netting solution. Learn how to create sturdy frames and find the best netting for your strawberry plants.

Change It Up: Swapping Out Your Light Switch Plates
Tired of boring light switch covers? Upgrade your home decor with this simple guide on replacing light switch plates and make a statement in every room.

Revamp Your Outdoor Space: How To Stencil A Concrete Patio
Learn how to create a stunning patterned concrete patio with our easy-to-follow instructions for stenciling. Upgrade your outdoor space in no time.


