How to Remove a Popcorn Textured or Acoustic Ceiling
Remove a popcorn-textured ceiling simply and effectively.
Remove a popcorn textured ceiling in four basic steps: preparing the room, wetting the ceiling, scraping the "popcorn" material off the ceiling and using joint compound to recover any bare joints and eroded nail holes - leaving your ceiling ready to be painted or textured in any way you desire.
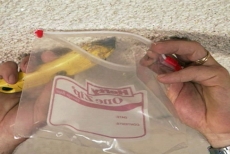
Check for Asbestos
Take a small sample of the ceiling material and send it to an EPA certified testing lab before you begin. If your ceiling contains Asbestos, you will need to have a certified asbestos removal contractor do the job for you.
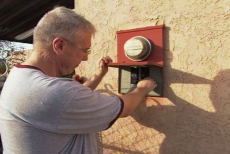
Turn Electricity Off and Remove Light Fitting/s
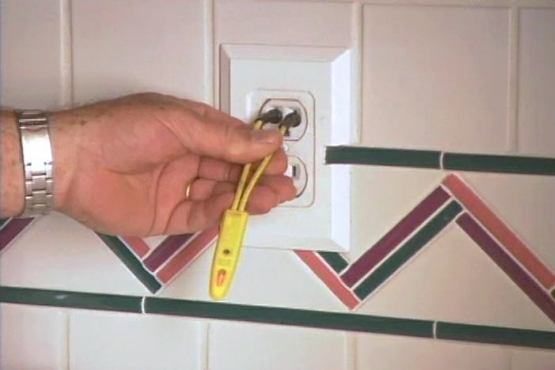
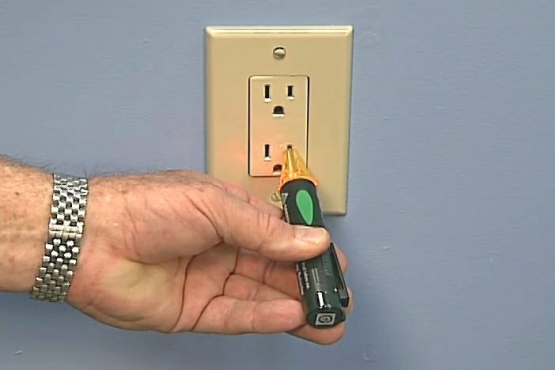
Since you’ll be using a lot of water in this project, first be sure to turn of the electricity and check it with a circuit tester. Remove all furniture and ceiling light fittings.
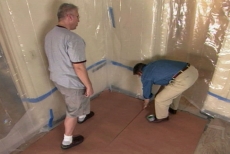
Cover the Floor with Plastic Sheeting
Tape small pieces of plastic over each electrical outlet and cover the floor with heavy duty plastic floor sheeting, extending it up the walls a foot or so.
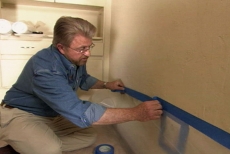
Cover the Walls with Plastic Sheeting
Run painter’s tape along the upper edge of the walls then cover the entire wall with plastic sheeting, taping the top edge to the tape already there. Roll out a layer of resin paper on the floor.
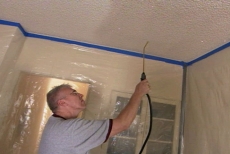
Wet the Ceiling
Using a garden sprayer, wet the ceiling, working in 4 to 5 square feet areas at a time, wetting the ceiling thoroughly, but being careful not to over-wet it.
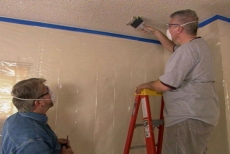
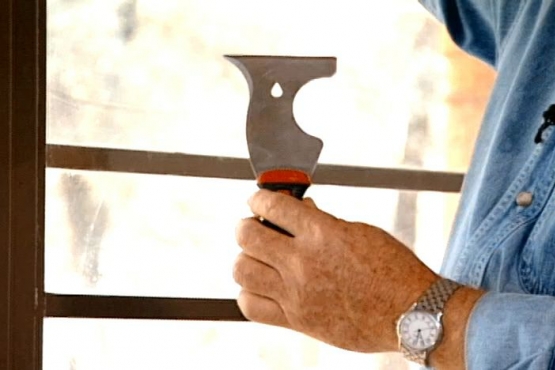
Scrape the Popcorn Material off the Ceiling
Round off the corners of a joint knife (to prevent gouges) and use it to scrape off the popcorn ceiling. If you run into any hard scraping areas, apply a little more water, wait and then try again.
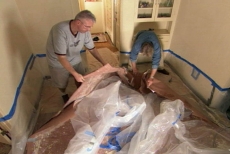
Unroll Second Layer of Resin Paper and Finish Scraping
Unroll another layer of resin paper directly on top of ceiling debris and continue scraping ceiling. When all material has been scraped off, take down plastic sheeting from walls, roll up wet paper and plastic on floor and place all into a large garbage bag.

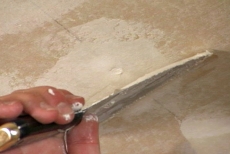
Re-cover any Bare Joints Using Joint Compound and Joint Tape
Mix joint compound in a tray and apply along the joint lines. Dip joint tape into water, squeeze of excess and use a putty knife to press the tape into the joint compound. Smooth off excess.
Fill any Eroded Nail Holes
Use two thin applications of joint compound to bring holes flush with the wallboard.
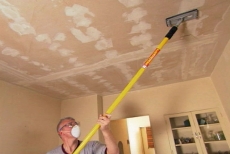
Sand the Ceiling
Use a sanding pad on the end of a long pole to sand off any high ridges.
Finish Your Ceiling
Fill any low spots with another coat or two of joint compound, sanding in between coats. Prime the ceiling using a primer that says “for wallboard”. Your ceiling is then ready for you to paint or texture as you like.
Related Tips
Blog Articles

Maximize Your Yield with DIY Netting for Strawberry Beds
Keep your strawberries safe from pests with our DIY strawberry cage netting solution. Learn how to create sturdy frames and find the best netting for your strawberry plants.

Change It Up: Swapping Out Your Light Switch Plates
Tired of boring light switch covers? Upgrade your home decor with this simple guide on replacing light switch plates and make a statement in every room.

Revamp Your Outdoor Space: How To Stencil A Concrete Patio
Learn how to create a stunning patterned concrete patio with our easy-to-follow instructions for stenciling. Upgrade your outdoor space in no time.


