RON HAZELTON:
Now to my way of thinking, this is a perfectly good granite countertop on the kitchen island. And the thought of putting a hole in it makes me kind of shudder. But that's exactly what my wife Lynn wants me to do. She says that because we have the oven, the cook top, the microwave, the dishwasher and the sink all clustered over here in this corner -
- that we create an enormous traffic jam and she's asked me to put a prep sink down on the far end of the island. Now I resisted this idea for quite some time. But then being the smart husband that I am and knowing that I have an anniversary coming up -
- I decided to send her off to the spa for the day and surprise her.
Greg Pia, a third generation stonecutter has agreed to do the surgery. He's using a diamond tipped blade. The water cools and lubricates the blade and helps keep the dust down. Step one is to cut out the 4 sides of the opening. Next, Greg makes angled cuts at each corner, leaving only small bits of the stone holding the cutout section in place.
Then he attaches a suction handle - gives the stone a few taps with a dead blow mallet and out comes a rather hefty chunk of granite. To finish the opening, he switches to a smaller tool and extends the cuts as far into the corner as possible.
That done, the remaining corner pieces break away with a couple of taps. A little grinding removes the final bit of granite from the corners. Now I can remove the dam that kept the water from flooding the countertop.
[MUSIC]
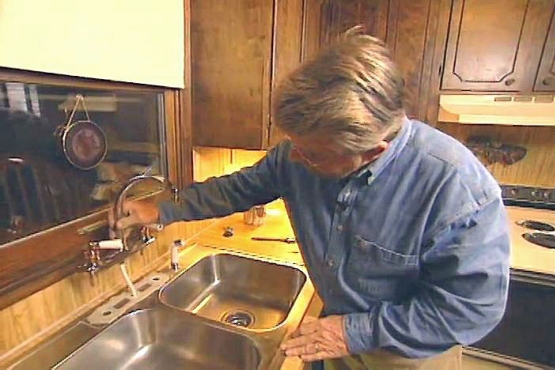
Well, this is the ultimate test to find out of that hole is the right size and in the right location.
Here's my new sink. I'm going to drop it in. It fits and the hole is just slightly oversized which is exactly the way we want it. With the sink in position, I lower a plumb bob through the center of the drain hole and mark the location directly beneath.
Then using an extra long drill bit, I bore through the bottom of the cabinet and into the basement below.
Well I'm down in the basement and here's where the drill came through, right here. Now that's the center of the sink opening.
And actually I'm in pretty good shape because I have a cold water line right here, a hot water line here and a drain right over here. So everything is in fairly close proximity.
Because I've put in shutoff valves for the kitchen and laundry room, I don't have to turn the water off for the entire house.
The first step in tapping into the existing water supply is to cut the copper lines with a small pipe cutter that works very well in tight quarters like these.
[MUSIC]
Then I make a second slice and actually remove a small section of pipe.
This will give me the space I need to install the T fittings I'll be putting in shortly. I'm sanding the pipe to remove any surface dirt and oxidation. This is the first step in getting a watertight solder joint. With the pipe clean, I next apply soldering flux.
This paste helps the solder flow evenly and promotes a good bond with the metal. The inside of the fittings also needs cleaning and this I do with a metal brush made just for the purpose. Once I finish the cleaning, I coat the fitting with flux too. Now I can slip the pieces together.
[MUSIC]
Now I'm turning my attention to the drain. Slicing through this guy calls for a substantially bigger pipe cutter. For this project, I'm removing about a foot of pipe. The new drain line will be PVC plastic pipe that's glued or welded together.
I first apply a purple primer to both the fitting and the pipe followed by an application of PVC cement. Now, a good rule of thumb when applying the primer and cement is to make 3 complete rotations. While the surfaces are still wet, I slip them together, give them a slight twist and hold them for a few seconds. If I don't hold them securely, the pipe and fitting can actually push away from each other. This Y assembly will allow the new sink drain to join the existing drain line.
These couplings are what some plumbers call mission clamps. First I slide on the metal band then lubricate the pipe with dishwashing detergent and slip on the rubber sleeve. The dishwashing detergent acts like a lubricant and will not deteriorate the rubber. Once I have the Y assembly in place, I pull the rubber sleeves over the joints, slip on the clamps and tighten them up.
[MUSIC]
This perforated copper hanging strap will support the drain taking any strain off the coupling.
Now I'm back upstairs drilling the holes for the water supply lines. This long shaft spade bit is the perfect tool for this.
[DRILLING SOUNDS]
Next I move on to the drain. Here, I'm using a 2-inch hole saw with a shaft extension. I'm doing the best I can to make sure the drill bit stays as vertical as possible.
Now I need to put in the run of pipe that will connect the drain and the water supply lines to the sink.
I want to do a dry fit first to make sure that all the pipe is cut to the proper length. Then, I'll go back and cement or solder it in place.
[SAWING SOUND]
[MUSIC]
Before I disassemble the pieces, I make reference marks so that I can put them back together in the same position. Then I glue the assembly together. Attaching one end to the riser that goes into the kitchen cabinet, and the other to the Y in the drain. Finally, I check to make sure there is a gradual downward slope to the drain. Now I can fit the copper pipe together.
[MUSIC]
For this project, I'm using pre-soldered fittings. The solder is already inside. All I have to do is add heat. When things get hot enough, the solder liquefies and begins to flow out of the joint. You can see it here and here.
[MUSIC]
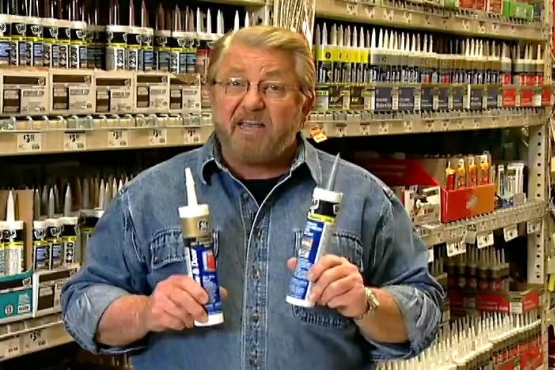
All the connections are made in the basement. The pipes are all coming up into the cabinet. Now I have to add some fittings on this end and then I can start on the sink. First I'm installing what's called a sanitary T. The sink drain will attach to this later. Above the T goes a vent. And at the bottom, a trim escutcheon. Next, I cut off the water lines, install escutcheons on these, slip on the shutoff valves and tighten the compression fittings with a wrench. With the heavy part of the plumbing done, I've taken a break and gone to the home improvement center to pick up my new faucet.
Now, I only have one rule when it comes to putting fittings and fixtures on a sink, and that is, I attach everything I possibly can to the sink before I drop it into the opening.
I always loved modeling clay as a kid and this is about as close as I can get to it in home improvement. It's plumber’s putty, a mixture of oil and minerals like limestone and clay. Plumber’s putty has been around for ages. It seems to last forever and it's what I use to seal the sink basket to the sink itself.
On the underside of the sink, I place a rubber seal, an anti friction fiber washer and the lock nut. This basin nut-wrench has only one purpose in life and this is it. With the basket snugly in place, I lift off the excess plumber’s putty.
Here’s my new faucet. To install it, I drop the water lines through the hole, flip the sink over, slip on a mounting plate, screw on a nut - and then tighten it up using a plastic socket that came with the faucet set.
Next I pass the flexible sprayer hose through the center of the faucet and connect it on the underside. Now if you ever tried to put all these fittings on a sink after it's in place, you'll appreciate exactly how much easier it is to do it this way. I'm ready to drop this in the opening now. I just need to put some silicone sealant around the edge.
[MUSIC]
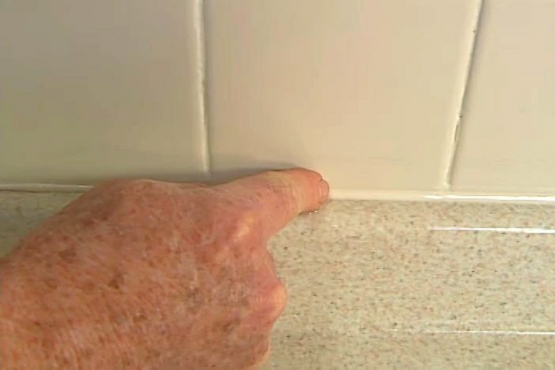
This type of sink drops in from the top and it's called self-rimming. The watertight seal around the edge comes from the silicone and these clamps on the bottom-side that pull the sink down into firm contact with the countertop when they're tightened.
To make the last few hookups on the drain, I attach this tailpiece to the bottom of the sink basket, slip on the P trap and connect everything to the drain system. On the water supply side, all I have to do is screw on the lines from the faucet, snug them up with a wrench, and turn on the water.
RON HAZELTON:
Now keep your eyes down,
LYNN DRASIN:
Okay, they’re down.
RON HAZELTON:
Look at the floor only. Now, while you’ve been out luxuriating at the spa…
LYNN DRASIN:
Yes?
RON HAZELTON:
…Which I’m glad you did, I’ve been hard at work here.
LYNN DRASIN:
Can I open my eyes?
RON HAZELTON:
So this is something you’ve been wanting for a while. Go ahead, take a look.
LYNN DRASIN:
Oh my god, wow, oh! My prep sink. Thank you so much honey. Wow, wowiee, this is really great. I love it. It’s great.
RON HAZELTON:
And it’s all prepared for you, the foods over there ready to go.
Do you like it?
LYNN DRASIN:
I love it, it’s great.
Really thank you very very much
RON HAZELTON:
Happy anniversary.
LYNN DRASIN:
Anniversary, I don’t think so. That’s like getting a vacuum. No. But I love it though, I do. I do.
RON HAZELTON:
Here is your anniversary present for real.
LYNN DRASIN:
Oooh, Tiffany’s.
RON HAZELTON:
So enjoy.
LYNN DRASIN:
Thank you, honey.