How to Remove and Replace Caulk Around Doors and Windows
You know the joint between your door and window frames on the side of your house is a place where water, drafts, even insects can enter your home. Now typically those are sealed with caulk. But after years of exposure to sunlight and weather, well that caulk can fail, just like this. The first step to solving this problem is to remove the old caulk. Now, two tools that work best for me are the putty knife and the utility knife.
The putty knife works best for prying away material that is already loose. For more stubborn caulk, try cutting it away with a utility knife and then, peel it away. To make sure the new caulk will adhere properly, it’s important to remove all the small bits and pieces of old material. For this, I like to use a clean, dry paintbrush. For a ceiling job like this, I’d recommend a siliconized latex acrylic caulk. The nozzle on a caulking cartridge is tapered. The further back you cut it, the wider the bead of material. Cut the nozzle so that the bead is slightly wider than the gap that you have to fill. Now it’s usually best to start at the top and work your way down. Just use constant pressure on the trigger to give you a nice uniform bead. Now, smooth the caulk off using your finger. Again, it’s best to start up here at the top.
Finally, clean off the excess with a damp rag. Now, do this job right, use the right materials and you can expect that caulk to last for 20 or 30 years.
Blog Articles
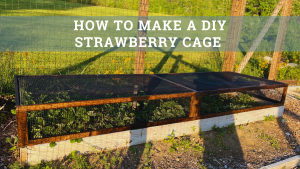
Maximize Your Yield with DIY Netting for Strawberry Beds
Keep your strawberries safe from pests with our DIY strawberry cage netting solution. Learn how to create sturdy frames and find the best netting for your strawberry plants.
Change It Up: Swapping Out Your Light Switch Plates
Tired of boring light switch covers? Upgrade your home decor with this simple guide on replacing light switch plates and make a statement in every room.
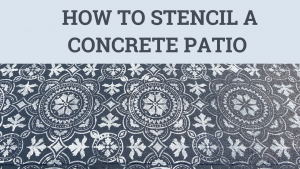
Revamp Your Outdoor Space: How To Stencil A Concrete Patio
Learn how to create a stunning patterned concrete patio with our easy-to-follow instructions for stenciling. Upgrade your outdoor space in no time.


