How To Adapt A Metalworking Vise For Wood
A Simple Way to Make a Metal Vise Work for Wood
If you don't have a dedicated wood vise, here's a way to convert just about any standard metal working vice into one t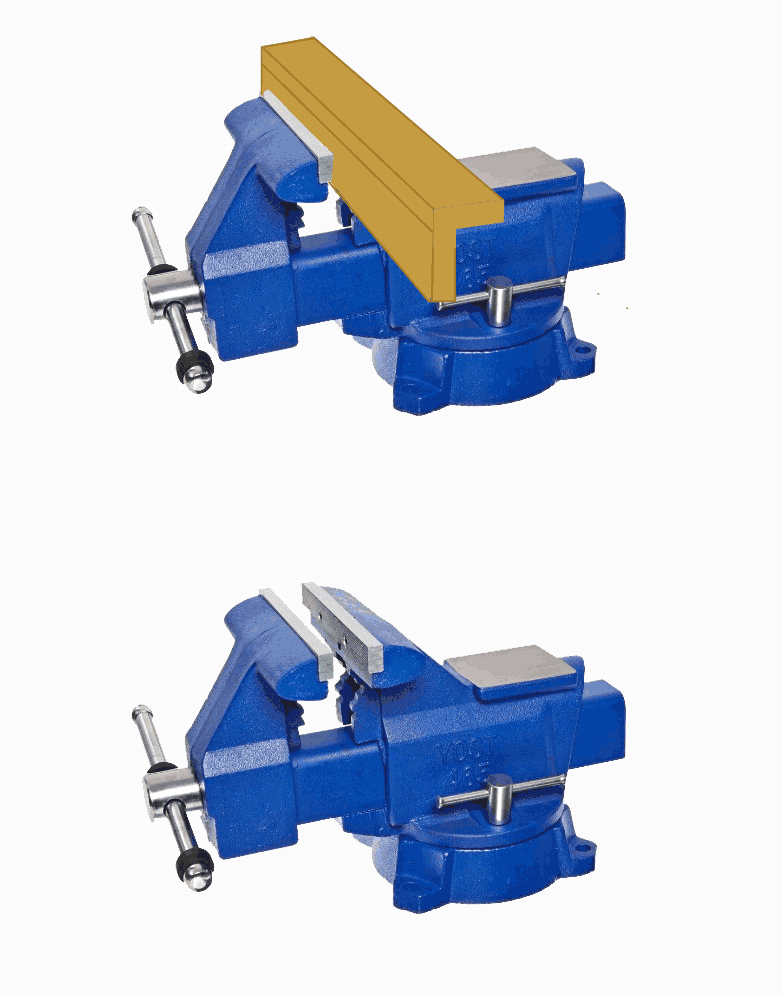 hat will securely grip wood without marking or damaging it. These easy-to-make jaws slip on quickly and are held in place with magnets.
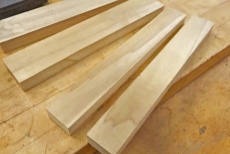
Cut Parts to Size
The vise pads can be as long as you like. These are about 1 1/2" in width and 12 inches in length.
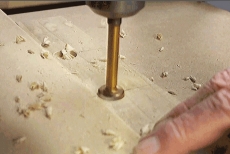
Bore Shallow Holes in the Jaw Face Pieces
This can be done with a Forstner or spade bit the same diameter as the magnets.
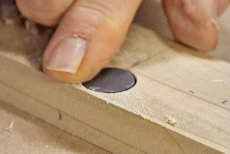
Insure That Holes are the Correct Depth
The top of the magnets should be level with the surrounding wood surface.
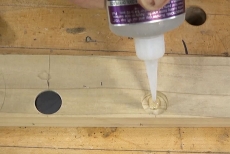
Glue Magnets in Place
Instant CA glues are handy for this. Hot melt glue also works.
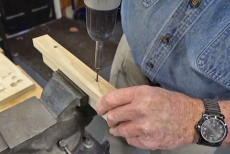
Attach the Two Vise Pad Sections Together
Apply glue and pre-drill clearance holes in the top section.
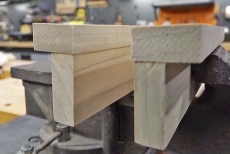
Set Wooden Jaw Pads in Place
The magnets will hold the pads in position and allow them to move with the vise jaws.
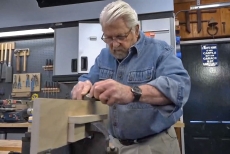
Ideal for Holding Boards Vertically
Just drop the workpiece between the jaws and tighten. No risk of marring wood.
Blog Articles
Expert Tips: How to Mount a TV on the Wall
Get step-by-step instructions on how to mount a TV on the wall, especially for big screen TVs. Master the art of wall mounting with our tips.
Frustrated by Stripped Screws? Here’s How to Get Them Out Fast
We've all been there. You're in the middle of a project, and suddenly your screwdriver spins uselessly in the screw head. The screw is stripped, and frustration sets in. With a little know-how and this simple trick, you can tackle a stripped screw and get your project back on track.
The Secret to Finishing Plywood Edges
Plywood projects are fantastic, but exposed edges can be an eyesore. This blog post unveils the magic of edge banding - a simple technique to create flawless, finished edges on your plywood projects, making them look professional and ready for paint or stain. Watch the video to learn how to apply edge banding like a pro!
