How to Install a Gas Heater for a Garage
Complete This One-person Installation of a Ceiling-mounted Vented Gas Heater in Your Garage or Workshop for Warmth on Demand
Select your garage gas heater by fuel type and BTU output appropriate for the environment. Our ceiling-mounted vented gas heater has an electric fan for circulation and a flue to vent fumes through the roof. A one-person project using block and tackle rigging to hoist the heater to a ceiling joist, it requires several trips to work from the roof.
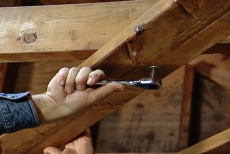
Attach Two-by-sixes across Joists for Diagonal/Corner Mounting of Gas Heater
Lag-screw two-by-sixes across ceiling joists to corner-mount the vented gas heater. These gas heaters are designed to hang from the ceiling joists, but aiming flow from the circulating fan diagonally across the garage will improve airflow in this situation.
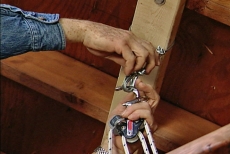
Lift the Gas Heater with Block and Tackle
Hook the upper end of a block and tackle to the beams and the lower end to cargo straps wrapped securely around the gas heater. Use the pulley to hoist the gas heater up to the joists and into position.
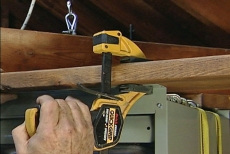
Clamp the Heater to the Joists and Bore Clearance Holes
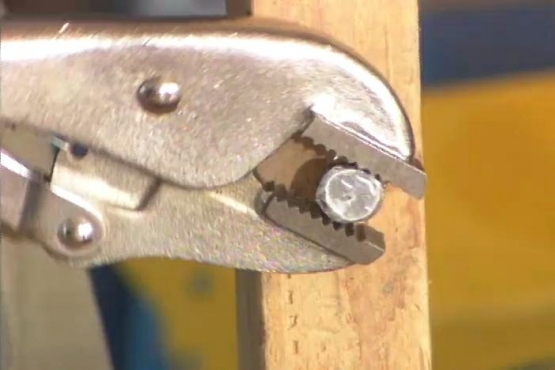
Position and temporarily clamp the heavy gas heater to the joists along its mounting flanges. Bore equally spaced clearance holes for carriage bolts in the ready-made cutouts along the mounting flanges.
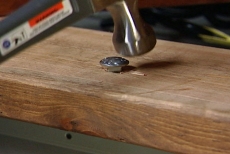
Secure the Gas Heater to the Joists with Carriage Bolts
Insert a carriage bolt into each clearance hole and tap the head with a hammer to seat its collar in the wood. Twist on nuts and then finger-tighten and then snug them with a socket wrench. Remove the clamps.
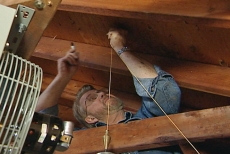
Attach the T-shaped Flue and Mark Its Position at the Roof
Attach the T-shaped portion of the flue to the back of the gas heater. Use a plumb bob to determine the exact vertical position above the center of this flue pipe on the underside of the roof. Mark it.
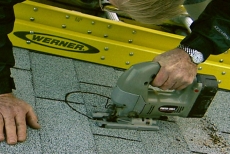
Cut a Hole in the Roof for the Flue Pipe
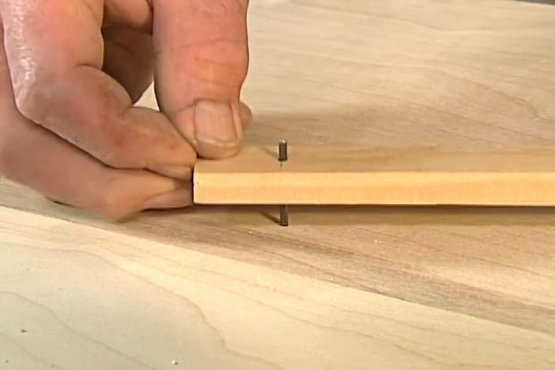
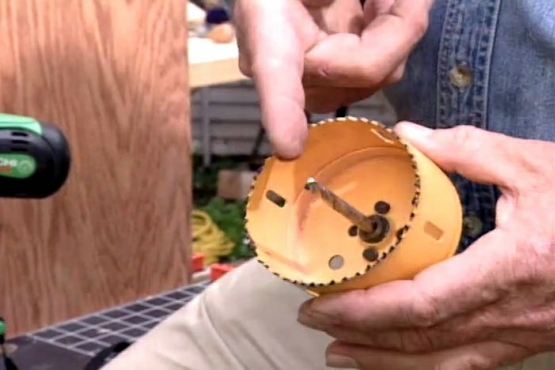
Bore through the mark, inserting a wire to locate the hole on top of the roof. Outline the diameter of the flue, centered on the hole. On the outline, bore a pilot hole for a jigsaw and cut the opening.
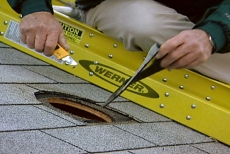
Install the Funnel-shaped Flashing to Waterproof the Flue Opening
Center and mark the oval opening of the funnel-shaped flashing over the cutout. Cut away upper shingles along the mark. Apply sealant to the lower shingles and slide the flashing base under the upper shingles. Secure with roofing nails.
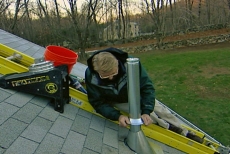
Install the Long Vent Pipe, Weather Ring, and Vent Cap
Insert the vent pipe through roof and flashing. Connect the lower end to the T-shaped flue, securing it with snap-in-place couplings. Add the weather ring and vent cap to the upper end of the pipe. Add sealant to nail heads.
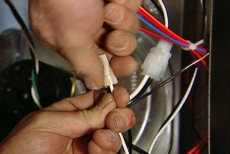
Make Required Electrical Connections for the Gas Heater
Remove the side panel from the gas heater housing to access the electrical components. Match wires and secure with wire nuts, following gas heater manufacturer's directions to make electrical connections for components such as the air circulation fan.
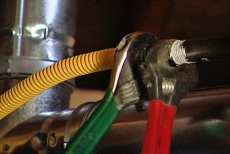
Connect the Rigid Gas Pipes and the Flexible Gas Line
Apply thread sealant to the gas pipe sections and screw them together. Snug the fittings with adjustable wrenches. Connect the flexible gas line and tighten the nut. The main gas line and shut off valve were installed before this project.
Related Tips
Blog Articles
Maximize Your Yield with DIY Netting for Strawberry Beds
Keep your strawberries safe from pests with our DIY strawberry cage netting solution. Learn how to create sturdy frames and find the best netting for your strawberry plants.
Change It Up: Swapping Out Your Light Switch Plates
Tired of boring light switch covers? Upgrade your home decor with this simple guide on replacing light switch plates and make a statement in every room.
Revamp Your Outdoor Space: How To Stencil A Concrete Patio
Learn how to create a stunning patterned concrete patio with our easy-to-follow instructions for stenciling. Upgrade your outdoor space in no time.
